Migrating virtual machines from VMware ESXi to Proxmox VE is common when switching to an open-source, subscription-free virtualization platform. This guide explains the cleanest and safest migration method using OVF/OVA and qcow2 conversion.
Prerequisites
Before starting, ensure:
✅ Administrator access to ESXi & Proxmox
✅ VM is powered OFF
✅ Enough disk space on Proxmox
✅ Proxmox ISO storage ready
✅ SSH access to Proxmox
🧱 Architecture Overview
ESXi VM → OVA/OVF → Disk Conversion → Proxmox VM


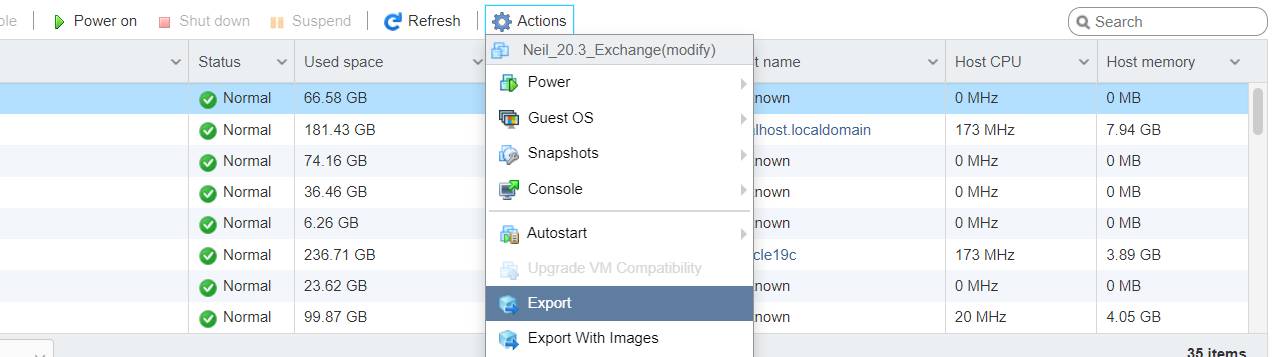
Step 1: Power Off VM & Export from ESXi
- Login to ESXi Host Client
- Right-click the VM → Power → Shut Down
- Click Actions → Export
You will get:
.ova(single file) OR.ovf+.vmdk

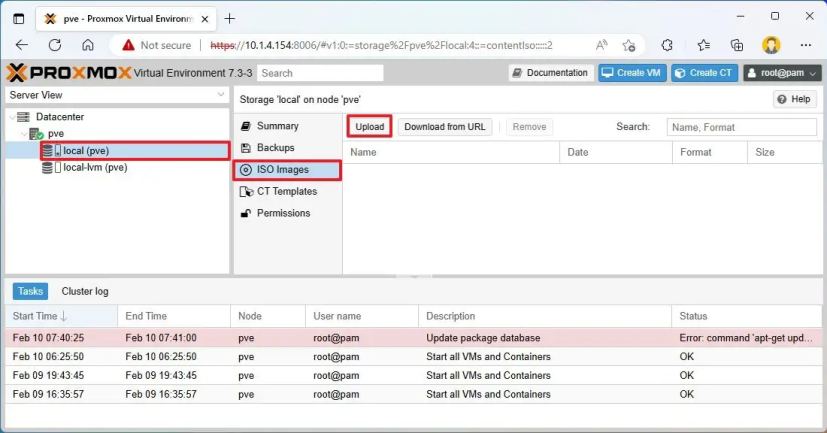
📂 Step 2: Upload Files to Proxmox
Upload the exported files to Proxmox server.
scp vmname.ova root@proxmox_ip:/var/lib/vz/
OR use WinSCP / FileZilla

🔄 Step 3: Convert ESXi Disk to Proxmox Format
✅ If you have .ova
tar -xvf vmname.ova
Convert disk:
qemu-img convert -f vmdk vmname-disk.vmdk -O qcow2 vmname-disk.qcow2
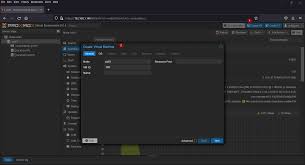
🆕 Step 4: Create New VM in Proxmox
- Go to Proxmox GUI
- Click Create VM
- Choose:
- OS: Do not use ISO
- BIOS: OVMF (UEFI) or SeaBIOS
- Disk: Remove default disk


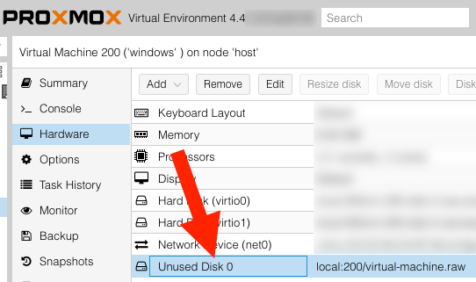
📥 Step 5: Import Converted Disk
qm importdisk VMID vmname-disk.qcow2 local-lvm
Attach disk:
qm set VMID --scsihw virtio-scsi-pci --scsi0 local-lvm:vm-VMID-disk-0
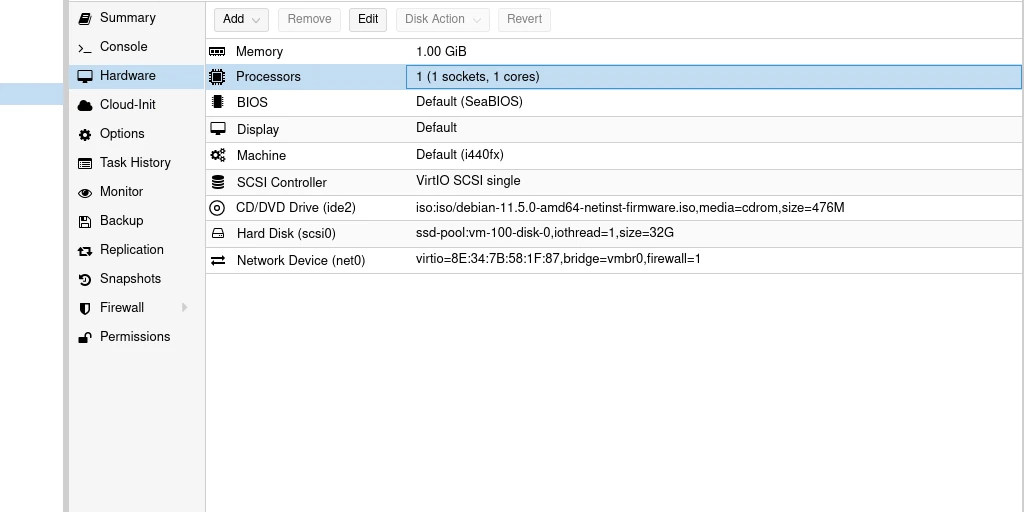
⚙ Step 6: Optimize VM Settings
Inside Proxmox VM settings:
✅ Machine: q35
✅ Controller: VirtIO SCSI
✅ Network: VirtIO (paravirtualized)
✅ Enable QEMU Guest Agent

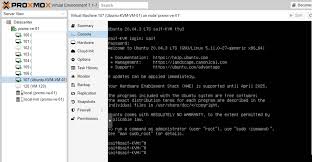
🚀 Step 7: Boot VM & Install Drivers
For Linux:
apt install qemu-guest-agent
systemctl enable qemu-guest-agent
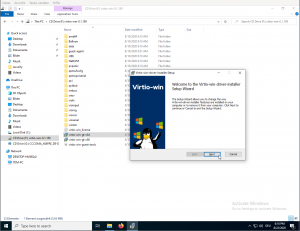
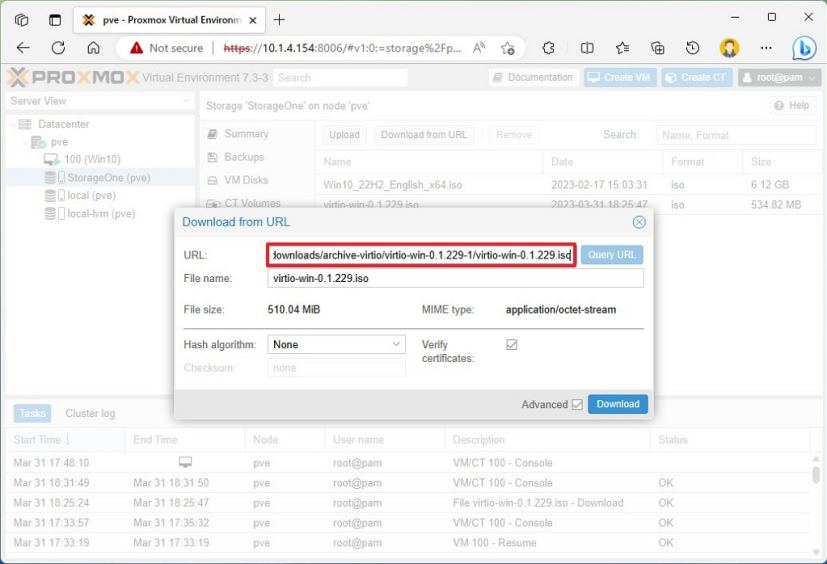
For Windows:
- Mount VirtIO ISO
- Install:
- Network driver
- Storage driver
- Balloon driver
✅ Step 8: Verify Migration
✔ VM boots successfully
✔ Network works
✔ IP changed properly
✔ Disk & CPU usage normal
🔥 Common Problems & Fixes
| Issue | Fix |
|---|---|
| No boot | Change BIOS (UEFI ↔ SeaBIOS) |
| Network down | Switch to VirtIO NIC |
| 100% disk | Enable Write Back cache |
| Slow VM | Use host CPU type |