Monday, August 10GNOME IT SOLUTIONS LLC

Tag: homelab

Install Proxmox on Mini PC / Intel NUC Homelab (2026 Guide)

Install Proxmox on Mini PC / Intel NUC Homelab (2026 Guide)

Proxmox
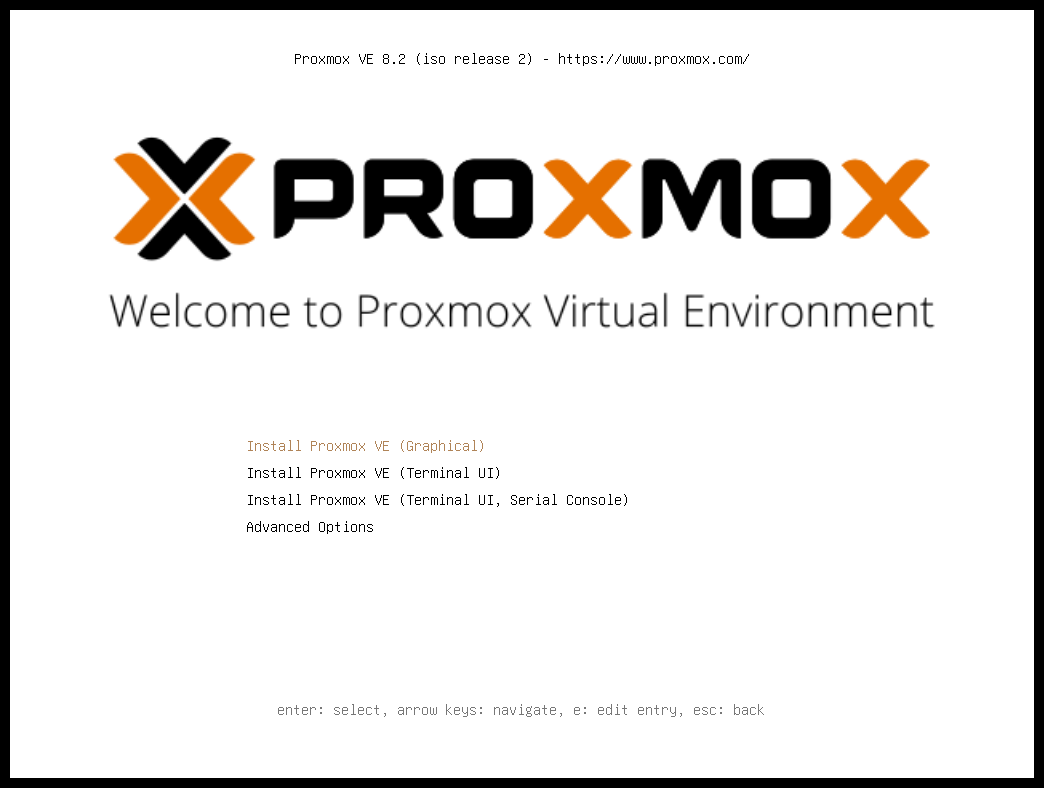
Build a Proxmox homelab on Intel NUC or mini PC. Step 1: Boot Installer from USB Flash Proxmox ISO to USB. Boot NUC and select Graphical Install. Boot from USB on NUC Step 2: Configure Network Set static IP for management interface during install. Network setup on NUC Step 3: Complete Installation Wait for packages to copy to NVMe, then reboot. Installation progress Step 4: First Login to Web UI Open https://NUC-IP:8006 and log in as root. First web UI login Image credits: All screenshots are original Proxmox VE 9.1-style illustrations created for Gnome IT Solutions. Each image matches its tutorial step. Not copied from third-party sources. Image credits: Screenshots are from the official Proxmox VE documentation (Proxmox GmbH), used under open documentation terms for educational pur...
Install Proxmox VE from Scratch on Bare Metal (Complete Guide)

Install Proxmox VE from Scratch on Bare Metal (Complete Guide)

Proxmox
This complete guide shows how to install Proxmox VE from scratch on bare metal hardware. Follow each step below with the official Proxmox installer screens. What You Need Before Starting 64-bit server with Intel VT-x or AMD-V enabled 8 GB+ RAM (16 GB+ recommended) Proxmox VE ISO from proxmox.com/downloads USB flash drive (8 GB+) — create boot media with Rufus or balenaEtcher Network cable connected to your management LAN Prepare Bootable USB Media Download the latest Proxmox VE ISO, flash it to USB, and boot your server from the USB drive. Enable USB boot in BIOS/UEFI if needed. # Linux example sudo dd if=proxmox-ve_*.iso of=/dev/sdX bs=1M status=progress Step 1: Boot from USB and Select Graphical Install Insert your Proxmox VE USB installer and boot the server. Select Inst...