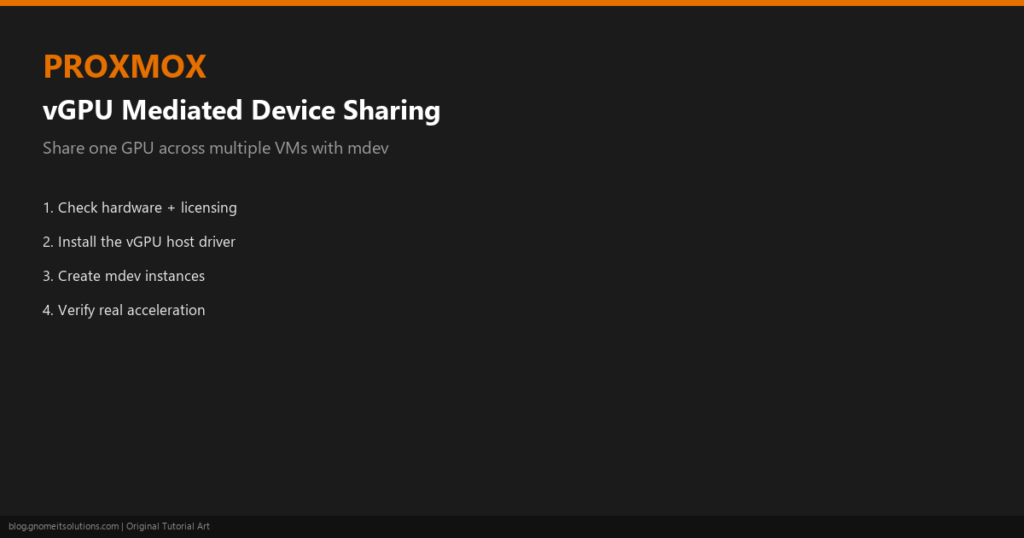
Our GPU passthrough
guide covers dedicating an entire physical GPU to a single VM via full PCI passthrough — the whole card,
exclusively, for as long as that VM is running. That’s the right answer when one VM genuinely needs full GPU
throughput, but it means every other VM on the host gets nothing, even a card capable of far more than one
workload actually uses. vGPU mediated-device (mdev) sharing is the middle path: the Linux
kernel’s vfio-mdev framework, exposed through mdevctl, lets a single physical GPU
be split into multiple virtual instances, each assigned to a different VM.
This guide covers the licensing and hardware reality check that comes before any configuration, listing
the mdev types your specific card actually supports, creating and assigning mdev instances to VMs, and the
verification steps that confirm a guest is actually seeing accelerated GPU output rather than a device that
registered but never initialized correctly.
Confirm Your Hardware and Licensing Actually Support vGPU
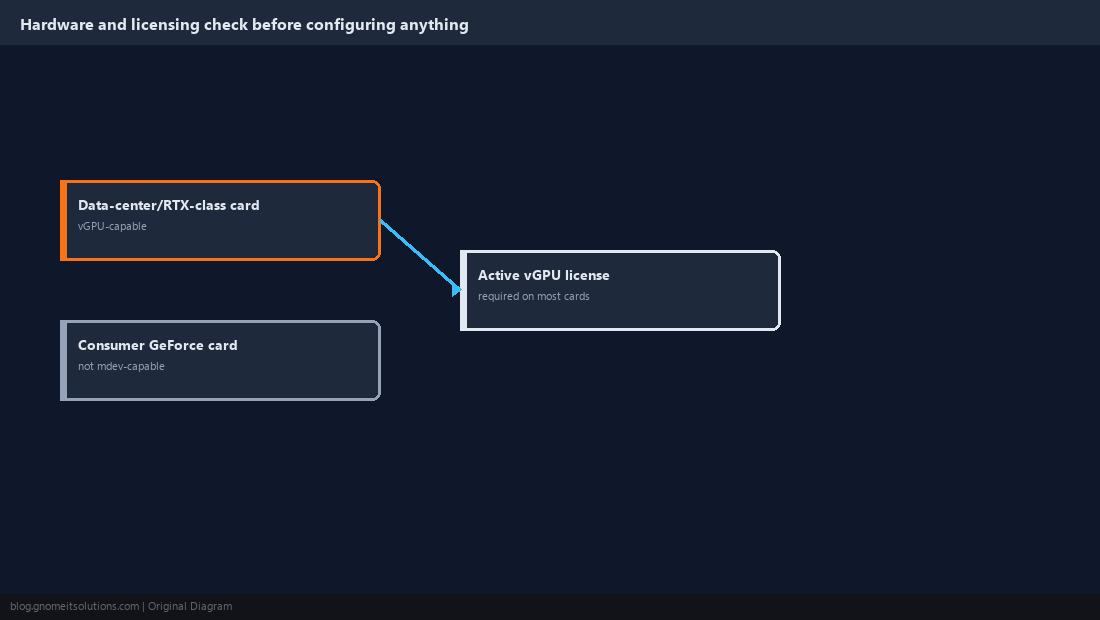
Mediated-device vGPU sharing depends entirely on the card and vendor driver, not on anything Proxmox itself controls — NVIDIA’s data-center and RTX/Quadro-class cards support it through a vGPU driver package that in most configurations requires an active NVIDIA vGPU software license tied to the card, while most consumer GeForce cards do not support mdev-based sharing at all regardless of driver version. Confirm both the card’s official vGPU support status and the licensing model before investing any setup time, since this is the single most common reason a vGPU project stalls partway through — the technical configuration works, but the card was never a supported SKU to begin with.
Install the Vendor’s vGPU Host Driver
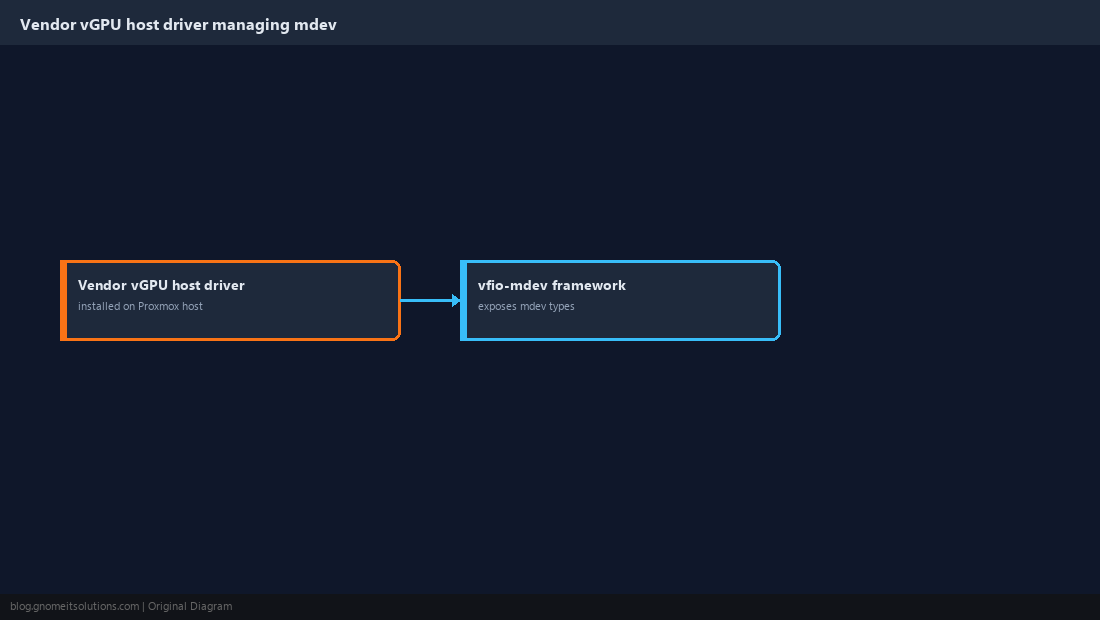
Install the vendor-supplied vGPU host driver package on the Proxmox host itself — this is a different package from a normal passthrough setup’s driver blacklisting approach, since the host driver here needs to actively manage the mdev framework rather than getting out of the way entirely. Follow the vendor’s specific installation steps for your card generation and Proxmox kernel version exactly, since a version mismatch between the vGPU host driver and the running kernel is a common source of the framework silently failing to expose any mdev types at all.
List the Mediated Device Types the Card Actually Offers
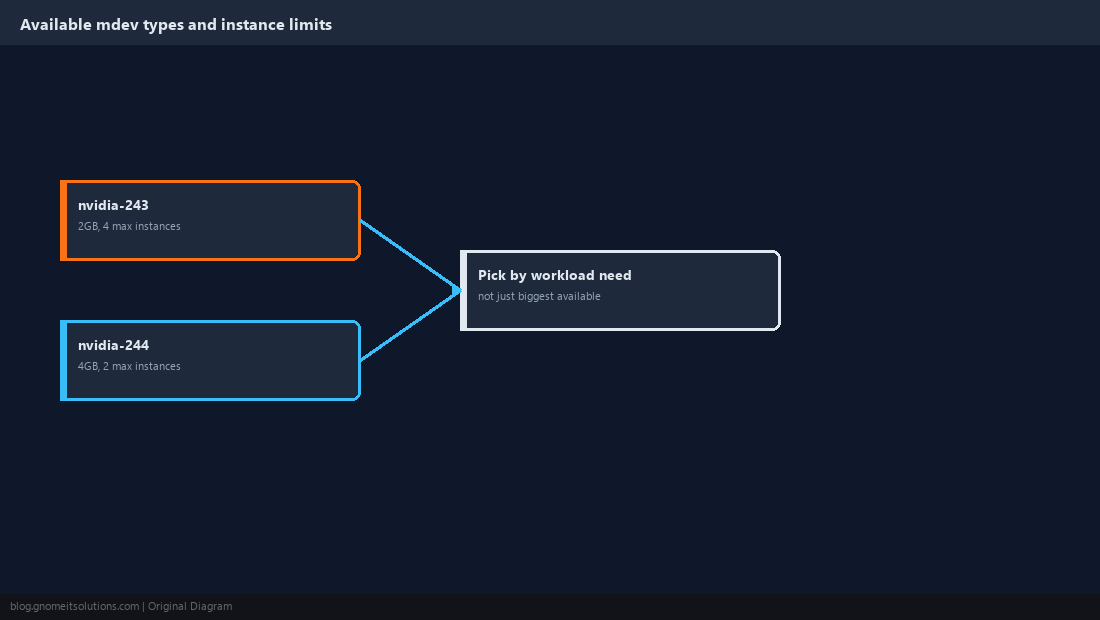
Once the host driver is installed, query the available mdev types for your specific GPU — the naming and framebuffer sizes vary by card generation, and the number of concurrent instances a given type supports is fixed by the vendor, not configurable:
# List mediated device types your GPU actually supports
mdevctl types
# example output on a supported NVIDIA card:
#   nvidia-243  (GRID RTX6000-2Q, 2GB framebuffer, 4 max instances)
#   nvidia-244  (GRID RTX6000-4Q, 4GB framebuffer, 2 max instances)
Pick a type based on how many VMs actually need GPU access and how much framebuffer each workload realistically needs — four VMs each running a lightweight accelerated workload might fit comfortably on four 2GB instances, while a heavier workload needs fewer, larger instances from the same physical card.
Create and Start an Mdev Instance
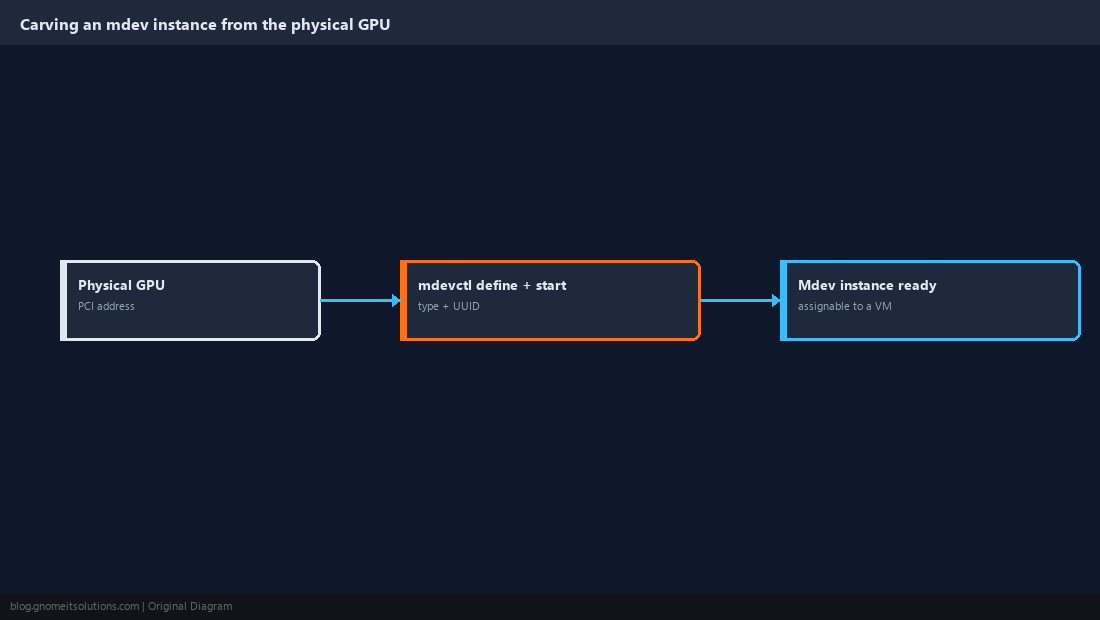
Define a mediated device against the physical GPU’s PCI address with a specific type and a UUID that will be referenced from the VM configuration in the next step:
# Create one 4GB vGPU instance from the physical GPU's PCI address
UUID=$(uuidgen)
mdevctl define --parent 0000:01:00.0 --type nvidia-244 --uuid "$UUID"
mdevctl start --uuid "$UUID"
mdevctl list -d
Use mdevctl define --auto equivalents or a startup hook if you need the instance re-created automatically after a host reboot, since mdev instances defined this way don’t necessarily persist across a full power cycle depending on how the vendor driver manages state.
Assign the Mdev Instance to a VM’s Configuration
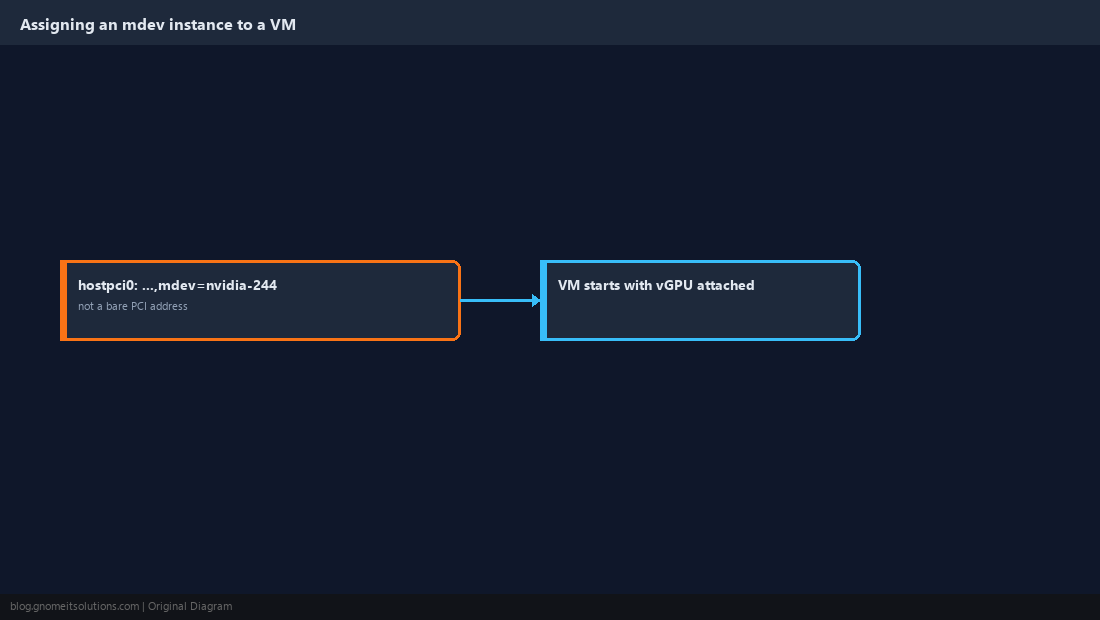
Add the mdev device to the target VM’s configuration file, referencing the mdev type rather than the bare PCI address the way full passthrough does — this is the key syntax difference from the PCI passthrough guide’s hostpci0 line:
# /etc/pve/qemu-server/<vmid>.conf snippet
hostpci0: 0000:01:00.0,mdev=nvidia-244
Start the VM and confirm the mdev device shows as active against that VM’s ID rather than sitting unattached, since a typo in the mdev type or UUID here fails at VM start with an error referencing the missing device rather than silently ignoring the line.
Install the Vendor Guest Driver Inside the VM
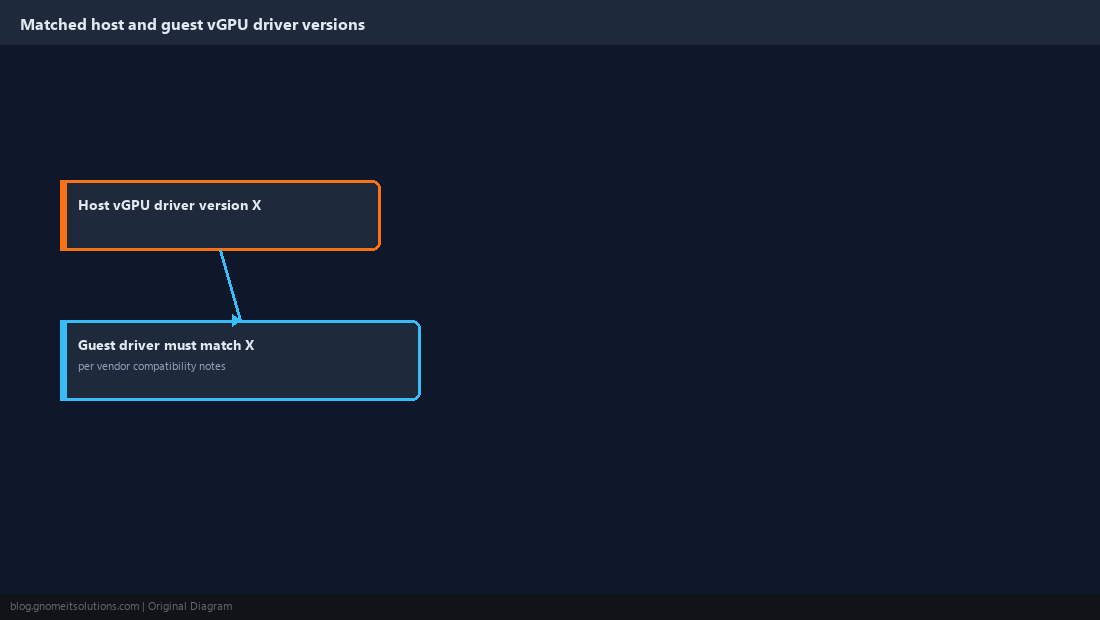
Inside the guest OS, install the matching vendor guest driver for a vGPU-enabled device — this is a distinct driver package from what a full-passthrough VM would use, since the guest needs to speak to a virtual device backed by the mdev framework rather than a physical card. Version mismatches between the host driver from Step 2 and the guest driver here are a common source of a device that appears in the guest’s device manager but never actually initializes, so pin both to versions the vendor’s release notes list as compatible together rather than mixing arbitrary versions.
Verify the Guest Is Actually Accelerated, Not Just Registered
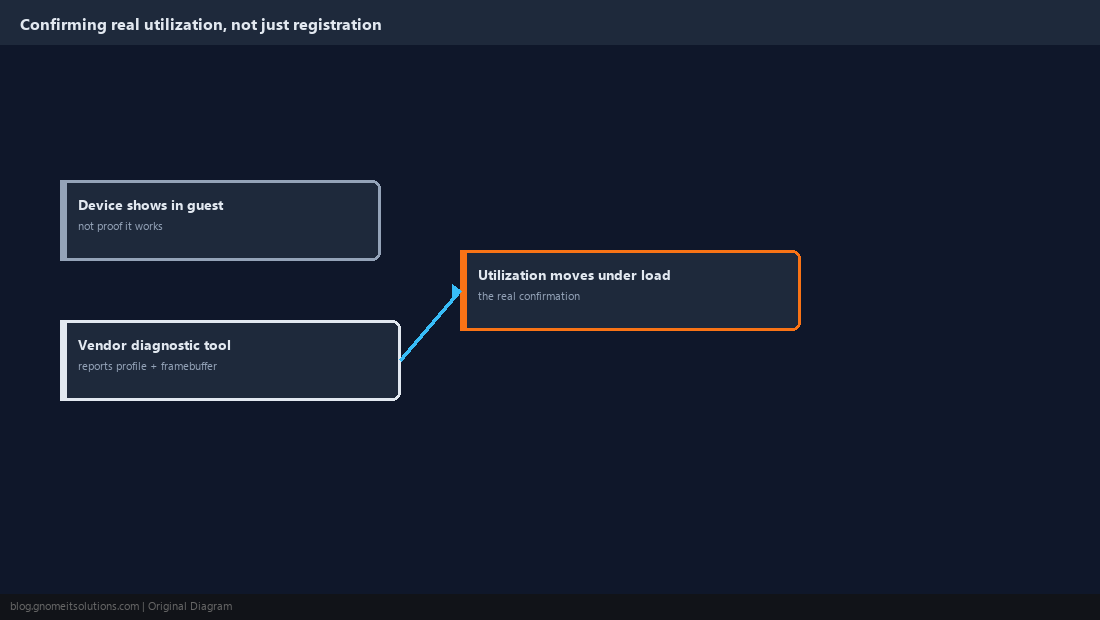
A device showing up without errors in the guest’s device manager doesn’t confirm acceleration is working — run the vendor’s own diagnostic utility inside the guest (most vGPU-capable vendors ship one) and confirm it reports the correct vGPU profile, framebuffer size, and an active, non-zero utilization figure during a real workload. Place an actual accelerated task through the guest — a render job, an inference run, whatever the VM’s real purpose is — and confirm GPU utilization on the host actually moves for that mdev instance specifically, not just system-wide.
Plan Instance Allocation Before It Becomes a Support Ticket Queue
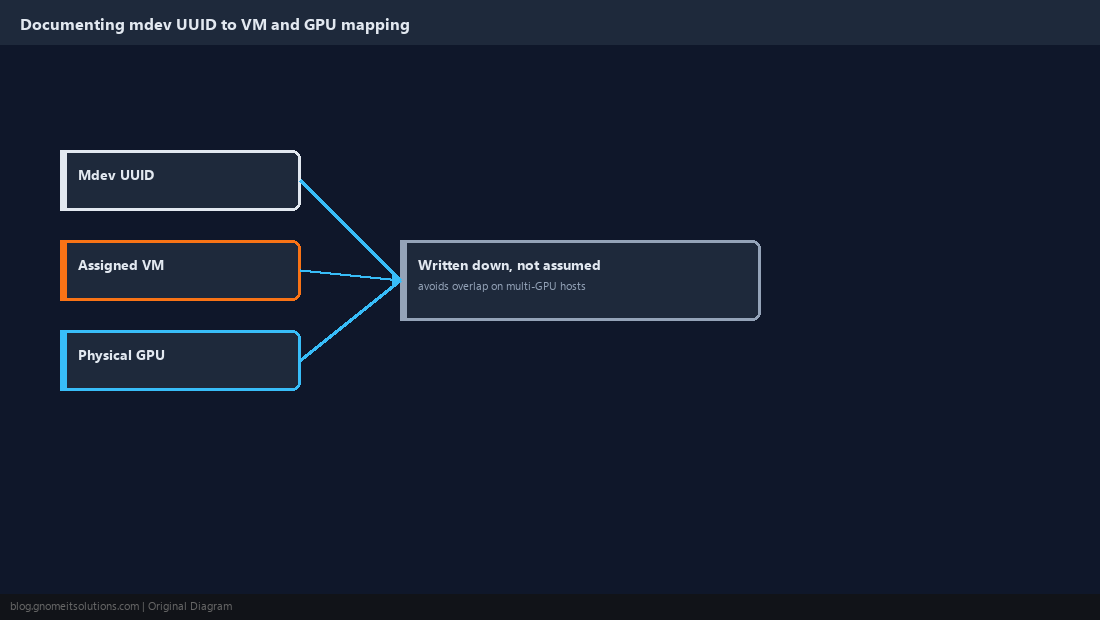
Document which mdev UUID is assigned to which VM and which physical GPU it draws from, especially on a host with more than one GPU — an mdev instance accidentally created against the wrong card, or two VMs pointed at instances that exceed the card’s actual concurrent-instance limit, both fail in ways that are confusing to debug without that mapping already written down. Treat mdev allocation with the same planning discipline as IP address or storage allocation, since a shared GPU is exactly the kind of finite, contended resource that causes recurring confusion once more than a couple of VMs are drawing from it.
vGPU vs. Full Passthrough
Full PCI passthrough   whole card, one VM, no sharing, works on consumer GPUs
vGPU mdev sharing      card split into instances, multiple VMs, needs vendor
                       vGPU driver + licensing on most data-center/RTX cards
Related tutorials
Image credits: Screenshots are from the official
Proxmox VE documentation
(Proxmox GmbH), used under open documentation terms for educational purposes.
Tutorial text and layout © Gnome IT Solutions.