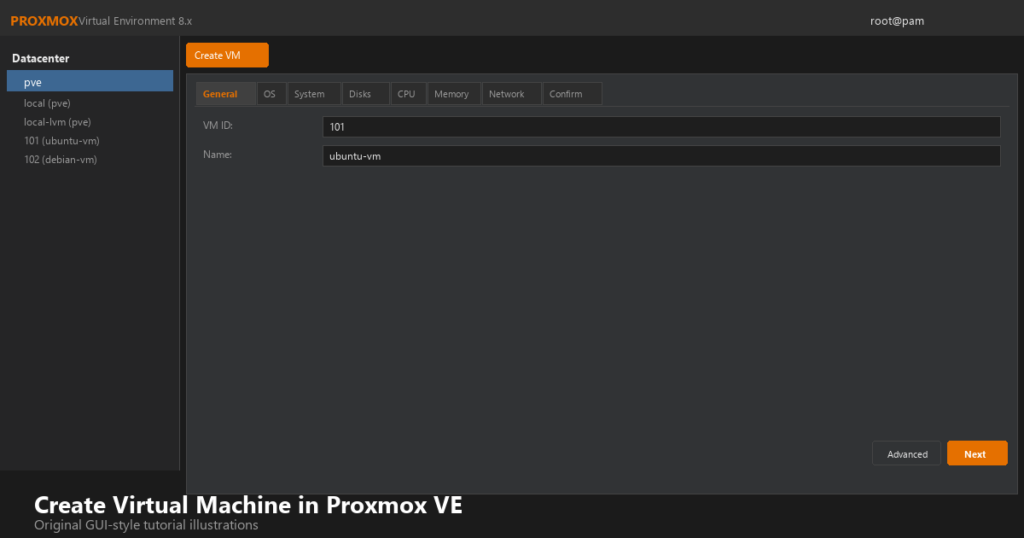
Proxmox Virtual Environment (Proxmox VE) is one of the most popular open-source platforms for running virtual machines and containers. If you are new to Proxmox, this guide shows you exactly how to create a virtual machine in Proxmox from start to finish.
What You Will Learn
- How to access the Proxmox web interface
- How to launch the Create VM wizard
- How to attach an ISO and configure OS settings
- How to set CPU, memory, disk, and network options
- How to install the guest OS and verify the VM is running
Prerequisites Before You Create a VM in Proxmox
- A Proxmox VE host (bare metal or nested lab environment)
- Admin access to the Proxmox web UI (port 8006)
- An ISO file uploaded to Proxmox storage (Ubuntu, Debian, AlmaLinux, etc.)
- Enough host resources (CPU, RAM, and disk space) for the new VM
Step 1: Log In to the Proxmox Web Interface
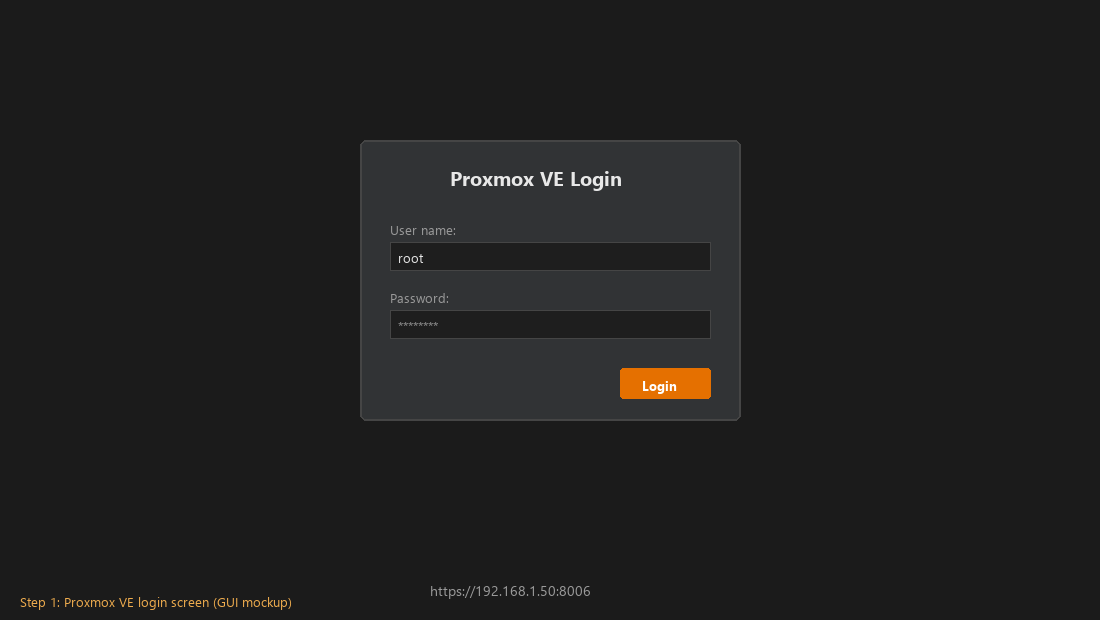
Open your browser and connect to your Proxmox server:
https://YOUR-PROXMOX-IP:8006Sign in with your Proxmox credentials. After login, select your node from the left sidebar. You should see options such as Summary, Shell, and Create VM.
Step 2: Start the Create VM Wizard
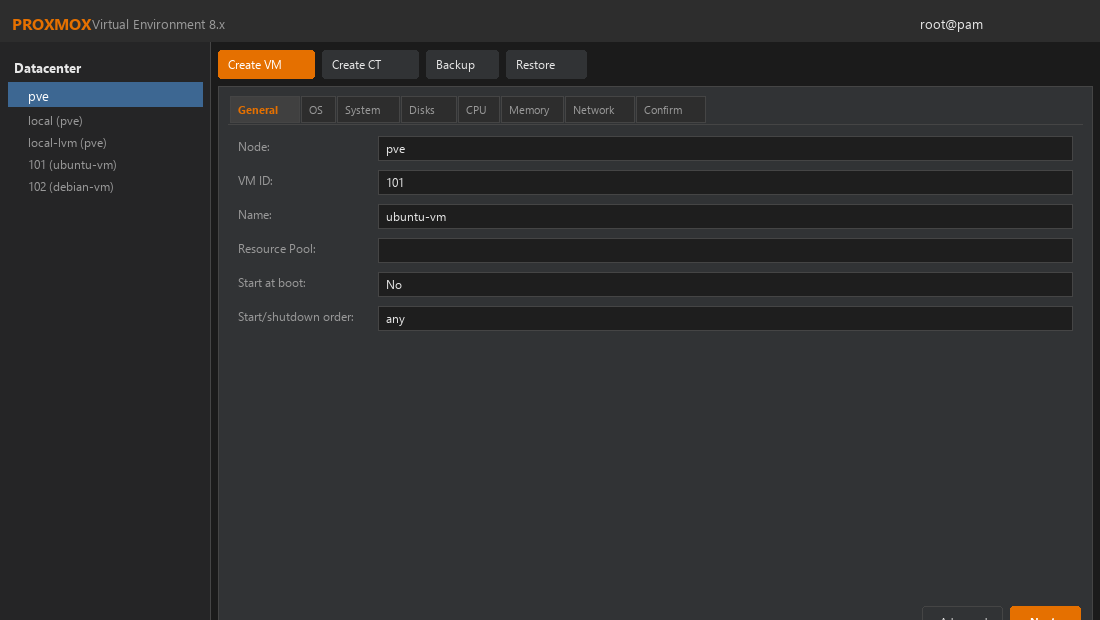
Click Create VM in the top toolbar. The wizard opens on the General tab. Assign a unique VM ID and a descriptive name.
- VM ID: 101 (must be unique on the node)
- Name: ubuntu-vm (example)
Step 3: Select ISO and Configure the Guest OS
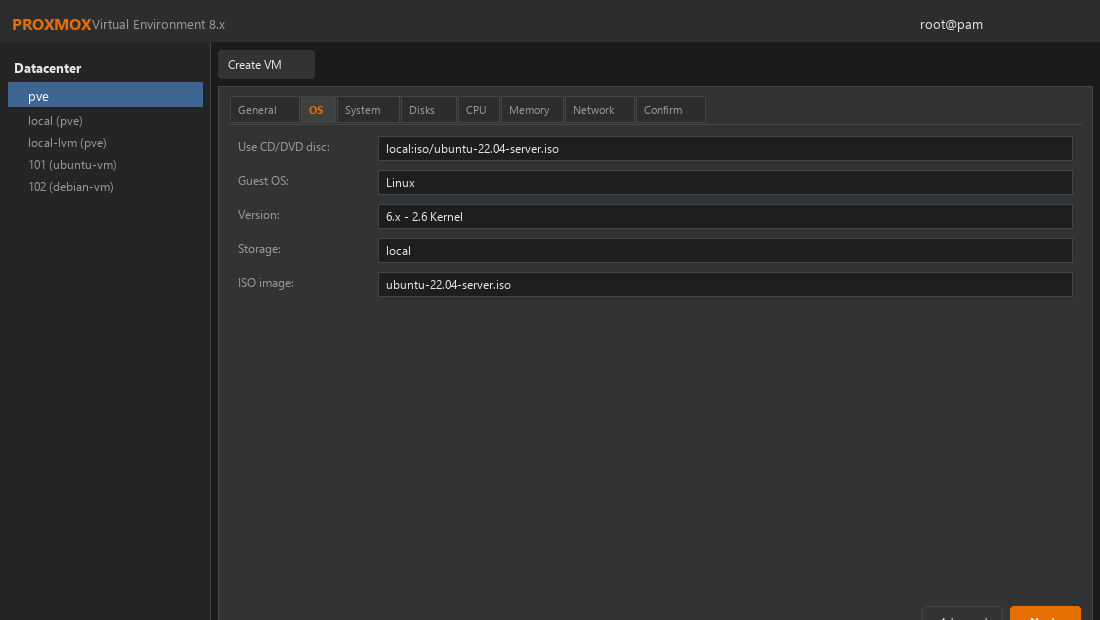
Go to the OS tab. Choose the storage location that contains your ISO image, then select the ISO file. Set the guest OS type to match your installer (Linux or Windows).
Recommended settings
- Storage:
localor your ISO storage pool - ISO image: e.g.
ubuntu-22.04-server.iso - Guest OS: Linux
Step 4: Configure CPU, Memory, and Disk
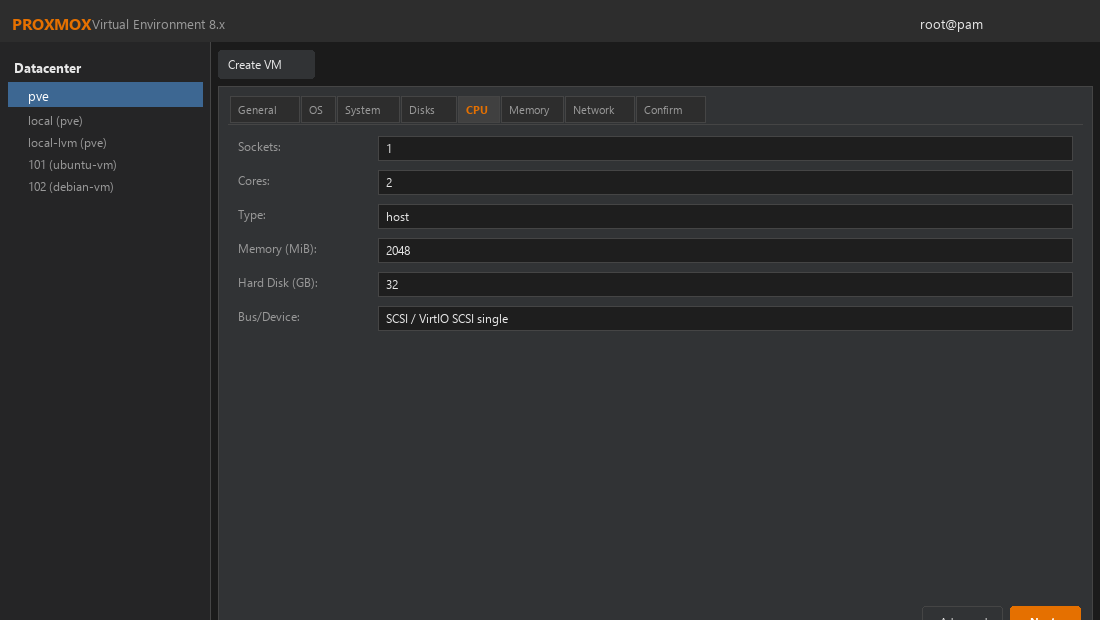
Configure hardware resources based on your workload. For a basic Linux lab VM, these values are a good starting point:
CPU and memory
- CPU cores: 2
- Memory: 2048 MiB (2 GB)
Disk configuration
- Disk size: 32 GB (adjust as needed)
- Bus/Device: VirtIO SCSI (recommended for Linux)
- Cache: Default or Write back (for lab use)
On the System tab, you can enable the Qemu Guest Agent after OS installation for better integration.
Step 5: Configure Network and Finish VM Creation
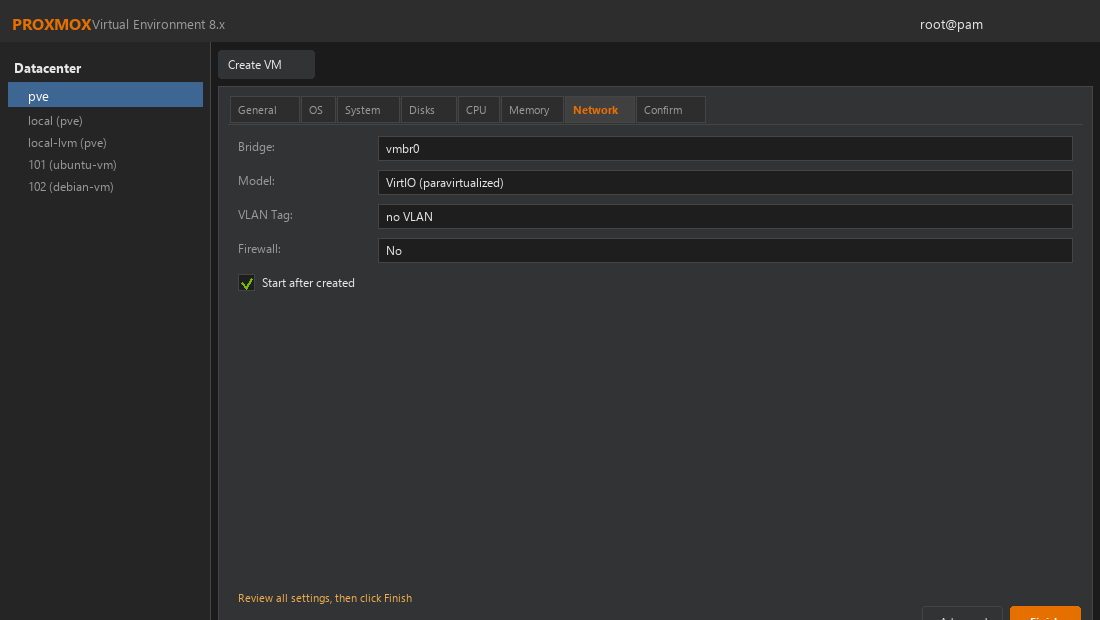
Open the Network tab and attach the VM to your default bridge (usually vmbr0). Use VirtIO for best performance on Linux guests.
Bridge: vmbr0
Model: VirtIO (paravirtualized)
Firewall: optional (enable if required)
Review all wizard tabs, enable Start after created if you want the VM to boot immediately, then click Finish.
Step 6: Install the Guest OS and Verify the VM
After the VM is created, open the Console from the Proxmox UI and complete the operating system installation. When finished, verify network connectivity inside the guest:
ping -c 3 8.8.8.8
ip a
On the Proxmox host, confirm the VM is listed and running:
qm list
qm status 101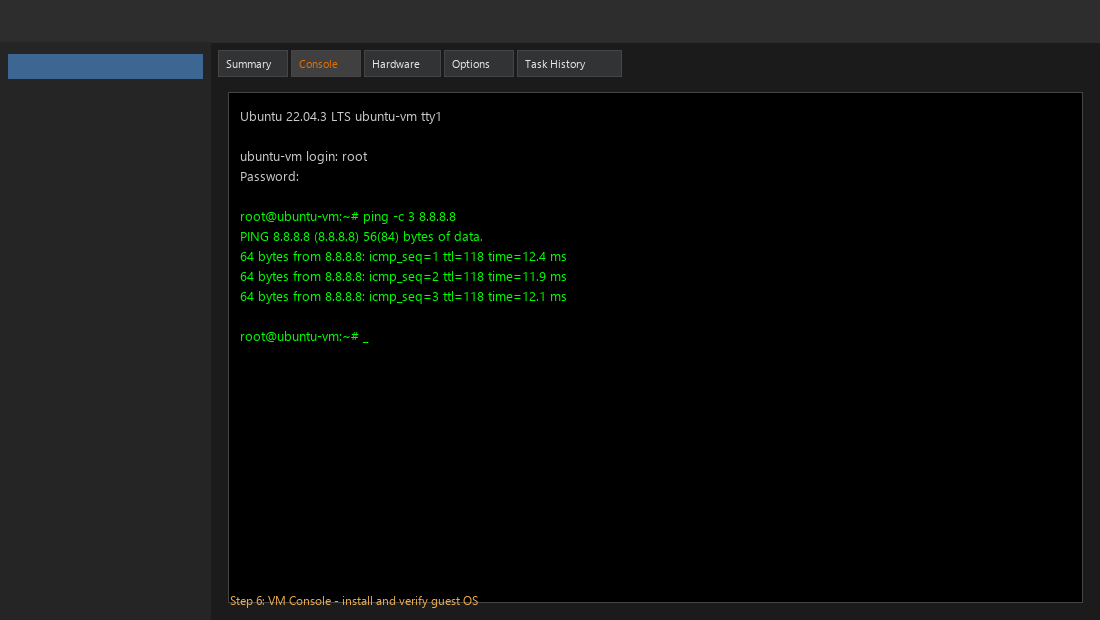
Proxmox VM Creation Troubleshooting
VM does not start after creation
- Check if the ISO is valid and accessible in storage
- Verify enough free disk space on the target storage pool
- Review VM hardware settings for unsupported combinations
No network inside the guest OS
- Confirm the VM is attached to the correct bridge (
vmbr0) - Install VirtIO network drivers if needed (common on Windows guests)
- Check host firewall rules and VLAN configuration
ISO not visible in the OS tab
- Upload the ISO to Proxmox storage first (Datacenter → Storage → Content → Upload)
- Ensure the storage pool allows ISO content type
Best Practices for Proxmox Virtual Machines
- Use VirtIO devices for disk and network on Linux guests
- Install the Qemu Guest Agent after OS setup
- Take a snapshot before major changes or updates
- Plan VM IDs and naming conventions for easier management
- Monitor host resource usage before deploying many VMs
Conclusion
You now know how to create a virtual machine in Proxmox using the web UI wizard—from ISO selection to network setup and OS installation. This workflow is the foundation for building home labs, test environments, and production virtualization platforms on Proxmox VE.
Explore more Proxmox tutorials on our blog for backup strategies, storage management, and VM migration guides.
All GUI images in this tutorial are original Proxmox VE-style illustrations created for this guide. They mirror the real Proxmox web interface layout for educational use.