Proxmox VE ships with a self-signed certificate, so every login starts with a browser warning — and people learn to click
through warnings, which is exactly the habit an attacker wants. The built-in ACME client can obtain and renew a trusted
Let’s Encrypt certificate for the web UI without installing certbot on the host.
This guide covers the account, the challenge type (including DNS-01 for hosts that are not on the public internet), attaching the domain to a node,
and checking renewal. It pairs with our host hardening checklist and
two-factor setup.
How Proxmox ACME Works
The node proves control of a domain to Let’s Encrypt, receives a certificate, and installs it for pveproxy. Renewal is handled by a Proxmox timer.
  pve node --(challenge)--> Let's Encrypt
  pve node <--(certificate)-- Let's Encrypt
  pveproxy serves the trusted certificate on :8006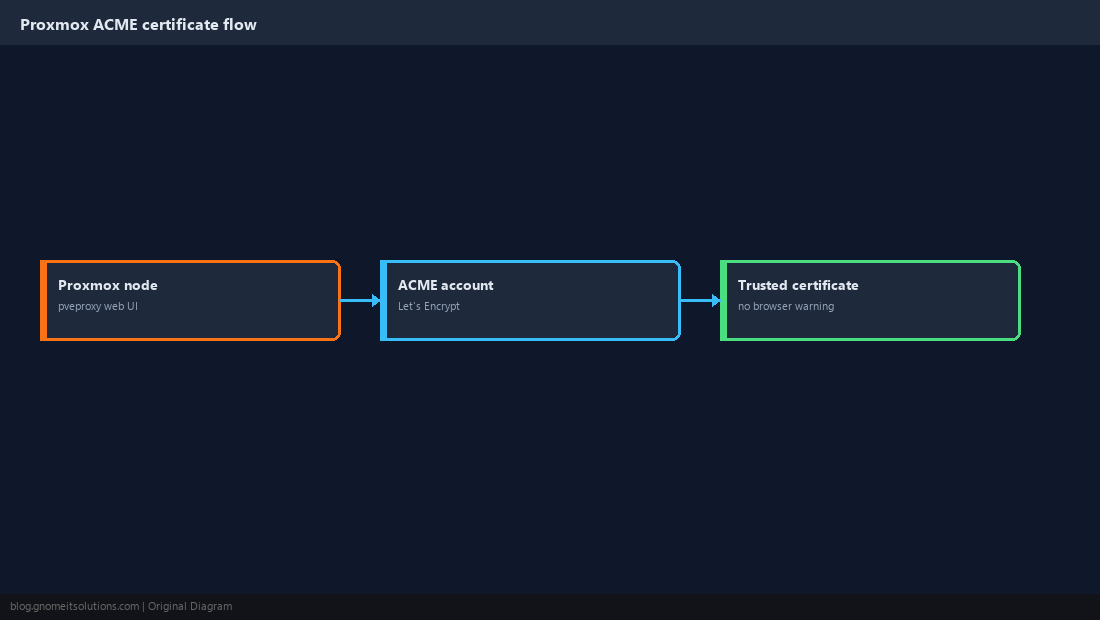
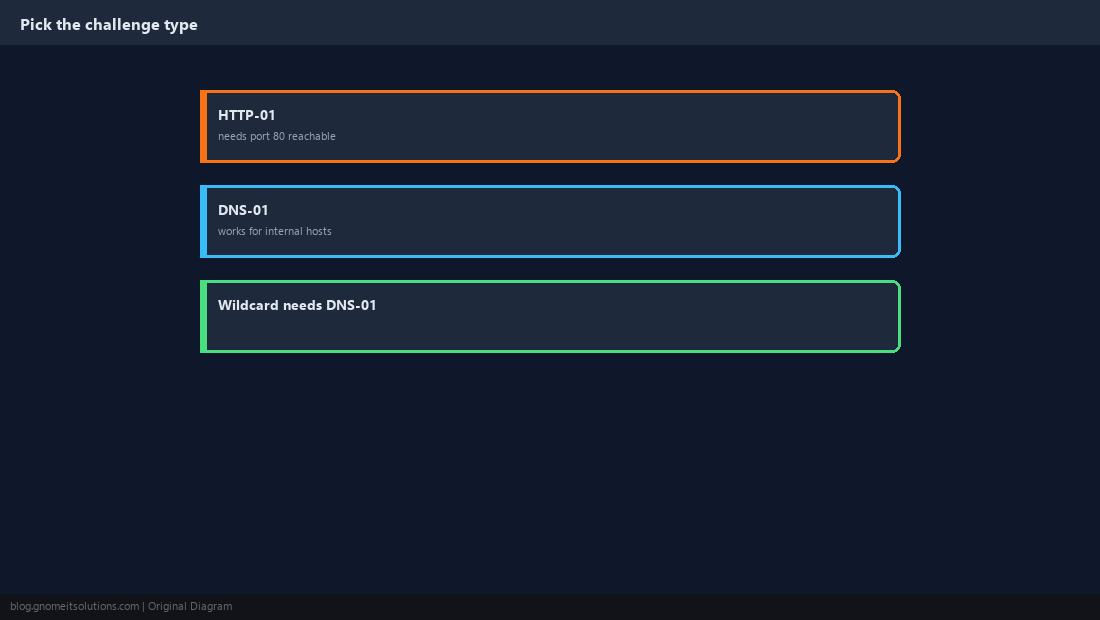
Choose HTTP-01 or DNS-01
HTTP-01 needs the node reachable on port 80 from the internet. DNS-01 only needs a DNS record, so it works for internal hosts and is the only way to get wildcard certificates.
Register an ACME Account
Use the staging directory first: it has generous rate limits and issues untrusted certificates that prove the workflow works.
pvenode acme account register staging [email protected] --directory https://acme-staging-v02.api.letsencrypt.org/directorypvenode acme account register default [email protected]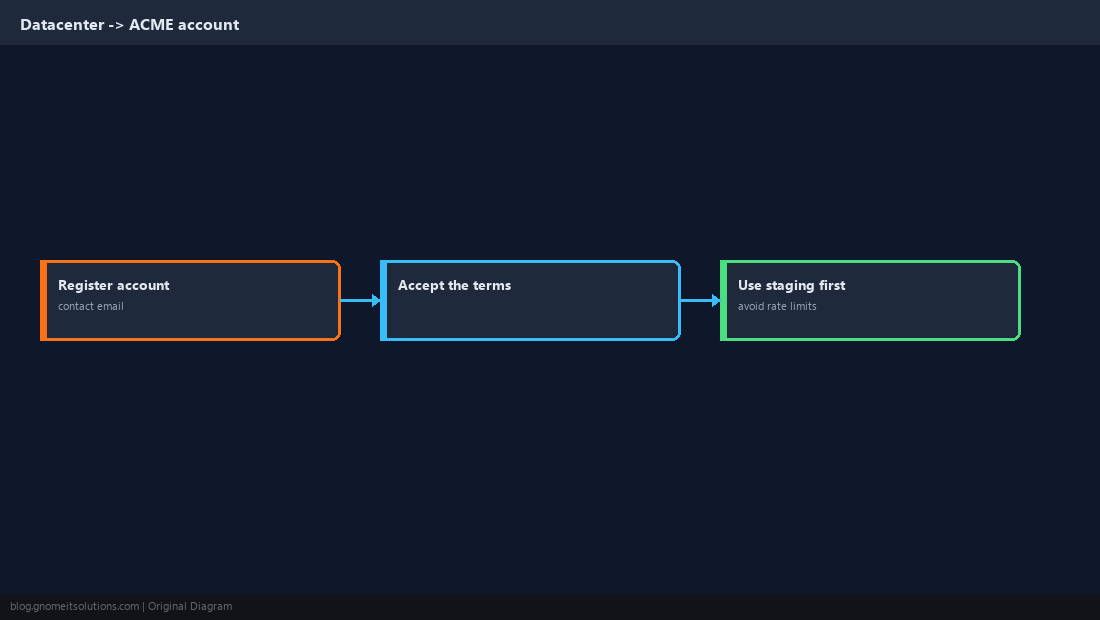
Add a DNS Challenge Plugin
Create a token at your DNS provider scoped to editing DNS records only, never your account password. Store it in a file readable by root.
CF_Token=REPLACE_WITH_SCOPED_TOKENchmod 600 /root/cf-token.txt
pvenode acme plugin add dns mydns --api cf --data /root/cf-token.txt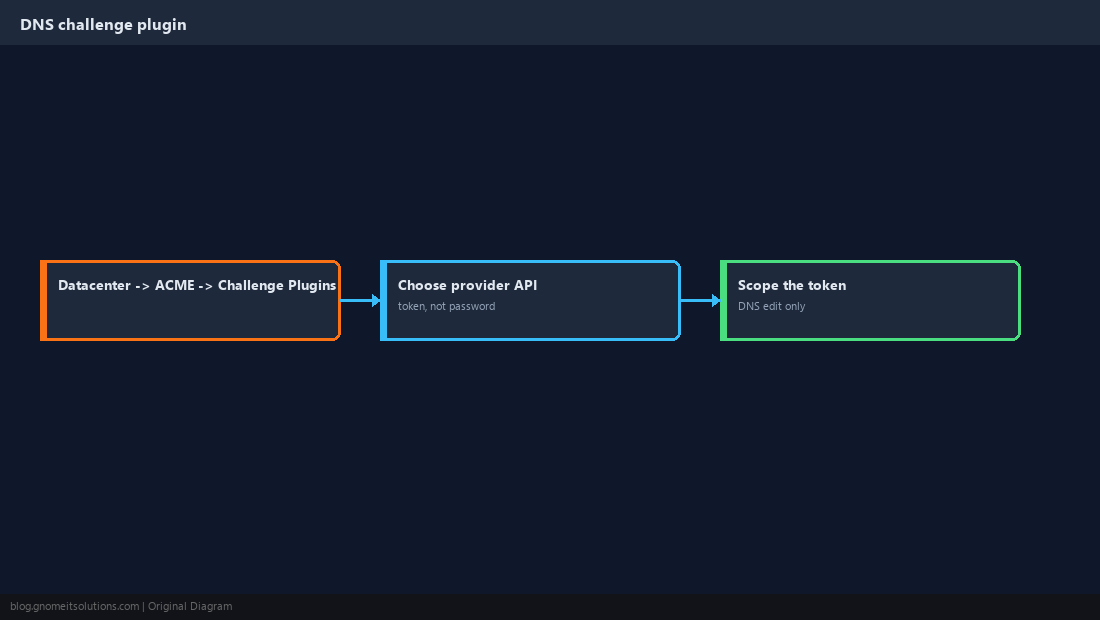
Attach the Domain to the Node and Order
The FQDN must resolve to (or be controlled through) your DNS zone. Bind it to the plugin, then order.
pvenode config set --acmedomain0 domain=pve1.example.com,plugin=mydns
pvenode acme cert order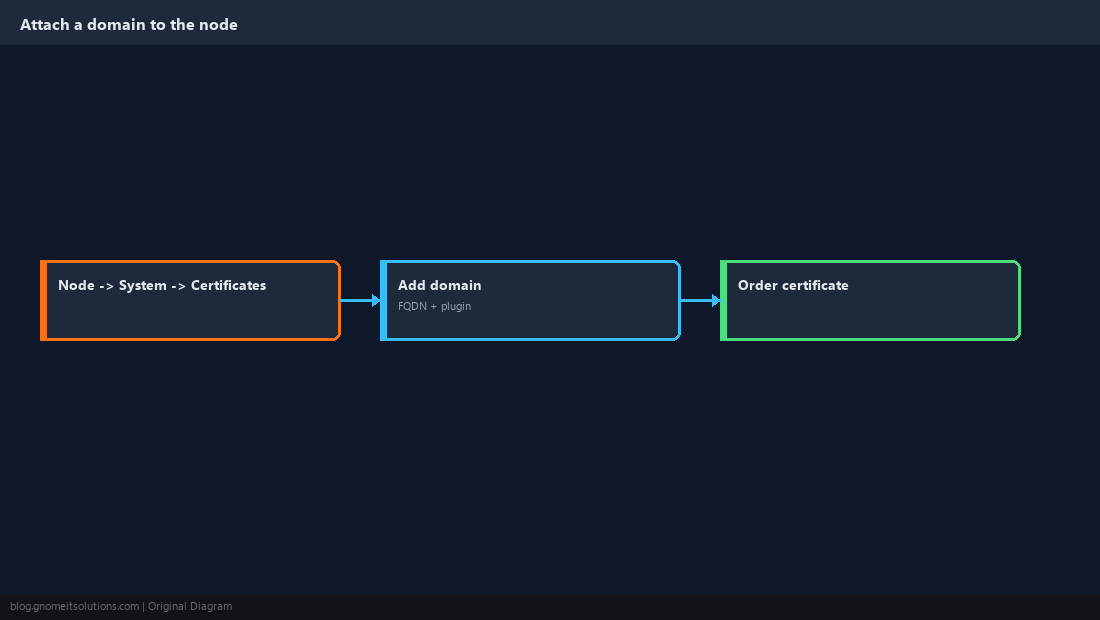
Verify the Certificate
Refresh the browser and confirm the padlock, then check the issuer and expiry from the shell.
pvenode cert info
systemctl status pveproxy --no-pager | head -5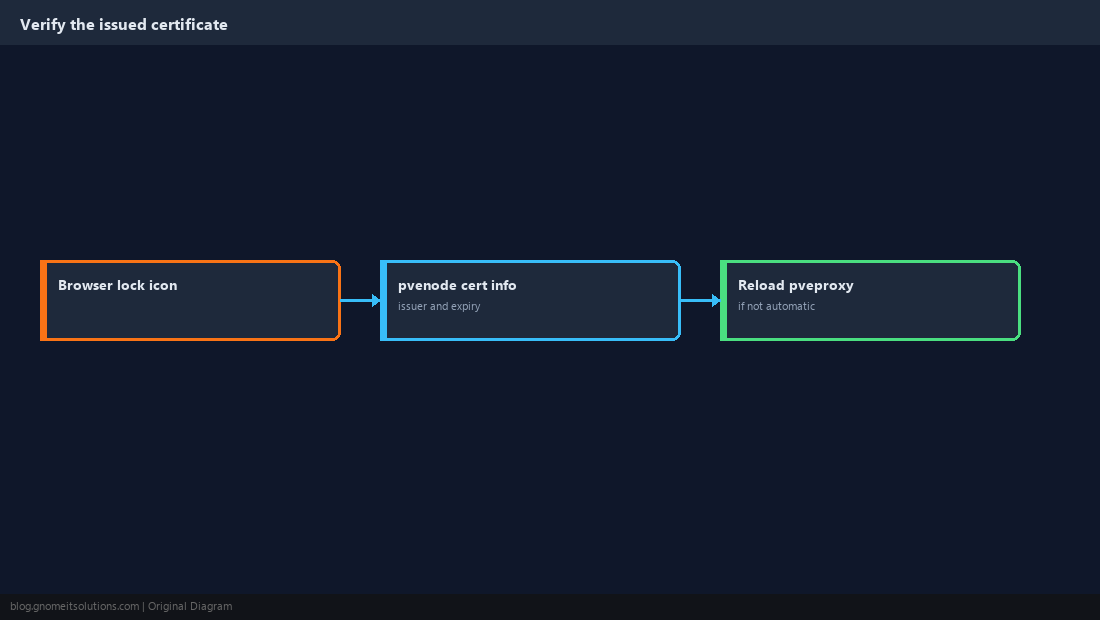
Confirm Automatic Renewal
Proxmox renews certificates automatically before they expire. Confirm the timer exists and route failures to a notification target (see our notifications guide).
systemctl list-timers | grep -i pve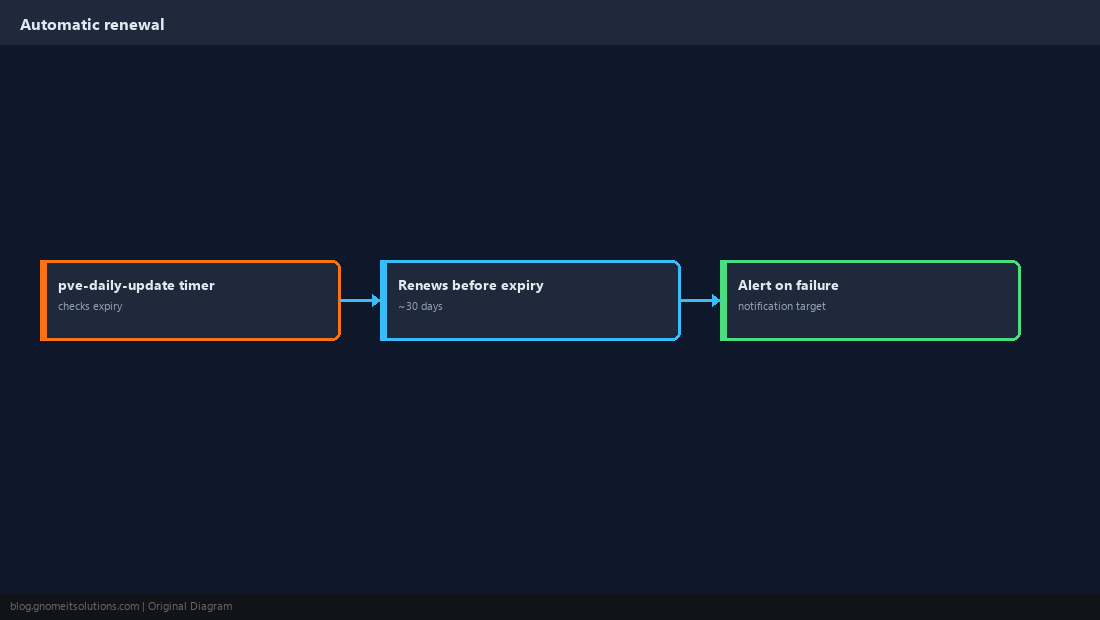
ACME in a Cluster
Certificates are per node because each node has its own FQDN. Reuse the same DNS plugin (it is stored in cluster-wide config) and order for each node in turn.
pvenode config set --acmedomain0 domain=pve2.example.com,plugin=mydns
pvenode acme cert order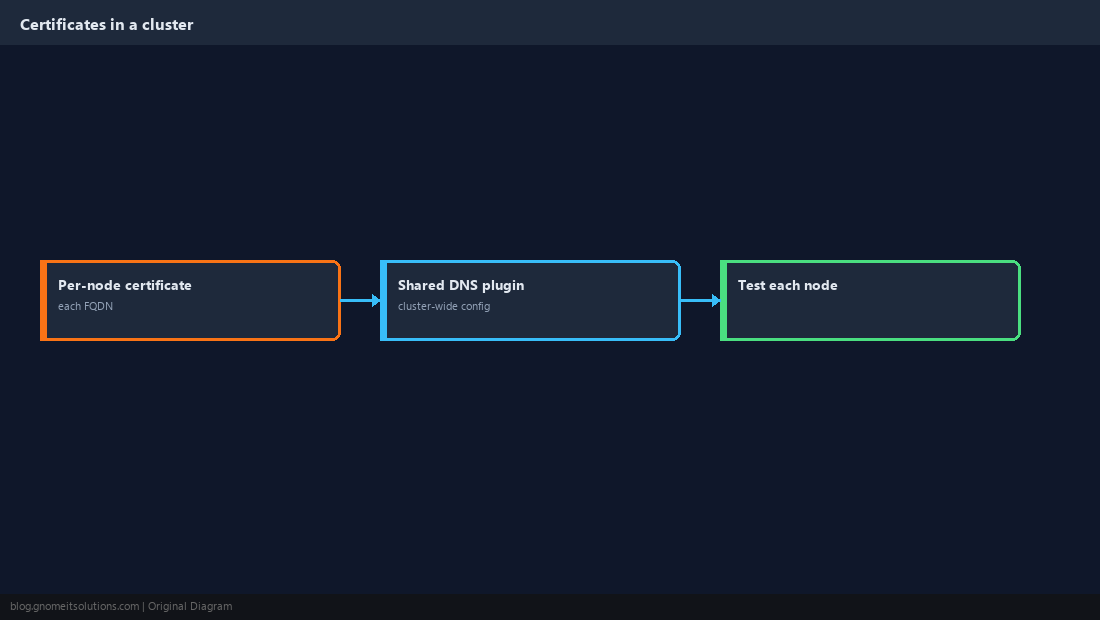
Quick Reference
- DNS-01 with a scoped token; staging first; one FQDN per node
- Verify with
pvenode cert info; alert on renewal failure
Related tutorials
Diagrams are original illustrations by Gnome IT Solutions. Tutorial text © Gnome IT Solutions.