Our K3s on Proxmox LXC guide covers a lightweight Kubernetes distribution good for homelab and dev. kubeadm builds the real thing — a standard upstream Kubernetes cluster, the same tool used to bootstrap production clusters at scale. It’s more manual than K3s, but that manual process is exactly what teaches you how Kubernetes actually fits together.
This guide builds a 3-node cluster (1 control plane, 2 workers) on plain Linux VMs — works identically whether those VMs are on Proxmox, bare metal, or any cloud provider.
What you’ll need
- 3 Linux VMs or servers (Ubuntu 22.04/24.04 or AlmaLinux 9), 2 vCPU / 4 GB RAM minimum each
- All nodes able to reach each other over the network, with unique hostnames
- Root or sudo access on every node
Step 1: Plan the Cluster
Decide your topology up front: one node as control plane (cp1) and two as workers (worker1, worker2). Every node needs a unique hostname and MAC address — cloned VMs that skipped this step are the most common cause of confusing join failures later.
Step 2: Prepare Every Node
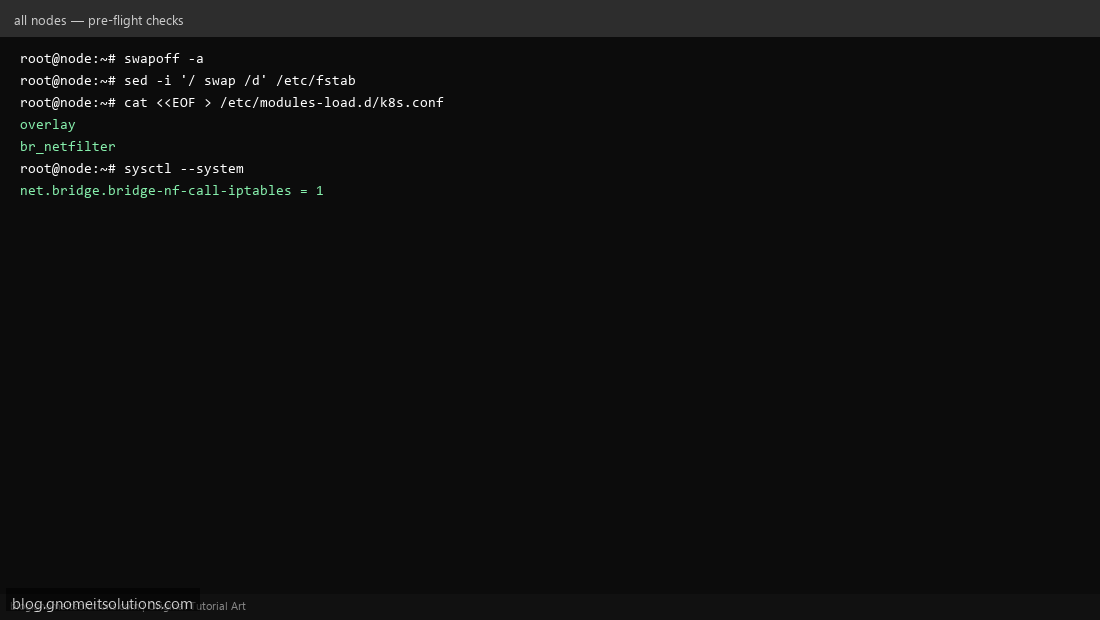
On all three nodes: disable swap permanently (swapoff -a and remove the swap line from /etc/fstab — kubelet refuses to start with swap enabled), load the overlay and br_netfilter kernel modules, and set the required sysctl values (net.bridge.bridge-nf-call-iptables=1) so pod network traffic traverses iptables correctly.
Step 3: Install containerd as the Container Runtime
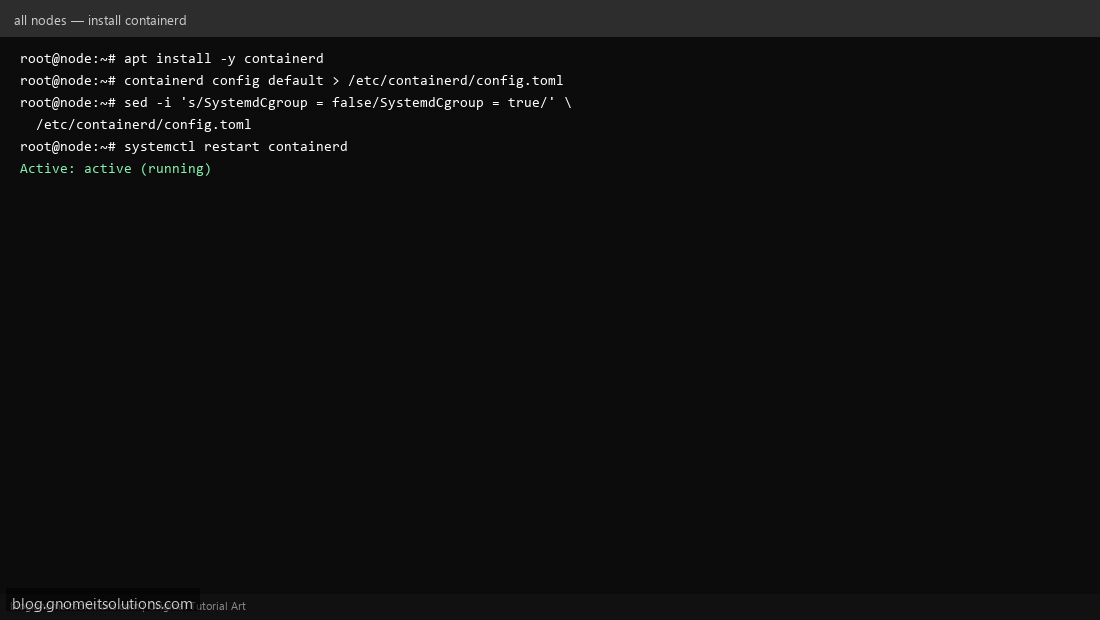
Kubernetes needs a CRI-compatible container runtime. Install containerd on all nodes, generate its default config (containerd config default > /etc/containerd/config.toml), and set SystemdCgroup = true — this must match kubelet’s cgroup driver or pods will fail to schedule with a cryptic cgroup error.
Step 4: Install kubeadm, kubelet, and kubectl
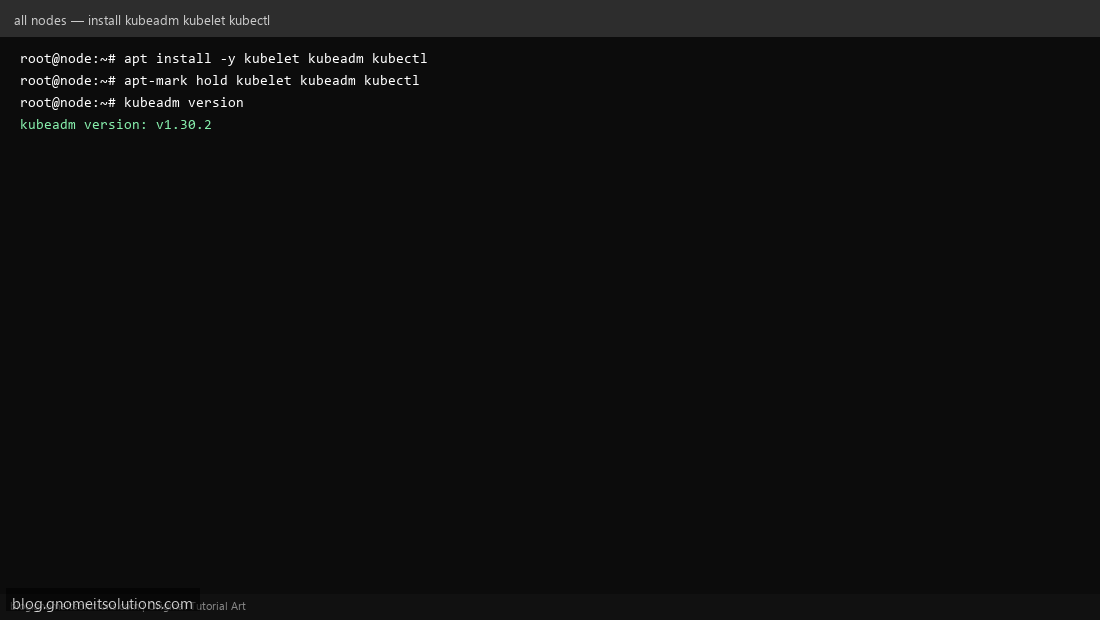
Add the official Kubernetes apt repository and install all three packages on every node, then apt-mark hold them so a routine apt upgrade doesn’t silently jump you to an incompatible Kubernetes minor version mid-cluster-life.
Step 5: Initialize the Control Plane
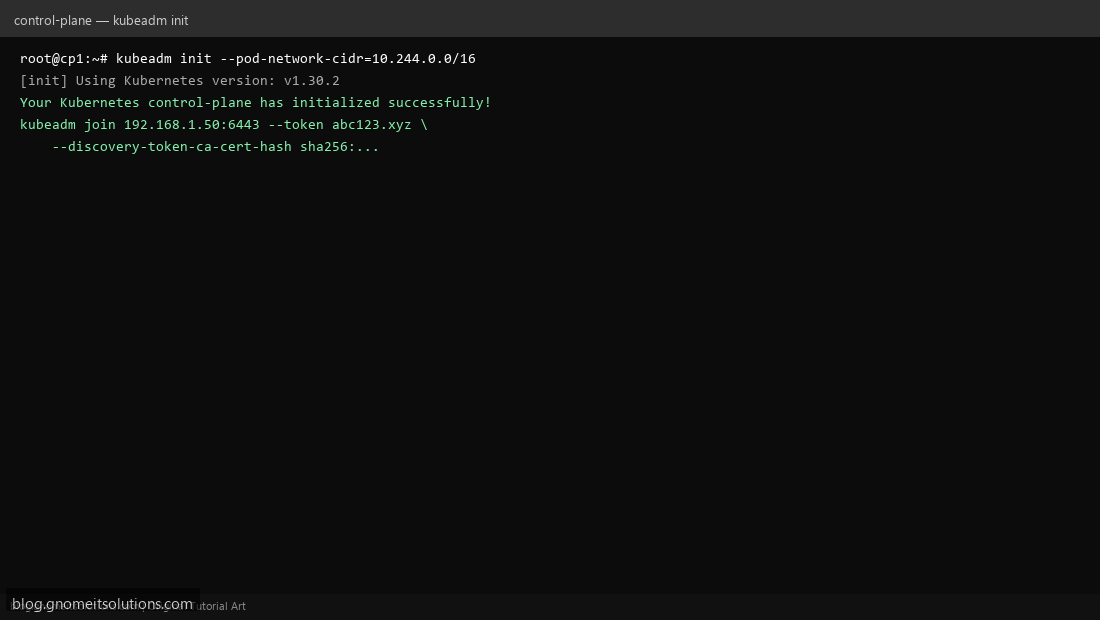
On cp1 only: kubeadm init --pod-network-cidr=10.244.0.0/16 (this CIDR matches Flannel/Calico’s default — adjust if your chosen CNI differs). This bootstraps etcd, the API server, scheduler, and controller-manager, and prints a kubeadm join command with a token — save that output, you’ll need it for every worker.
Step 6: Install a Pod Network Add-on
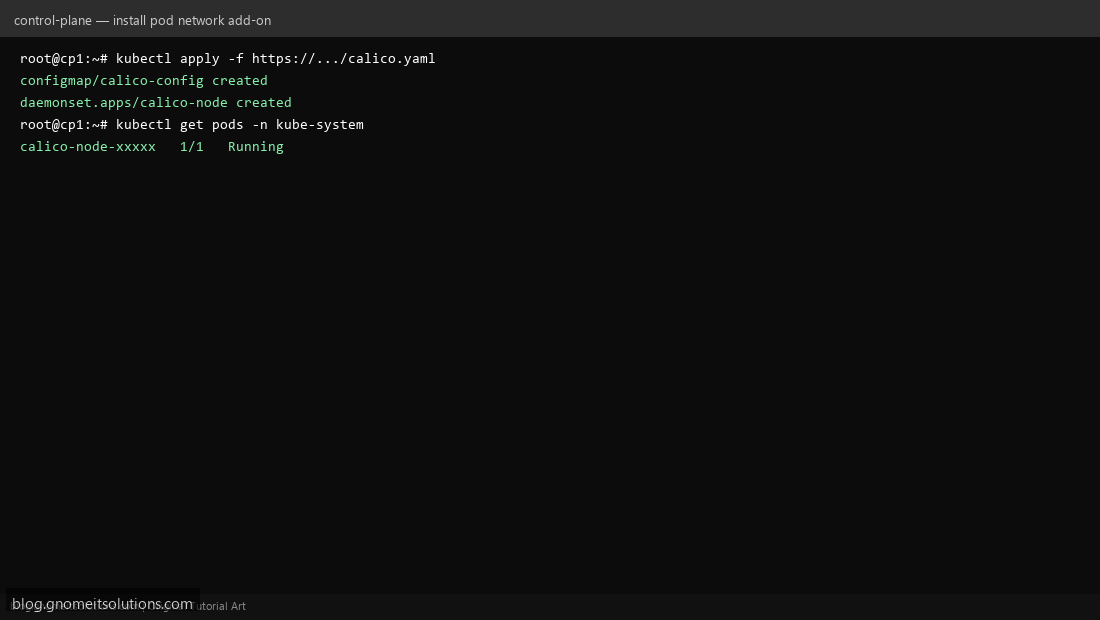
The cluster has no pod networking until you apply a CNI plugin. Apply Calico’s manifest with kubectl apply -f, then watch kubectl get pods -n kube-system until every calico-node pod shows Running — nodes stay NotReady until the CNI is up.
Step 7: Join the Worker Nodes
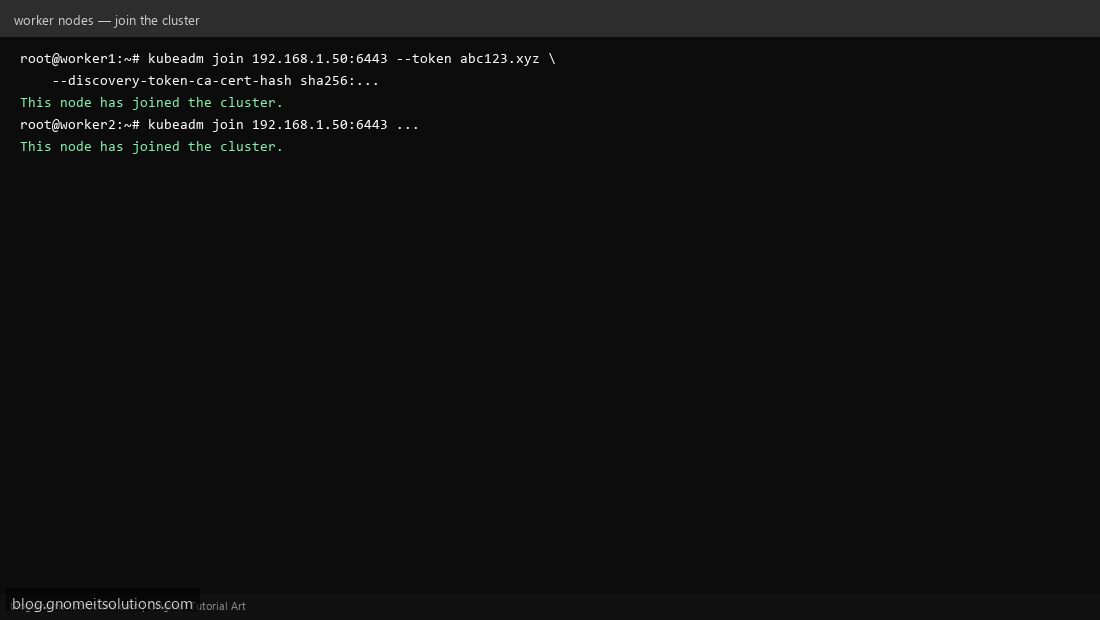
On worker1 and worker2, run the exact kubeadm join ... command printed during kubeadm init. If you lost it, regenerate one from the control plane with kubeadm token create --print-join-command — join tokens expire after 24 hours by default.
Step 8: Verify the Cluster and Deploy a Test App
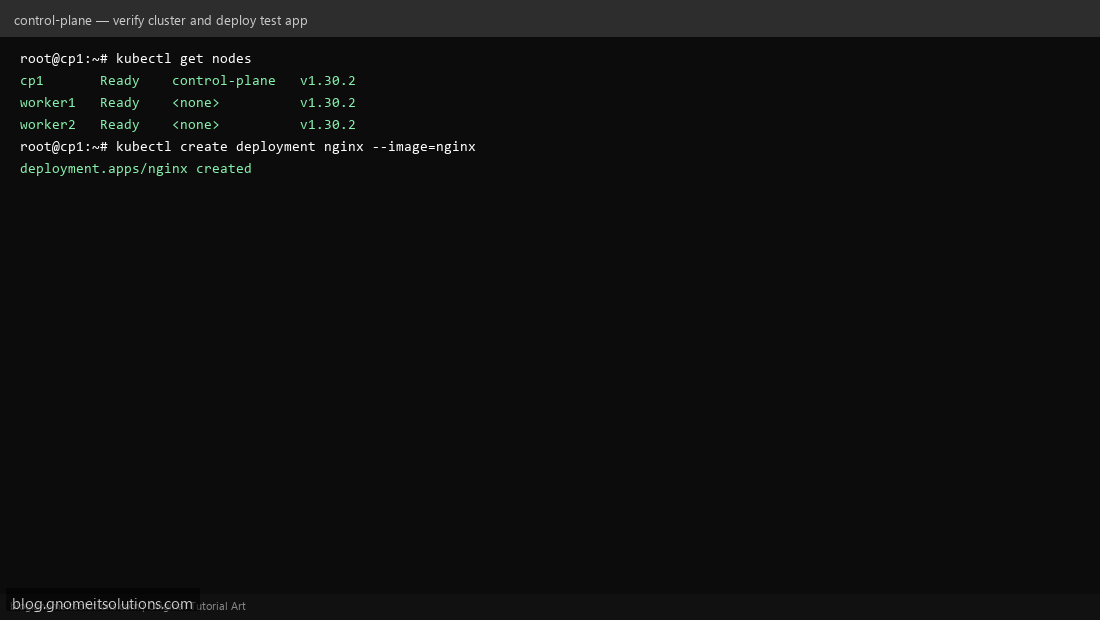
From cp1: kubectl get nodes should list all three nodes as Ready. Deploy a smoke-test workload: kubectl create deployment nginx --image=nginx and confirm it schedules onto a worker node with kubectl get pods -o wide.
Command reference
# Control plane init
kubeadm init --pod-network-cidr=10.244.0.0/16

# Get kubeconfig for your own user
mkdir -p $HOME/.kube
cp -i /etc/kubernetes/admin.conf $HOME/.kube/config

# Regenerate a join command if the original expired
kubeadm token create --print-join-command

# Verify
kubectl get nodes
kubectl get pods -A
kubeadm vs K3s — which to use
- kubeadm: standard upstream Kubernetes, matches what most managed cloud clusters run, more moving parts to understand and maintain
- K3s: lighter weight, faster to stand up (see our K3s on Proxmox LXC guide), great for homelab/edge, but diverges slightly from vanilla Kubernetes in its defaults
Related tutorials
Terminal screenshots are original illustrations created for Gnome IT Solutions (blog.gnomeitsolutions.com).