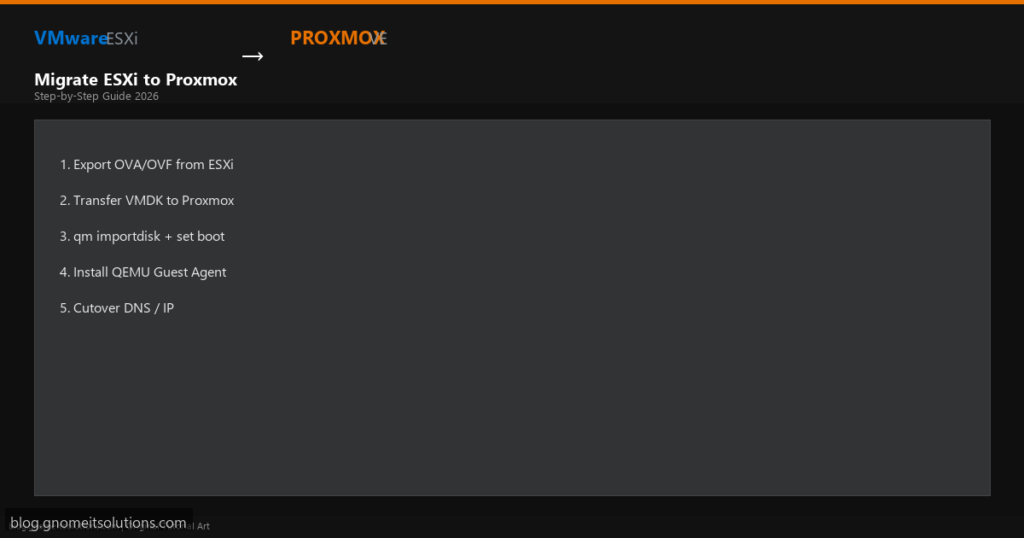
Broadcom’s VMware licensing changes pushed many teams to evaluate Proxmox VE.
This 2026 migration guide walks through moving a production VM from VMware ESXi
to Proxmox on the same hardware — without paid conversion tools.
Before you start
- Proxmox VE 8.x or 9.x installed and reachable on port 8006
- Enough storage on Proxmox for imported VMDK files (local-lvm or NFS)
- Maintenance window — plan 30–120 minutes per VM depending on disk size
- Snapshot or power-off ESXi VM before export for consistency
- Document MAC address, IP, and disk layout before migration
Migration methods overview
| Method | Best for | Downtime |
|---|---|---|
| OVA/OVF export + importdisk | Most Linux/Windows VMs | Full VM downtime |
| Raw VMDK copy + qm importdisk | Large disks, scripted migrations | Full VM downtime |
| qemu-img convert offline | qcow2/raw intermediate format | Full VM downtime |
Step 1: Inventory and Snapshot the ESXi VM
In VMware Host Client select the VM → Snapshots → Take Snapshot (or power off for crash-consistent copy). Record vCPU, RAM, disk sizes, network adapter type, and guest OS. Note whether VMware Tools is installed — you will replace it with QEMU Guest Agent on Proxmox.
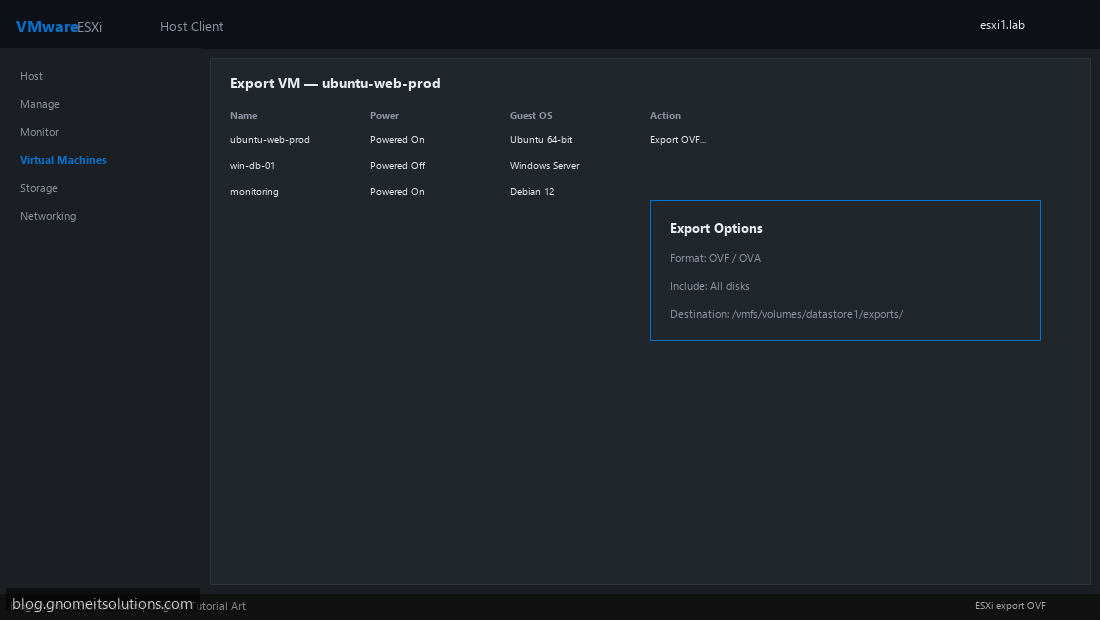
Step 2: Export OVF/OVA or Copy VMDK from ESXi
Right-click VM → Export OVF Template to datastore, or copy the flat .vmdk via SCP. For a 32 GB disk expect 5–15 minutes over 1 Gbps LAN.
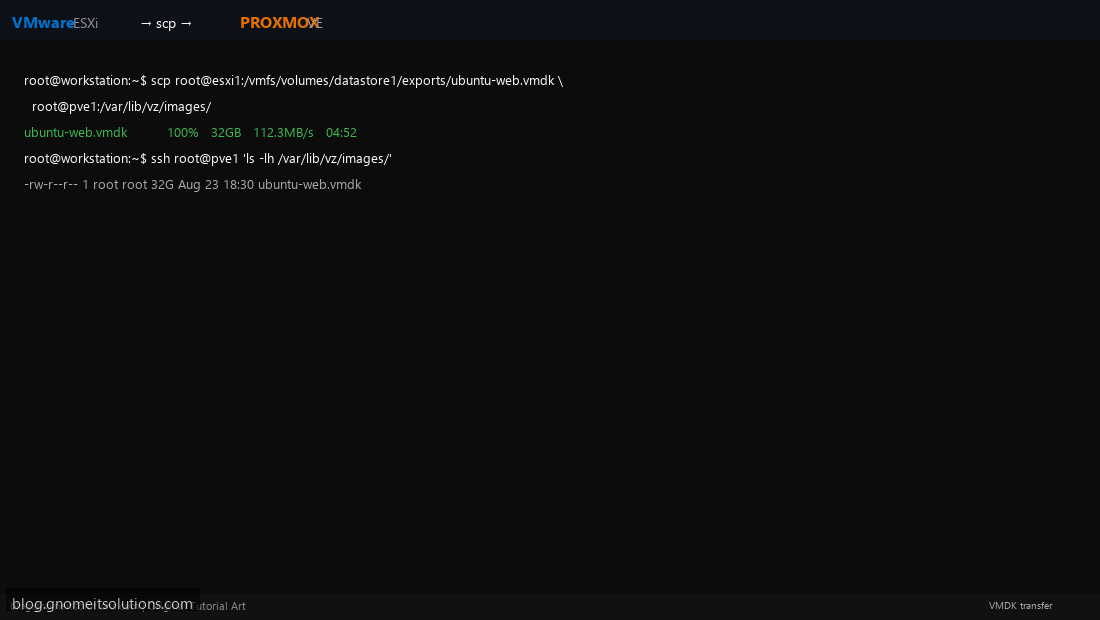
Step 3: Transfer VMDK to Proxmox Node
Use SCP, rsync, or temporary NFS mount to copy the VMDK to /var/lib/vz/images/ or an import staging directory on the Proxmox host.
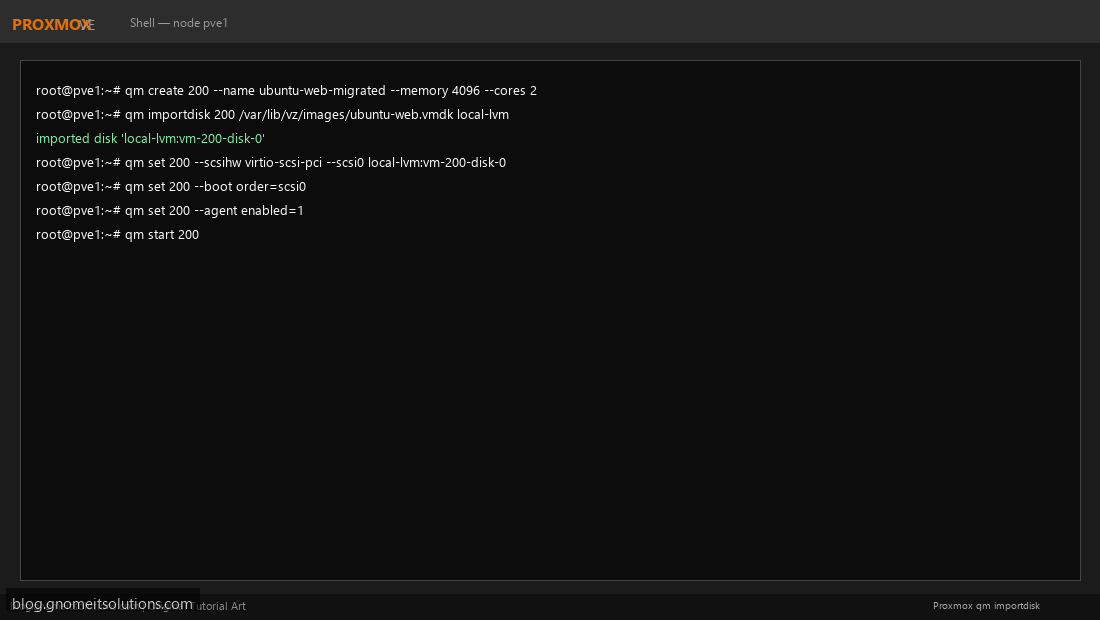
Step 4: Create VM Shell and Import Disk with qm
Create an empty VM ID, import the VMDK with qm importdisk, attach as scsi0, set boot order, enable QEMU guest agent, and configure network on vmbr0.
Step 5: Fix Boot Loader and Install QEMU Guest Agent
Linux VMs may need virtio-scsi drivers in initramfs. Windows VMs need VirtIO ISO drivers for disk and network. Install qemu-guest-agent inside the guest after first boot.
Step 6: Verify and Cut Over
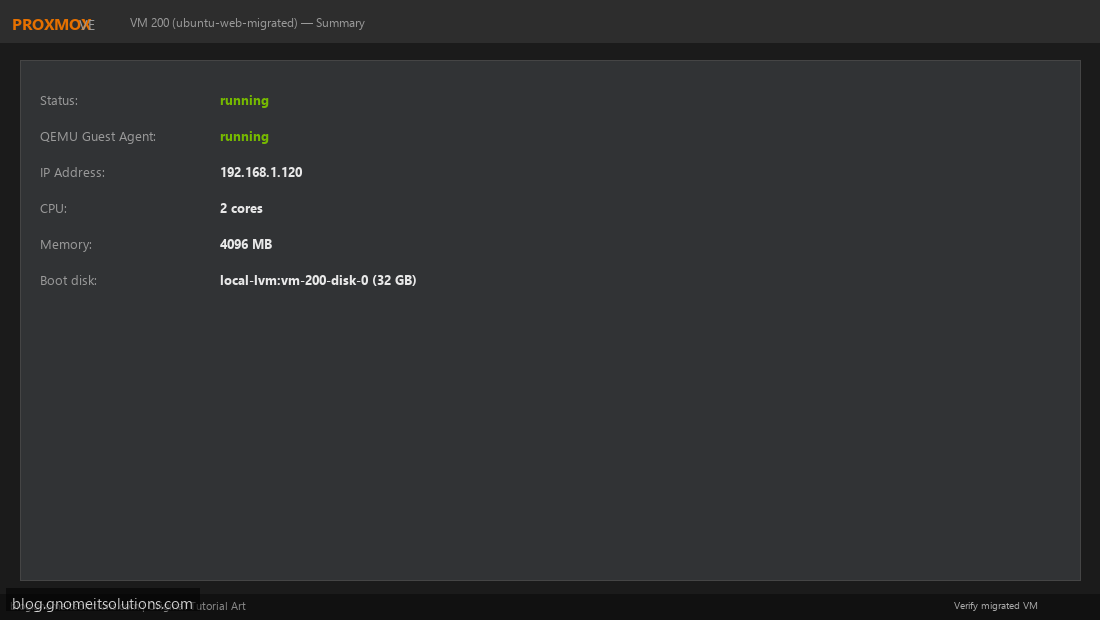
Confirm VM status running, guest IP visible in Proxmox Summary tab, application smoke test passes, then update DNS/load balancer. Keep ESXi VM powered off until sign-off.
Full migration command reference
# On Proxmox — create VM and import VMDK
qm create 200 --name ubuntu-web-migrated --memory 4096 --cores 2 --net0 virtio,bridge=vmbr0
qm importdisk 200 /var/lib/vz/images/ubuntu-web.vmdk local-lvm
qm set 200 --scsihw virtio-scsi-pci --scsi0 local-lvm:vm-200-disk-0
qm set 200 --boot order=scsi0
qm set 200 --agent enabled=1
qm start 200

# Inside Linux guest after boot
apt update && apt install -y qemu-guest-agent
systemctl enable --now qemu-guest-agent

# Optional: convert VMDK to qcow2 first
qemu-img convert -p -f vmdk -O qcow2 source.vmdk /var/lib/vz/images/converted.qcow2
Windows VM notes
- Attach VirtIO drivers ISO during first Proxmox boot (download from fedora virtio-win repo)
- Change SCSI controller to VirtIO SCSI in Proxmox hardware tab
- Uninstall VMware Tools after QEMU agent is working
Related tutorials
Image credits: All illustrations use original Proxmox VE and VMware ESXi
branded artwork created for Gnome IT Solutions — not copied from vendor marketing assets.
Tutorial text © Gnome IT Solutions.
Image credits: Screenshots are from the official
Proxmox VE documentation
(Proxmox GmbH), used under open documentation terms for educational purposes.
Tutorial text and layout © Gnome IT Solutions.