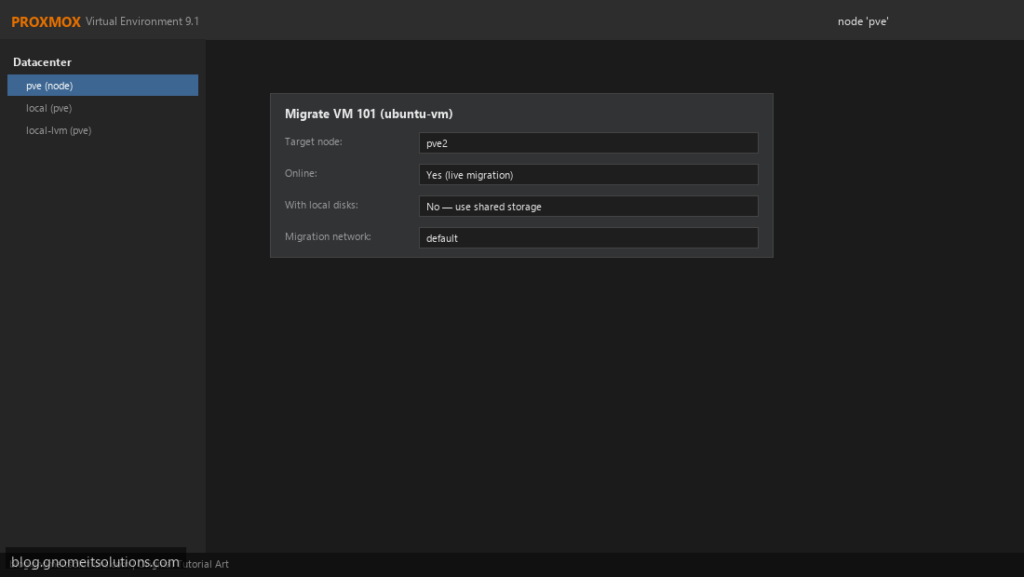
Live migration moves a running VM from one Proxmox node to another with only a brief pause, typically well under a second. It is how you patch and reboot hosts
without scheduling downtime for the workloads on them.
This guide covers the requirements (most failed migrations trace back to one of them), shared versus local storage, the CPU type setting that decides whether a VM can
move between different hardware, a dedicated migration network, and troubleshooting. You need a working cluster first.
Quick answer: qm migrate 101 pve2 --online, or the Migrate button in the web UI.
What Happens During a Live Migration
Proxmox starts the VM on the target in a paused state, copies memory over the network while the source keeps running, re-copies pages that changed, then pauses the source briefly, transfers the last state and resumes on the target.
  pve1: VM running --(memory pages, repeated passes)--> pve2: VM paused
  final sync: pve1 pauses briefly --> pve2 resumes, pve1 stops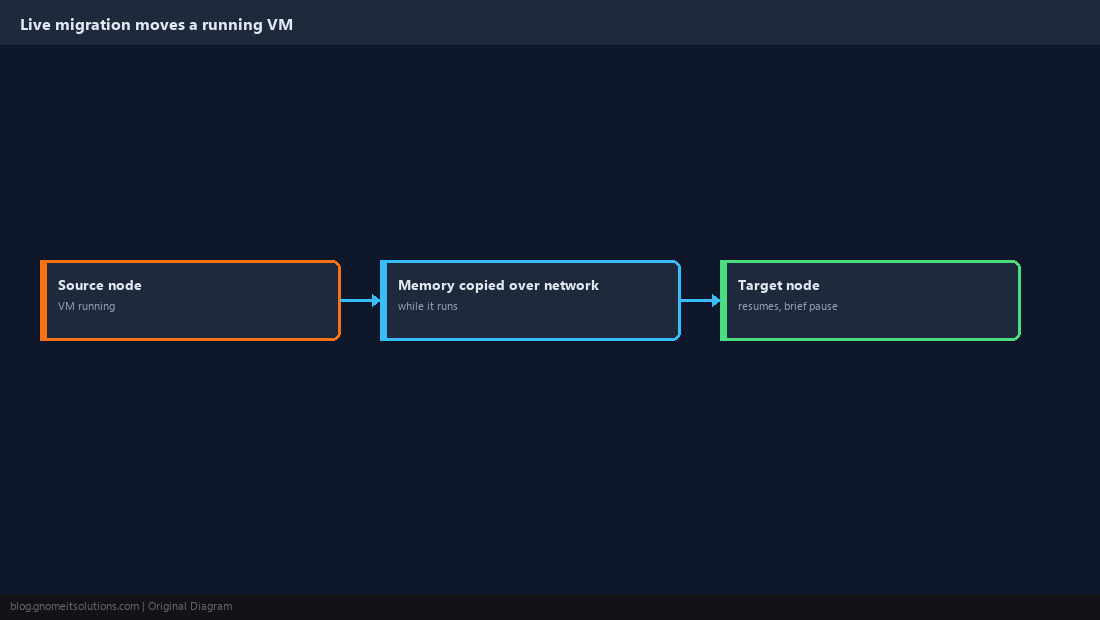
Check the Requirements
Both nodes must be in the same cluster, have the same bridges and storage IDs available, and be able to run the VM’s CPU type. The VM must not use host-local resources such as a passed-through PCI device.
pvecm status
qm config 101 | grep -E 'cpu|net|scsi|virtio|hostpci|usb'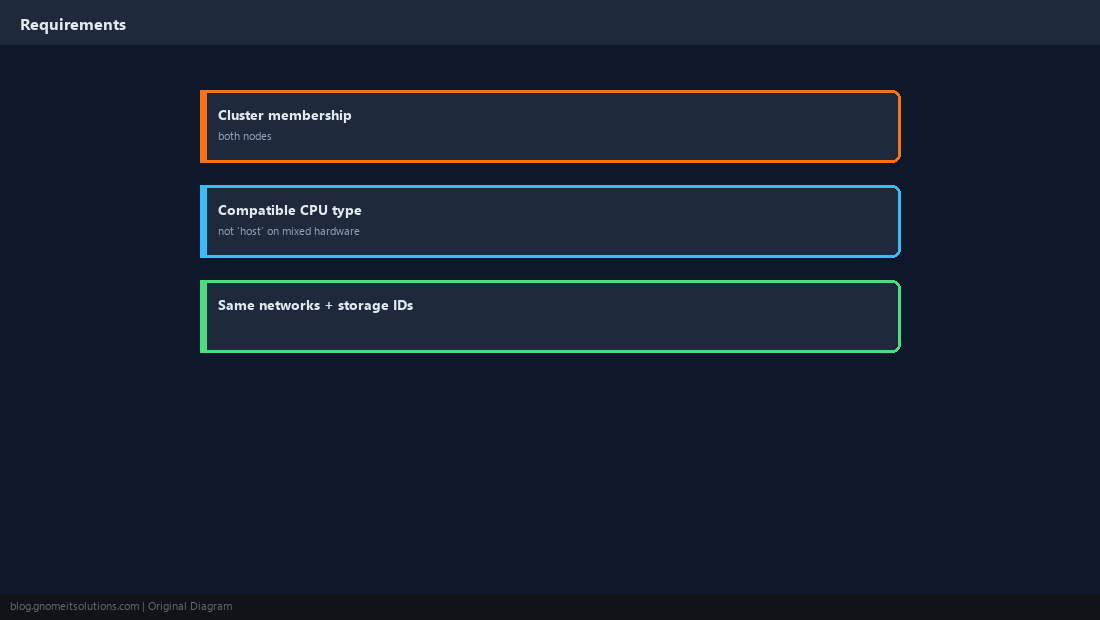
Shared Storage vs Local Storage
With shared storage (Ceph, NFS, iSCSI) only memory moves, so migration is fast. With local storage (LVM, local ZFS) the disks must be copied too, which works but takes as long as copying the disk.
qm migrate 101 pve2 --online --with-local-disks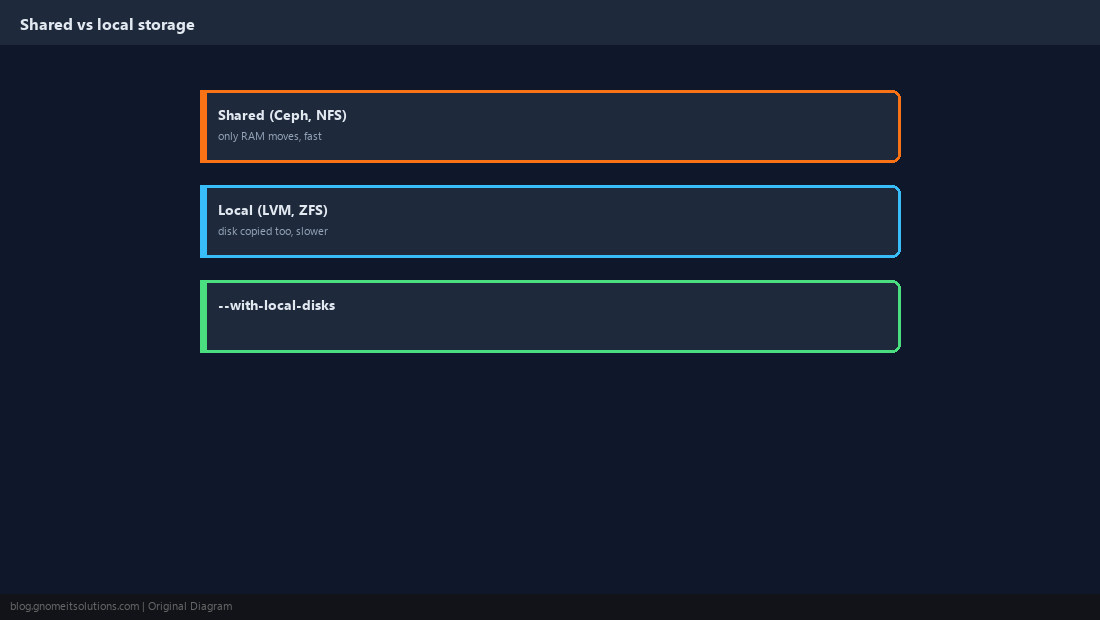
Choose a Portable CPU Type
CPU type host exposes every feature of the physical CPU, which is fastest but can only migrate to identical hardware. On mixed hardware, use a baseline model such as x86-64-v2-AES (the default on recent versions) or x86-64-v3 if every node supports it.
qm set 101 --cpu x86-64-v2-AES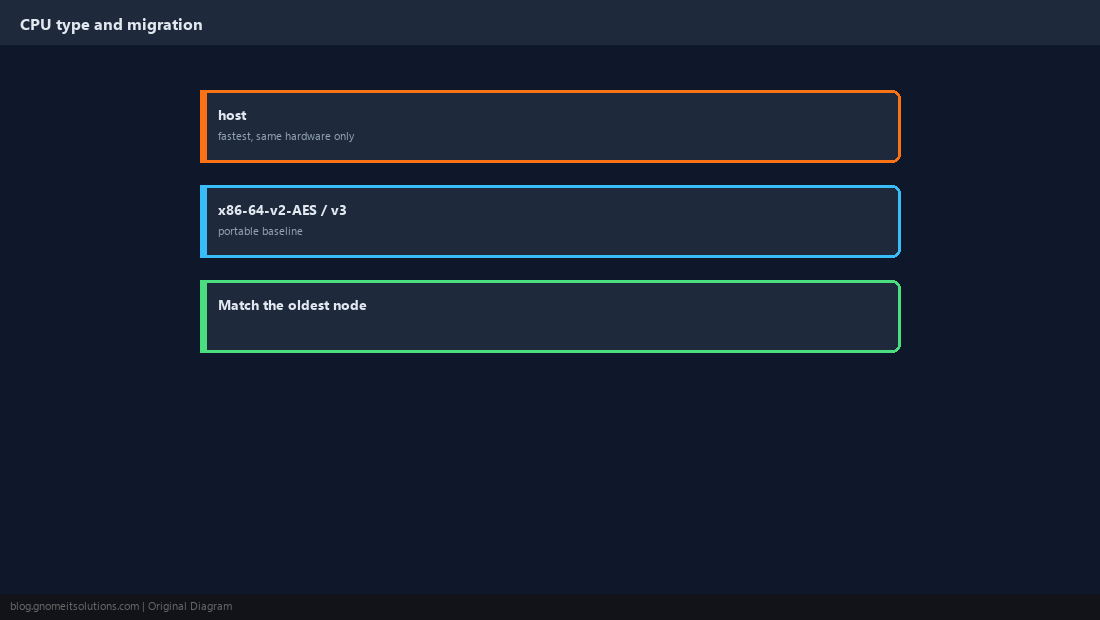
Use a Dedicated Migration Network
Migration traffic can saturate a link. Point it at a separate network so VM and cluster traffic are not affected, especially on 1 GbE.
migration: secure,network=10.10.30.0/24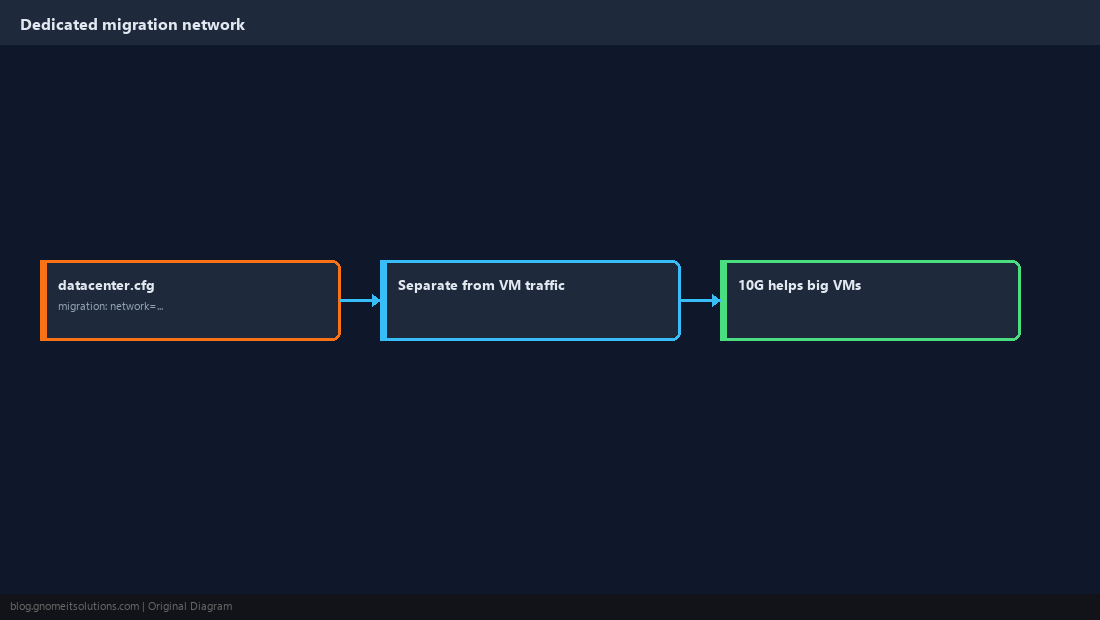
Run the Migration
Right-click the VM (or use the Migrate button), pick the target node, and watch the task log. From the shell it is one command.
qm migrate 101 pve2 --onlinepct migrate 201 pve2 --restart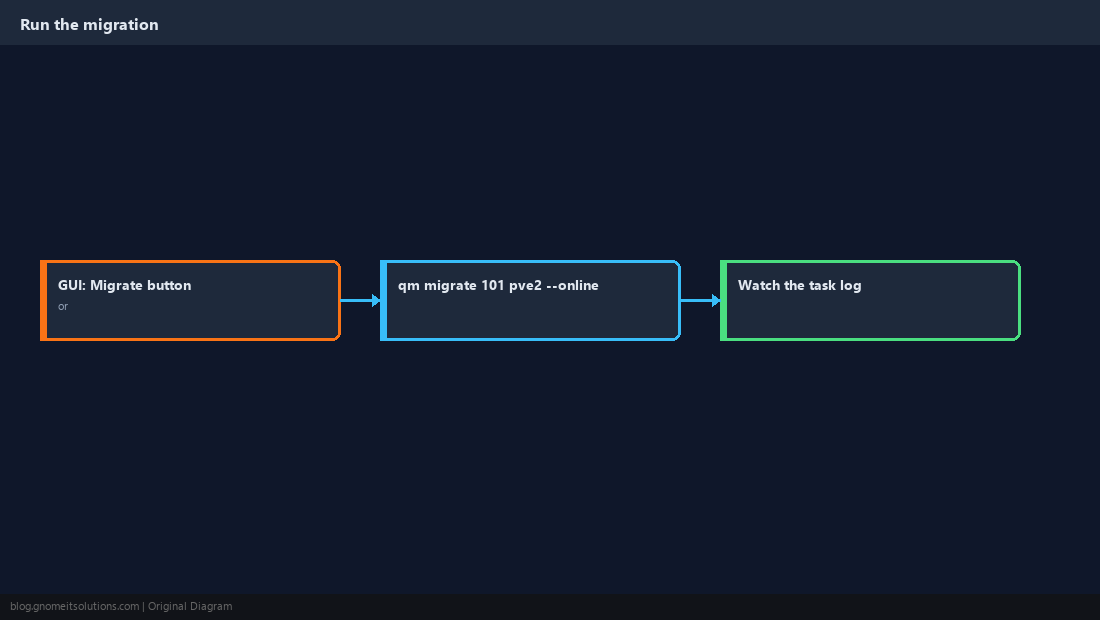
Use HA and Maintenance Mode for Planned Work
HA restarts guests on another node if one fails. For planned maintenance, put the node into maintenance mode and HA-managed guests are moved off automatically.
ha-manager crm-command node-maintenance enable pve1
# patch and reboot pve1, then:
ha-manager crm-command node-maintenance disable pve1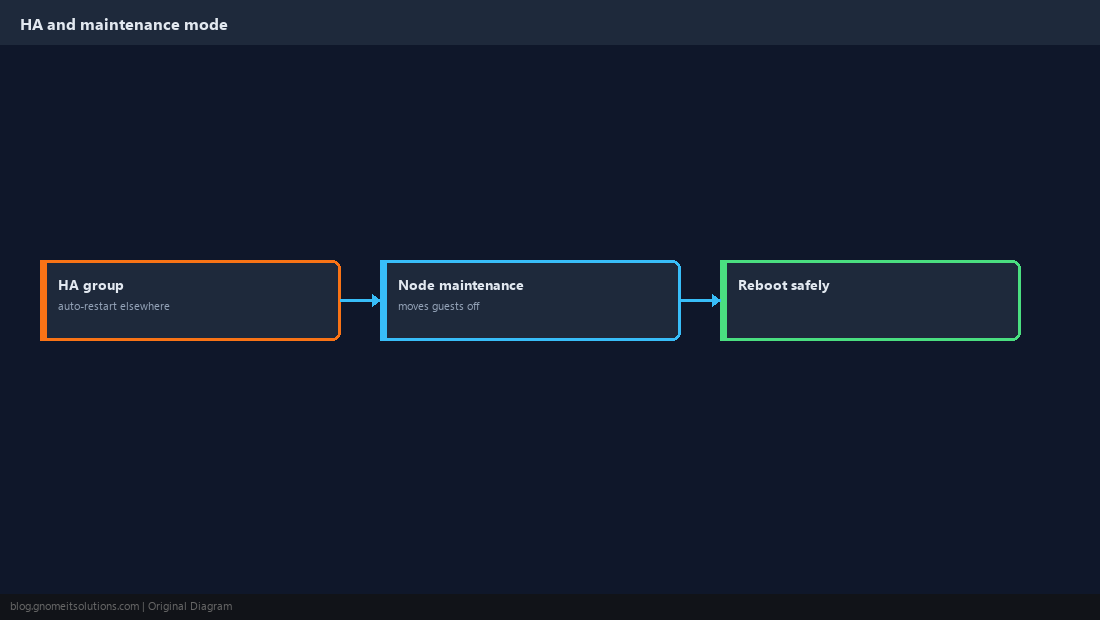
When a Migration Fails
The task log usually names the cause. The common ones: a local ISO still attached to the CD-ROM, a USB or PCI device passed through, a CPU type the target cannot provide, or a storage ID missing on the target.
qm set 101 --ide2 none,media=cdrom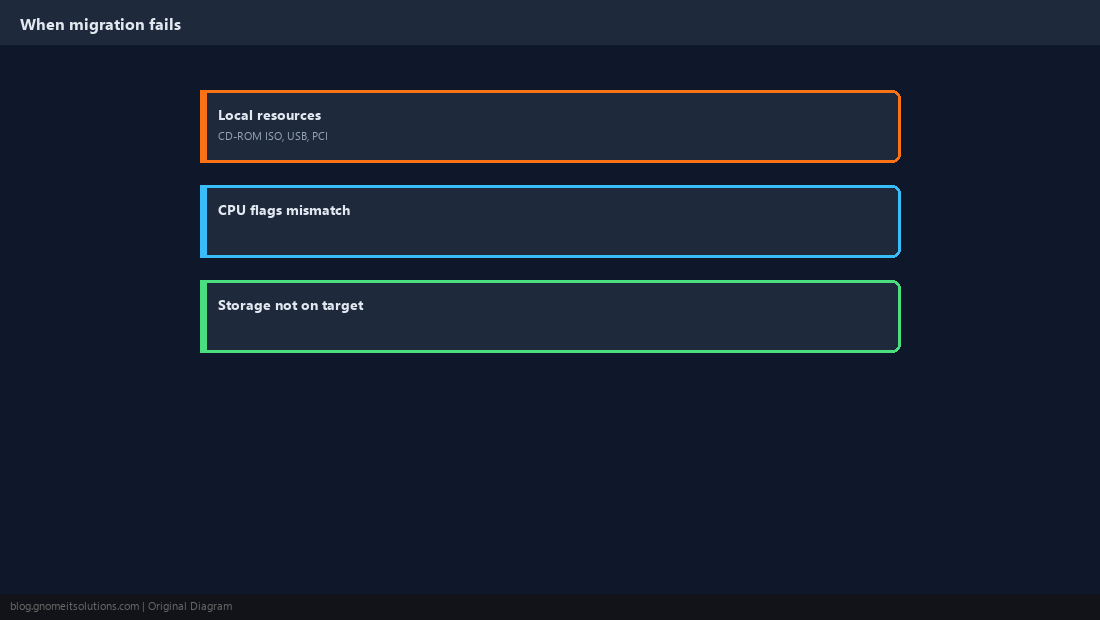
How long does Proxmox live migration take?
With shared storage, usually seconds to a minute depending on RAM size and network speed; the actual pause is typically under a second. With local disks, add the time to copy the disks.
Can I live migrate without shared storage?
Yes, with --with-local-disks. The disks are copied over the network, which takes longer but needs no shared storage.
Why can’t my VM migrate to another node?
Common causes are a local ISO mounted in the CD-ROM, passed-through PCI or USB devices, CPU type host on different hardware, or storage that doesn’t exist on the target.
What CPU type should I use for migration?
On identical nodes, host is fine. On mixed hardware, use a baseline such as x86-64-v2-AES that every node supports.
Can containers be live migrated?
LXC containers use restart migration: they are stopped, moved and started again, with a short downtime.
Cheat Sheet
qm migrate ID node --online(add--with-local-disksfor local storage)- Portable CPU type on mixed hardware; dedicated migration network; detach local ISOs
Related tutorials
Diagrams are original illustrations by Gnome IT Solutions. Tutorial text © Gnome IT Solutions.