Install cPanel & WHM on a fresh AlmaLinux 9 VPS or dedicated server. This production-style guide covers OS preparation, the official bootstrap installer, real /var/cpanel/logs/install_log output, WHM first login on port 2087, and your first cPanel account.
Time: 45–90 minutes. License: cPanel requires a paid or trial license for new IPs.
Step 1: Set Hostname and DNS Before Install
cPanel requires a resolvable FQDN. Set hostname, fix /etc/hosts, and confirm forward + reverse DNS with your provider before running the installer.
Step 2: Prepare AlmaLinux 9 (Updates, Firewall, SELinux)
Update the OS, install curl/perl, disable firewalld during install, and set SELinux to disabled. Do not pre-install Apache, MySQL, or PHP — cPanel manages the stack.
Step 3: Download and Run the Official cPanel Installer
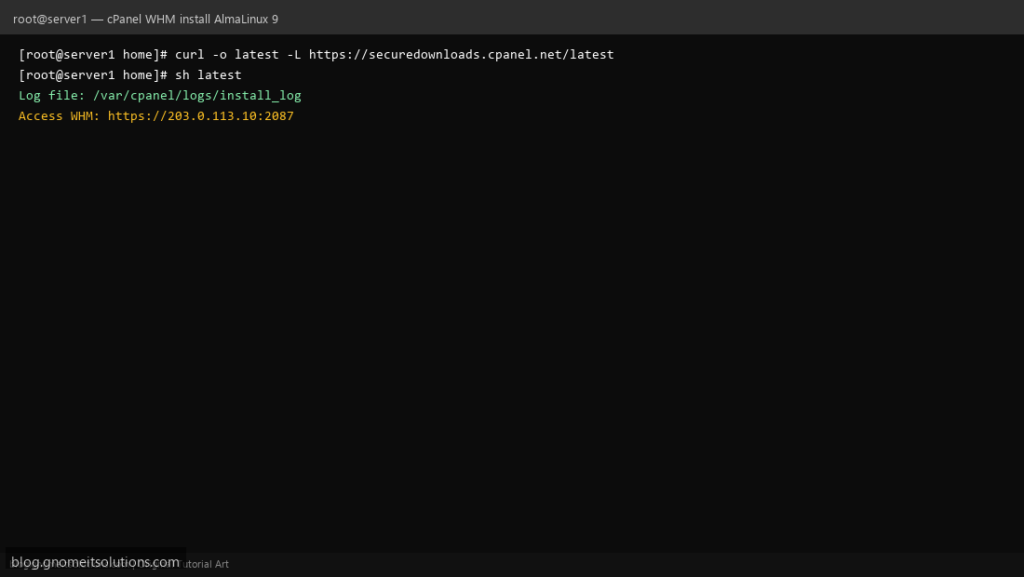
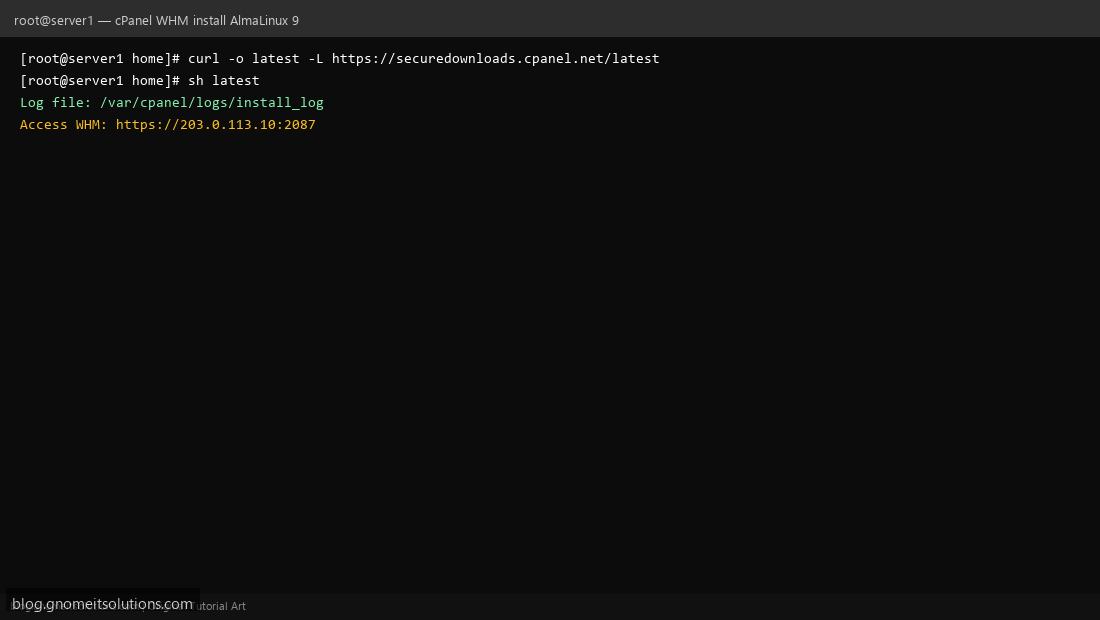
From /home as root: curl -o latest -L https://securedownloads.cpanel.net/latest && sh latest. The installer writes progress to /var/cpanel/logs/install_log.
Step 4: Monitor install_log (Apache, MySQL, PHP Stages)
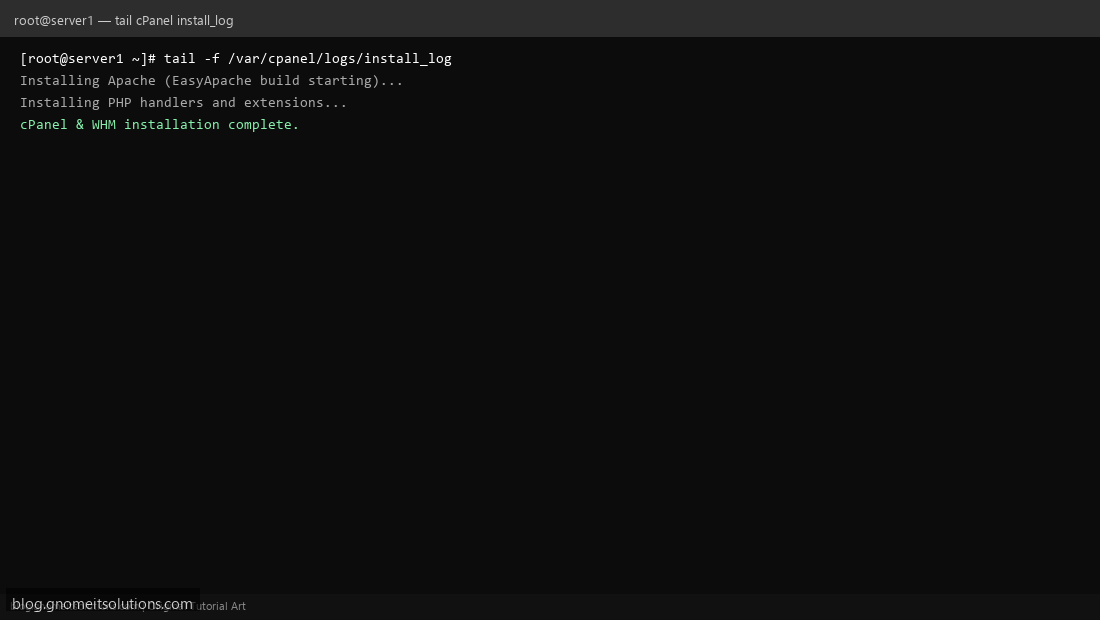
In a second SSH session run tail -f /var/cpanel/logs/install_log. Watch for MySQL, EasyApache, Exim, Dovecot, and WHM interface stages. Install takes 45–90 minutes on typical hardware.
Step 5: First WHM Login and Setup Wizard
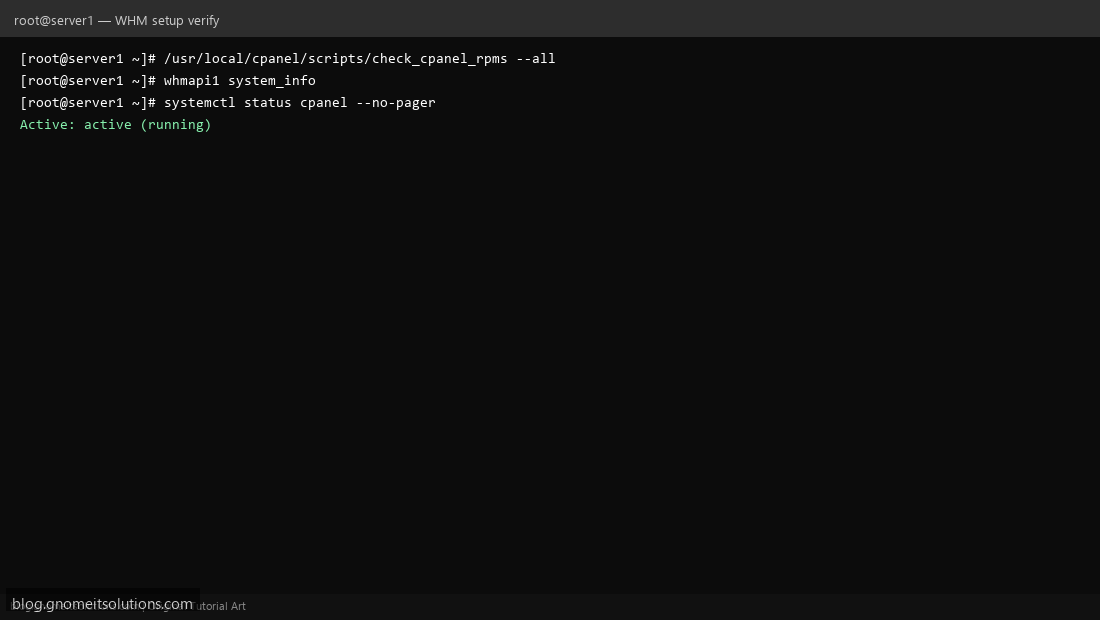
Open https://YOUR_IP:2087, log in as root, accept EULA, set contact email, nameservers, and hosting defaults. Verify with /usr/local/cpanel/scripts/check_cpanel_rpms --all.
Step 6: Create Your First cPanel Account
In WHM go to Account Functions → Create a New Account or use whmapi1 createacct. Users log in at https://IP:2083. Enable AutoSSL under WHM → SSL/TLS.
Sample install_log output
[2026-08-23 18:04:12 +0530] Preparing system for cPanel & WHM installation...
[2026-08-23 18:12:44 +0530] Installing cPanel layer 1...
[2026-08-23 18:28:33 +0530] Installing MySQL/MariaDB server...
[2026-08-23 18:45:02 +0530] Installing Apache (EasyApache build starting)...
[2026-08-23 19:02:18 +0530] Installing PHP handlers and extensions...
[2026-08-23 20:22:11 +0530] cPanel & WHM installation complete.
[2026-08-23 20:22:12 +0530] Access WHM: https://203.0.113.10:2087
Important log paths
/var/cpanel/logs/install_log— main installer/var/cpanel/logs/easyapache/build_log— web stack/usr/local/cpanel/logs/error_log— post-install errors/usr/local/apache/logs/error_log— Apache
Common errors
hostname: Name or service not known— fix FQDN in /etc/hosts and PTRPort 53 already in use— stop systemd-resolved conflictLicense expired— run/usr/local/cpanel/cpkeyclt
Pre-install commands
hostnamectl set-hostname server1.example.com
dnf update -y && dnf install -y curl wget perl
systemctl disable --now firewalld
setenforce 0
cd /home && curl -o latest -L https://securedownloads.cpanel.net/latest
sh latest
Related tutorials
Terminal screenshots are original illustrations created for Gnome IT Solutions (blog.gnomeitsolutions.com).