Reset root password on Linux spikes in search traffic whenever someone locks themselves out of a VPS or bare-metal console. If you still have a sudo user, fix it with sudo passwd root — recovery mode is for when root and sudo are both gone.
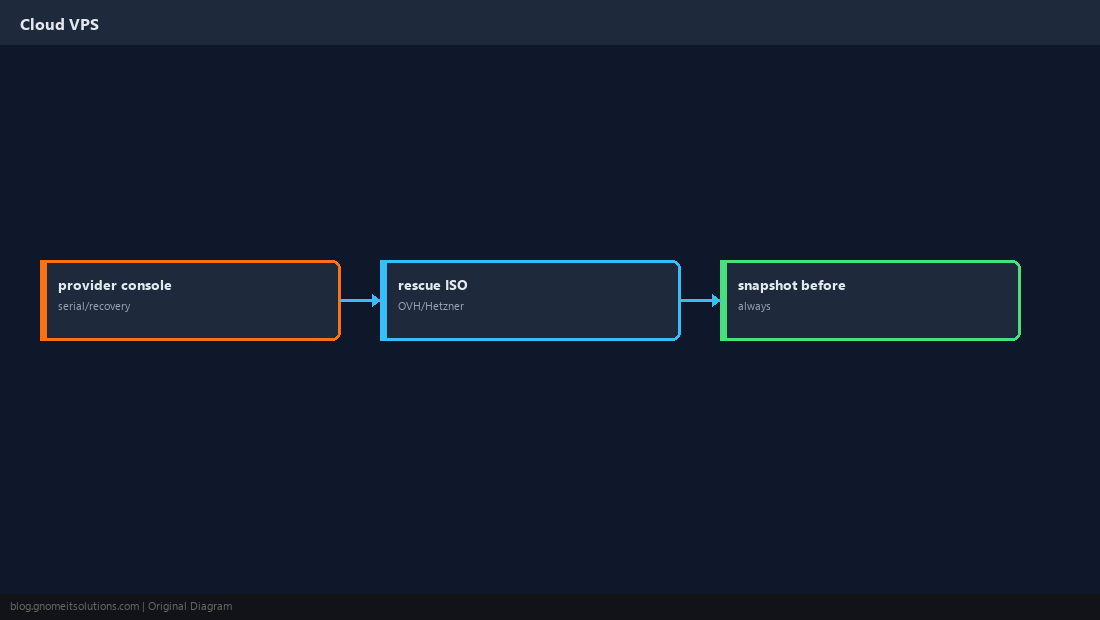
Always use provider snapshots or backups before invasive recovery. Pair routine access with
SSH keys and
SSH hardening so password lockouts are rare.
When You Need Recovery
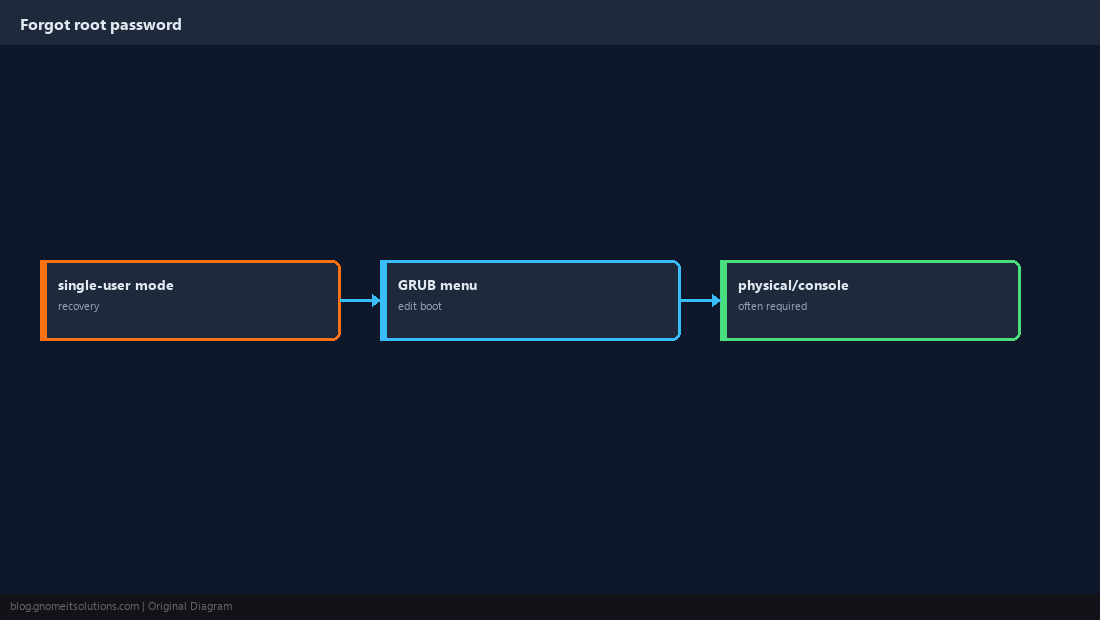
Lost root password, no sudo user, or broken PAM config — you need boot-time access, not SSH.
Interrupt GRUB at Boot
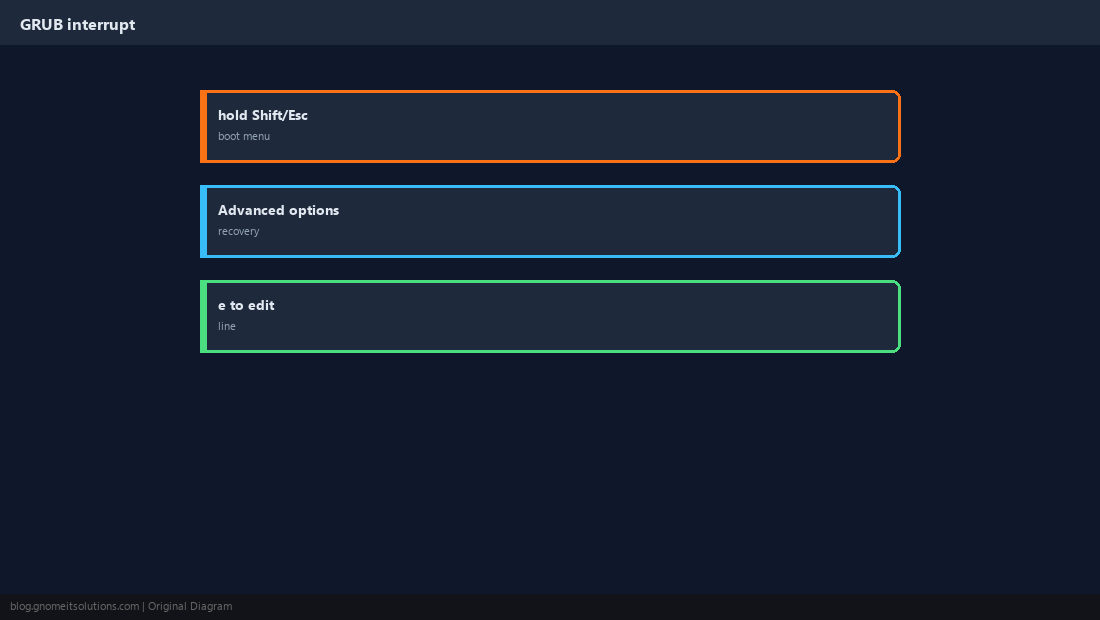
On physical or serial console, open the GRUB menu (often hold Shift on BIOS systems or Esc on UEFI). Pick Advanced options for the current kernel if offered.
Edit the linux Line
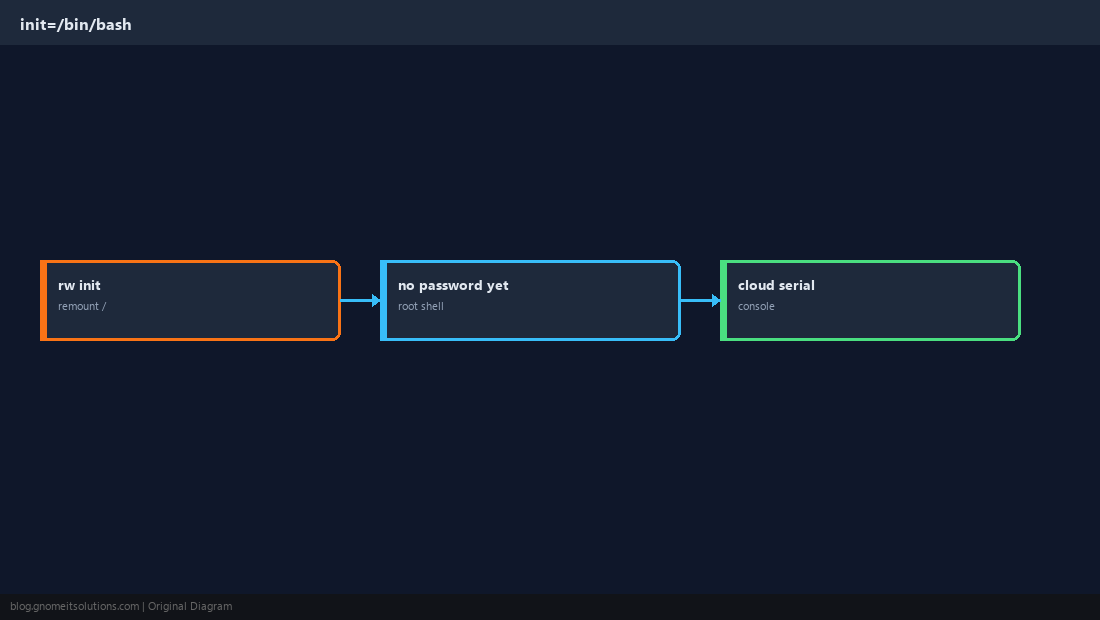
Press e, find the line starting with linux, append init=/bin/bash (or use systemd targets below). Boot with Ctrl+X or F10.
Remount Root Read-Write
Recovery shells often mount root read-only. Remount before changing passwords or editing files.
mount -o remount,rw /
# if that fails: mount -n -o remount,rw /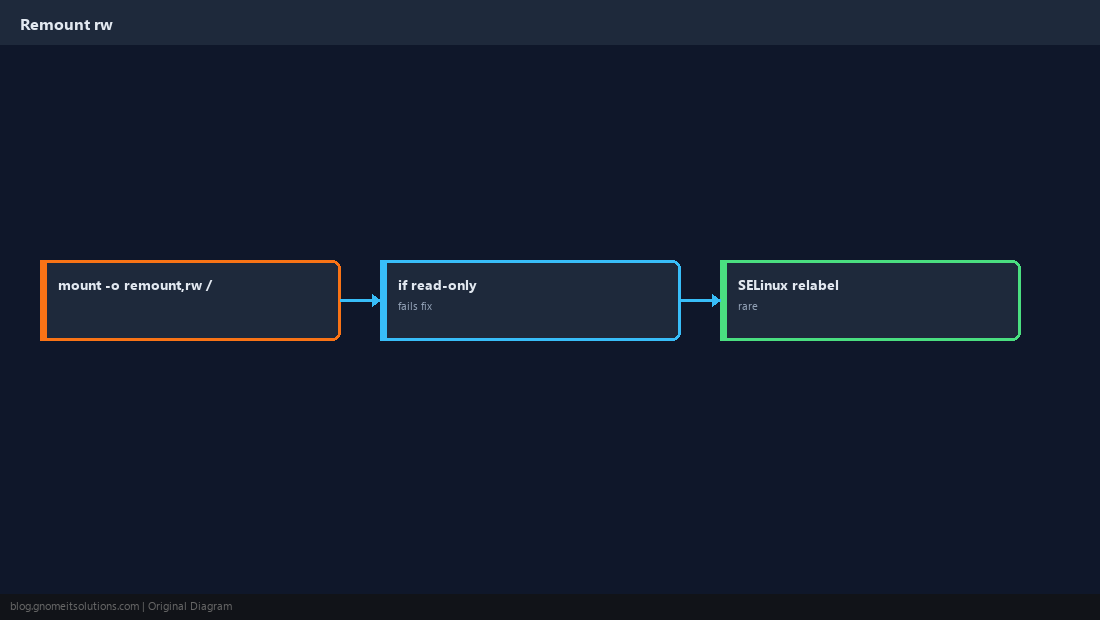
Set a New root Password
Run passwd root, sync disks, reboot cleanly.
passwd root
sync
exec /sbin/reboot -f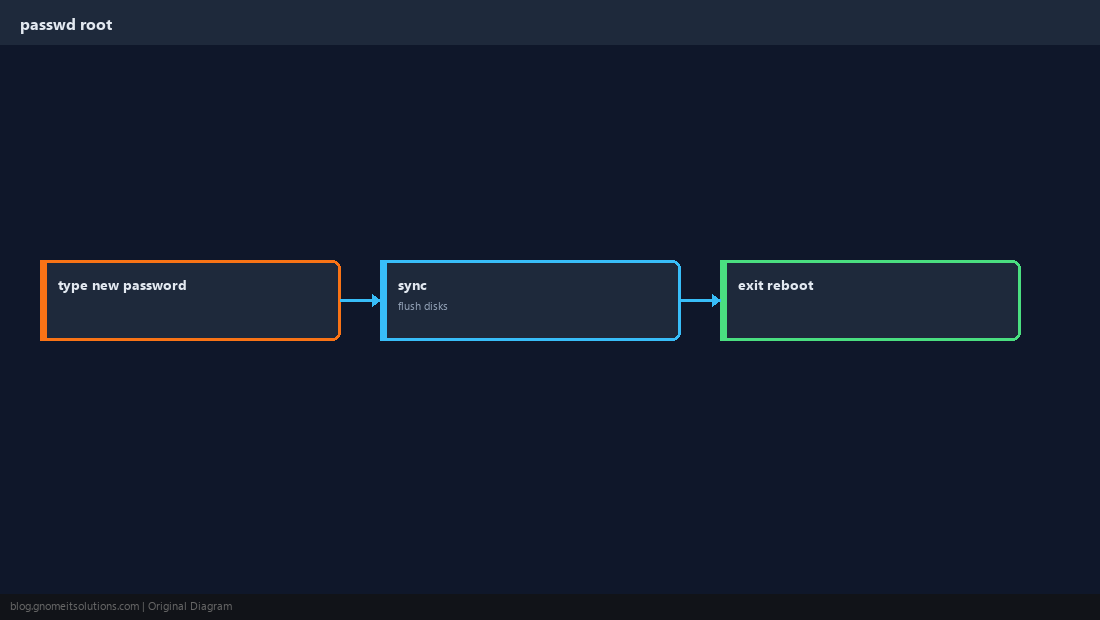
systemd Rescue Alternatives
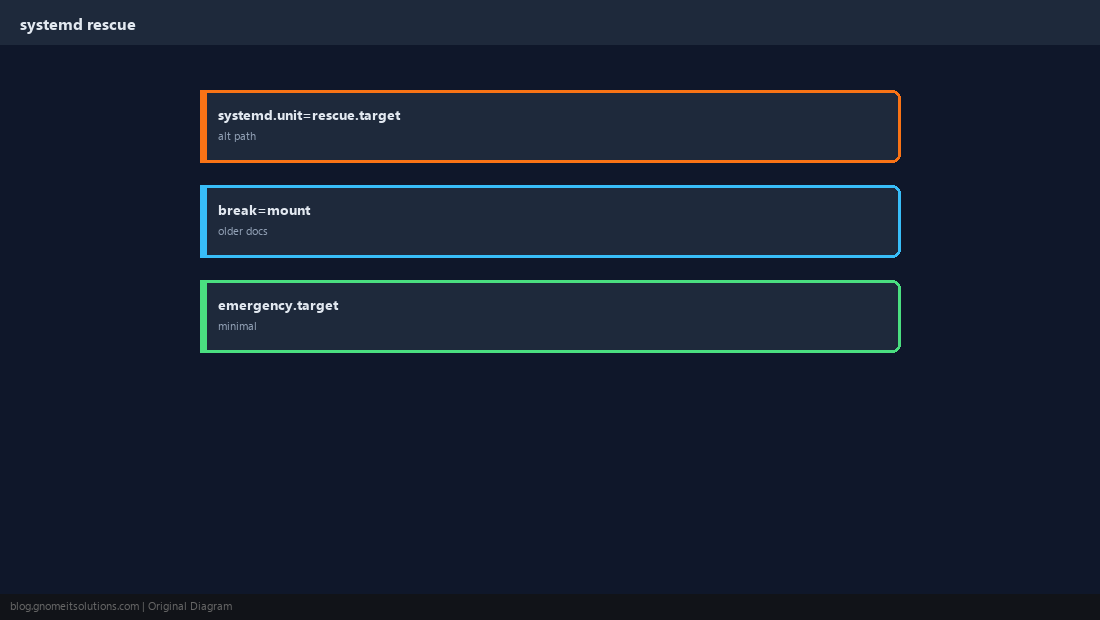
Some systems boot with systemd.unit=rescue.target or emergency target from GRUB — equivalent goal: root shell before normal multi-user.
Cloud VPS Consoles
AWS, GCP, Azure, Hetzner, and others provide serial or web VNC console — use that instead of SSH when the instance is unreachable.
Easier Path: sudo User Still Works
If you can SSH as a sudoer, resetting root is one command — many teams disable root SSH entirely and use this path.
sudo passwd root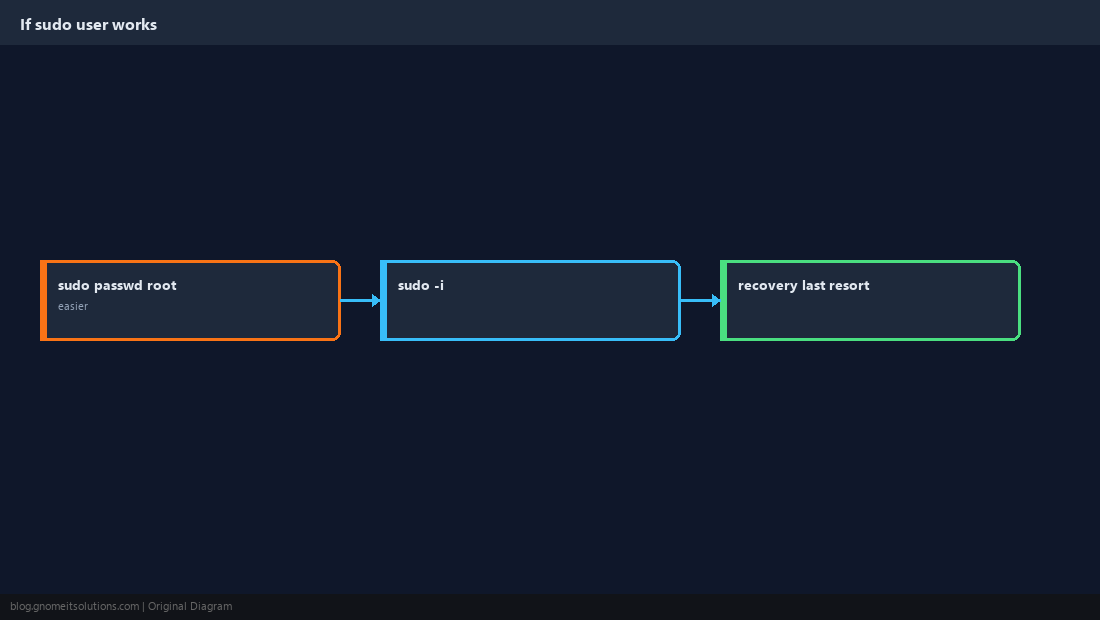
After Recovery: Audit
Check auth.log for unexpected logins, rotate SSH keys if you suspect compromise, and document how console access is protected.
sudo grep -i 'accepted\|failed' /var/log/auth.log | tail -30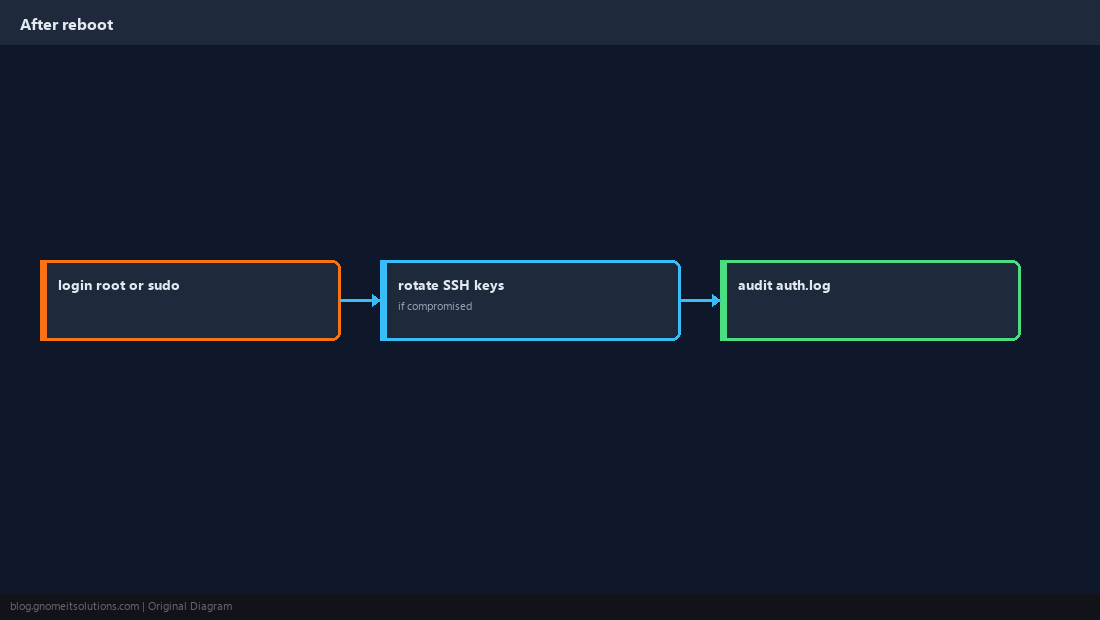
Quick Reference
- Console/GRUB:
init=/bin/bash→mount -o remount,rw /→passwd root - If sudo works:
sudo passwd root - Protect cloud serial consoles like root passwords
Related tutorials
Diagrams are original illustrations by Gnome IT Solutions. Tutorial text © Gnome IT Solutions.