Clicking through the Proxmox web UI to create VMs works fine for one-off homelab boxes, but it doesn’t scale — there’s no history of what changed, no way to reproduce an environment, and no code review before a VM gets created or destroyed. Terraform fixes that: you describe the VM you want in a .tf file, and Terraform figures out how to make Proxmox match it.
This guide sets up the bpg/proxmox Terraform provider, clones a cloud-init template into a running VM, and covers the day-2 basics: planning changes, scaling VM count, and tearing down safely.
What you’ll need
- A Proxmox VE node (this guide assumes you already have one — see our Proxmox install guide if not)
- A cloud-init-ready VM template — see our cloud-init template guide
- Terraform installed on your workstation (not on the Proxmox host itself)
Step 1: Install Terraform
On Linux/macOS, install via the HashiCorp apt repo or a package manager: brew install terraform or download the binary directly from releases.hashicorp.com. Verify with terraform -version — this guide targets Terraform 1.7+.
Step 2: Create a Dedicated API Token for Terraform
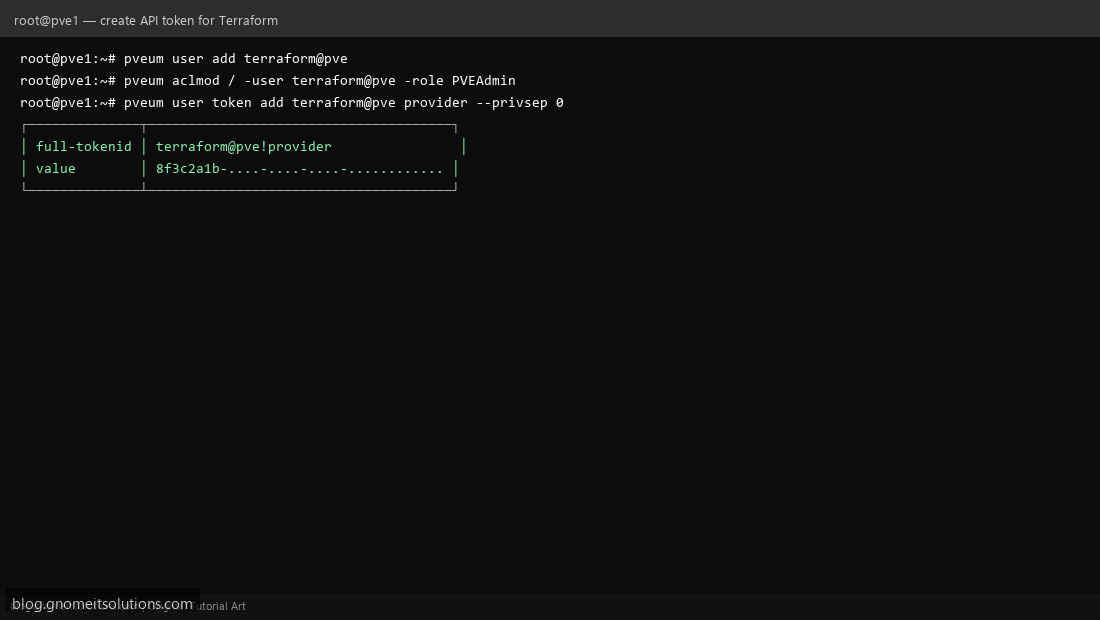
Don’t use your root password in Terraform config. Create a service user and scoped API token: pveum user add terraform@pve, grant it a role (pveum aclmod / -user terraform@pve -role PVEAdmin), then pveum user token add terraform@pve provider --privsep 0. Save the printed token value — it’s shown only once.
Step 3: Set Up the Project and Provider Block
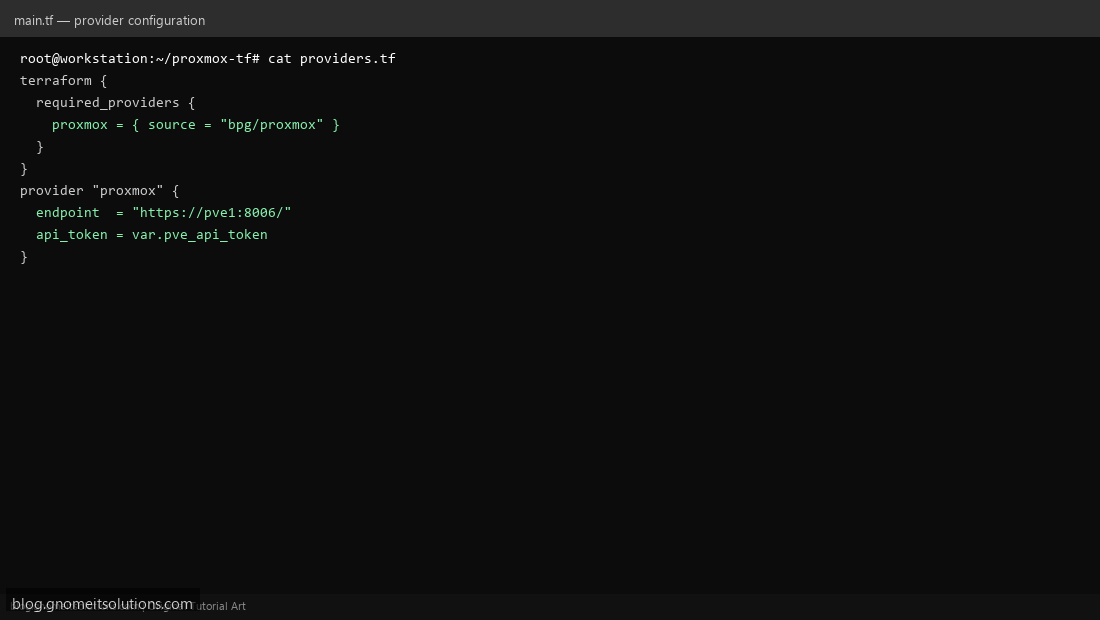
Create a project directory with providers.tf declaring the bpg/proxmox provider, pointing endpoint at your Proxmox API URL (https://pve1:8006/) and api_token at a Terraform variable — never hardcode the token value in a file you might commit to git.
Step 4: Store the Token as a Terraform Variable
Declare variable "pve_api_token" { sensitive = true } in variables.tf, then set the value in a git-ignored terraform.tfvars file or via the TF_VAR_pve_api_token environment variable. Add *.tfvars and .terraform/ to .gitignore immediately.
Step 5: Write the VM Resource Block
Define a proxmox_virtual_environment_vm resource that clones your cloud-init template: set clone.vm_id to the template’s ID, cpu.cores, memory.dedicated, and an initialization block for the cloud-init IP/DNS/SSH-key settings. This block is what actually describes the VM you want.
Step 6: Initialize and Plan
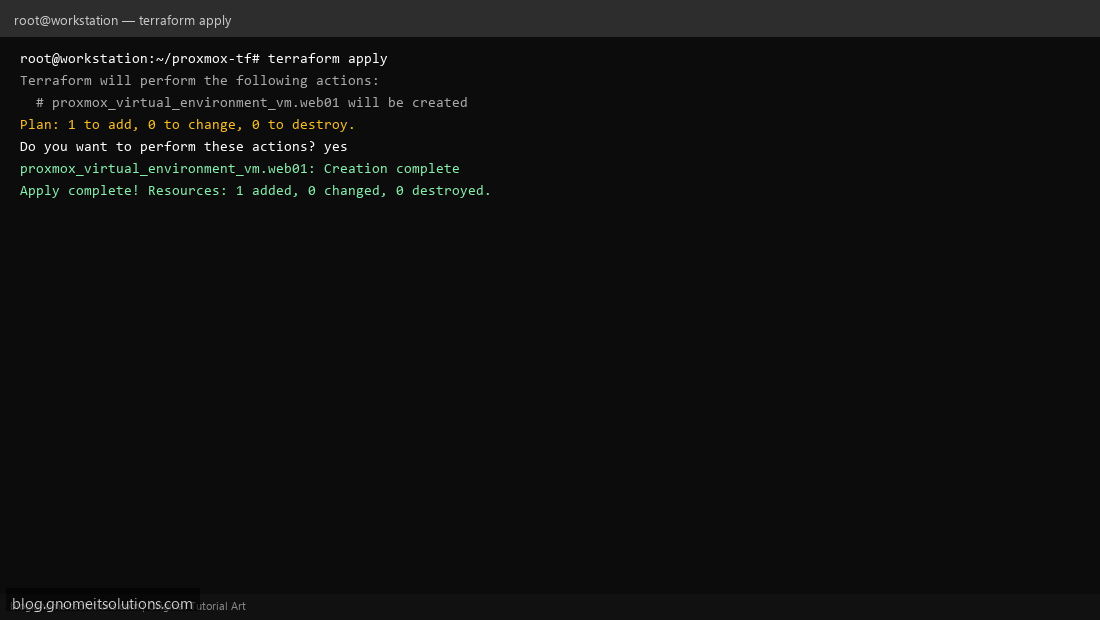
Run terraform init to download the provider plugin, then terraform plan to preview exactly what Terraform will create — it should show 1 to add, 0 to change, 0 to destroy. Review the plan output carefully before applying; this is your chance to catch a wrong template ID or IP range before anything happens on the cluster.
Step 7: Apply and Verify
Run terraform apply, type yes to confirm, and watch the VM appear in the Proxmox web UI within seconds. Confirm it booted and cloud-init applied your SSH key by connecting: ssh debian@VM_IP.
Step 8: Scale With a Variable and Clean Up
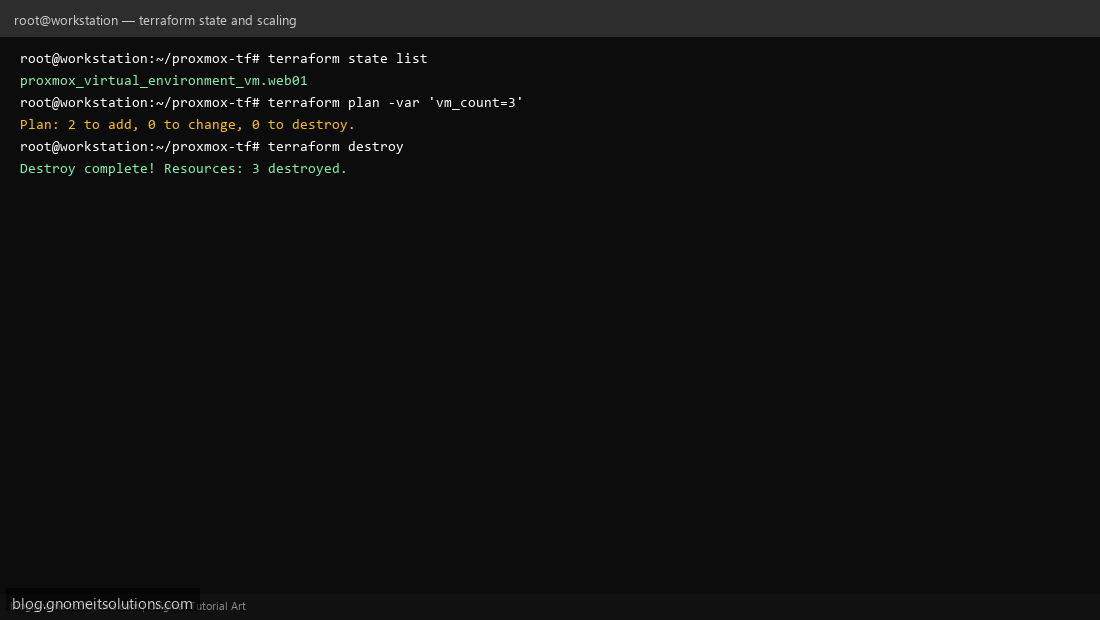
Turn the hardcoded VM into a count = var.vm_count loop so terraform plan -var 'vm_count=3' shows exactly how many new VMs would be added. Inspect what Terraform is tracking with terraform state list. When you’re done experimenting, terraform destroy removes every resource Terraform created — cleanly, with nothing left behind in Proxmox.
Example main.tf skeleton
resource "proxmox_virtual_environment_vm" "web" {
  count     = var.vm_count
  name      = "web-${count.index}"
  node_name = "pve1"

  clone {
    vm_id = 9000  # cloud-init template ID
  }

  cpu    { cores = 2 }
  memory { dedicated = 2048 }

  initialization {
    ip_config {
      ipv4 { address = "dhcp" }
    }
    user_account {
      username = "debian"
      keys     = [file("~/.ssh/id_ed25519.pub")]
    }
  }
}
Production tips
- Store state remotely (Terraform Cloud, S3, or a Consul backend) once more than one person runs
apply— a local state file can’t be shared safely - Use
terraform fmtandterraform validatein CI before merging infrastructure changes - Never run
terraform applyfrom an untrusted branch in CI without a manual approval gate
Related tutorials
Terminal screenshots are original illustrations created for Gnome IT Solutions (blog.gnomeitsolutions.com).