Our kubeadm cluster guide deployed a test app with a single kubectl create deployment command — fine for a smoke test, unworkable for a real application with a Deployment, Service, ConfigMap, and Ingress that all need to change together. Helm is Kubernetes’ package manager: it packages a full set of manifests as a versioned chart, lets you override configuration per environment, and tracks every install as an upgradable, rollback-able release.
Step 1: Understand Chart Structure
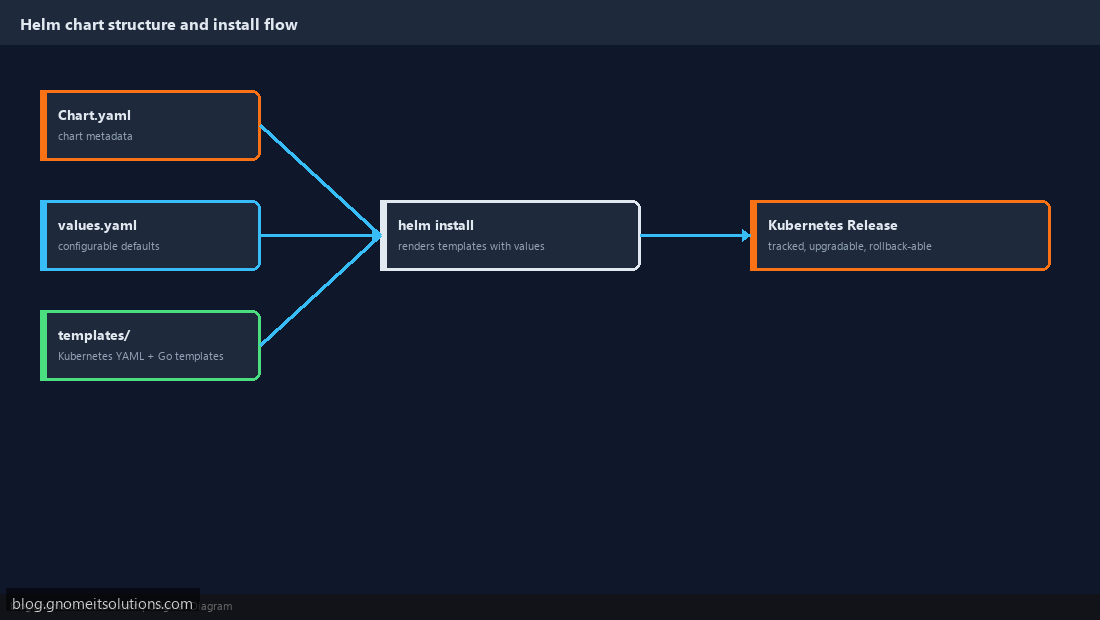
A Helm chart is a directory with three key parts: Chart.yaml (name, version, and metadata about the chart itself), values.yaml (default configuration values — replica count, image tag, resource limits), and templates/ (the actual Kubernetes YAML manifests, written with Go template syntax so they can reference values dynamically).
Step 2: Install Helm
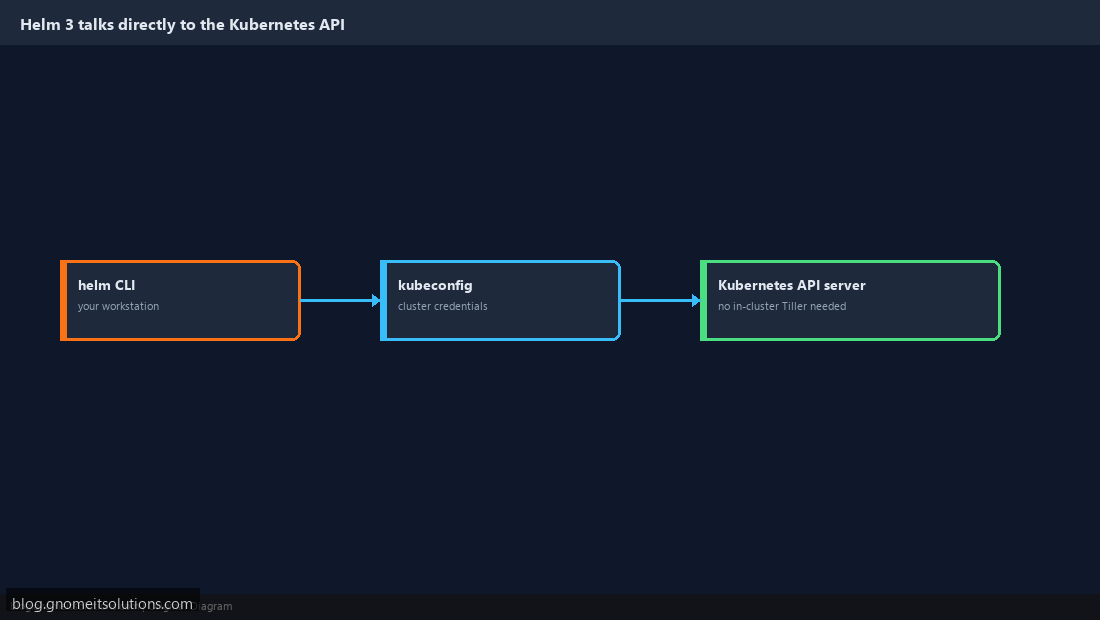
Install via the official script: curl https://raw.githubusercontent.com/helm/helm/main/scripts/get-helm-3 | bash, or your distro’s package manager. Confirm with helm version. Helm 3 talks directly to the Kubernetes API using your existing kubeconfig — no separate server component to install in the cluster, unlike Helm 2.
Step 3: Create a Chart
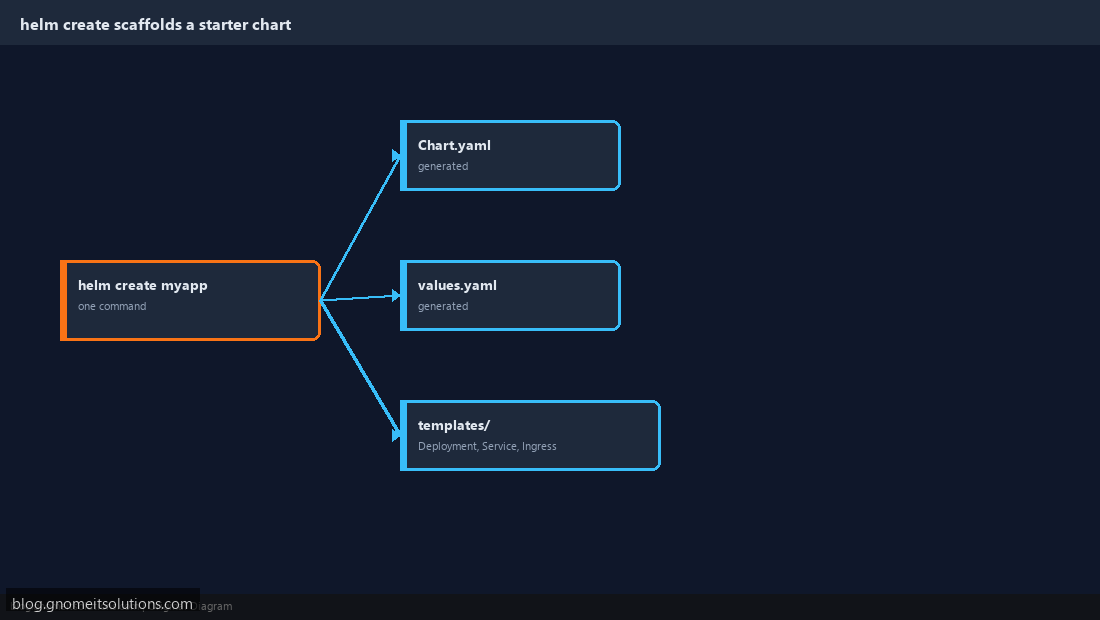
helm create myapp scaffolds a starter chart with a working example Deployment, Service, and Ingress template already wired to values.yaml — a good starting point to edit rather than writing chart structure entirely from scratch.
Step 4: Override Values Per Environment
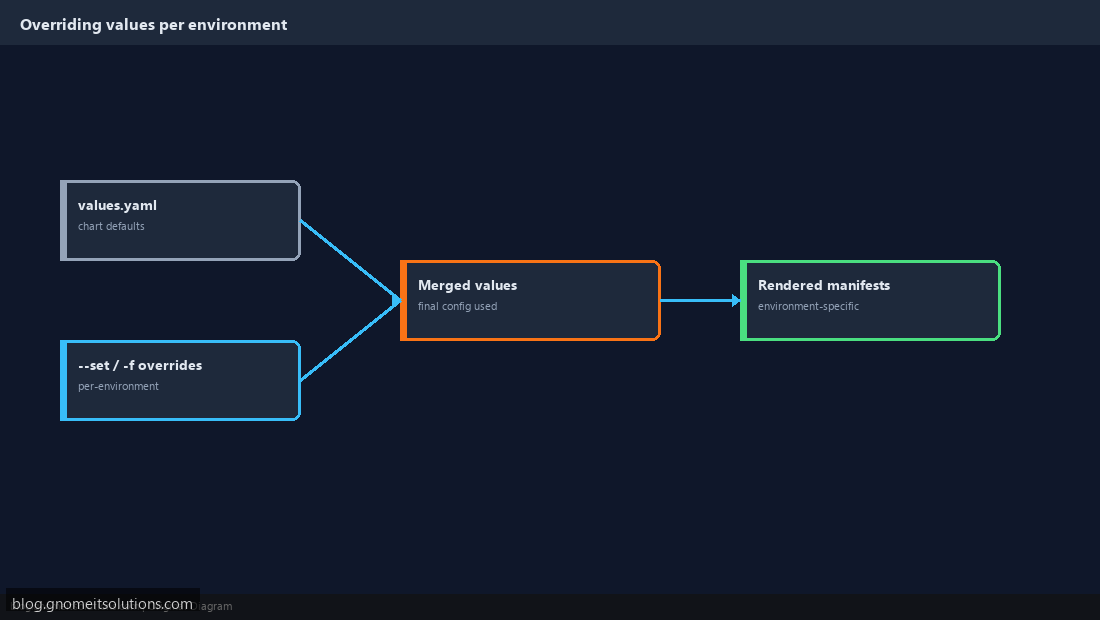
Rather than editing values.yaml directly for each environment, keep the defaults generic and pass overrides at install time: helm install myapp . --set image.tag=1.2.0 --set replicaCount=3, or maintain separate override files (values-staging.yaml, values-prod.yaml) passed with -f. This keeps one chart usable across every environment without duplicating the templates themselves.
Step 5: Install a Release
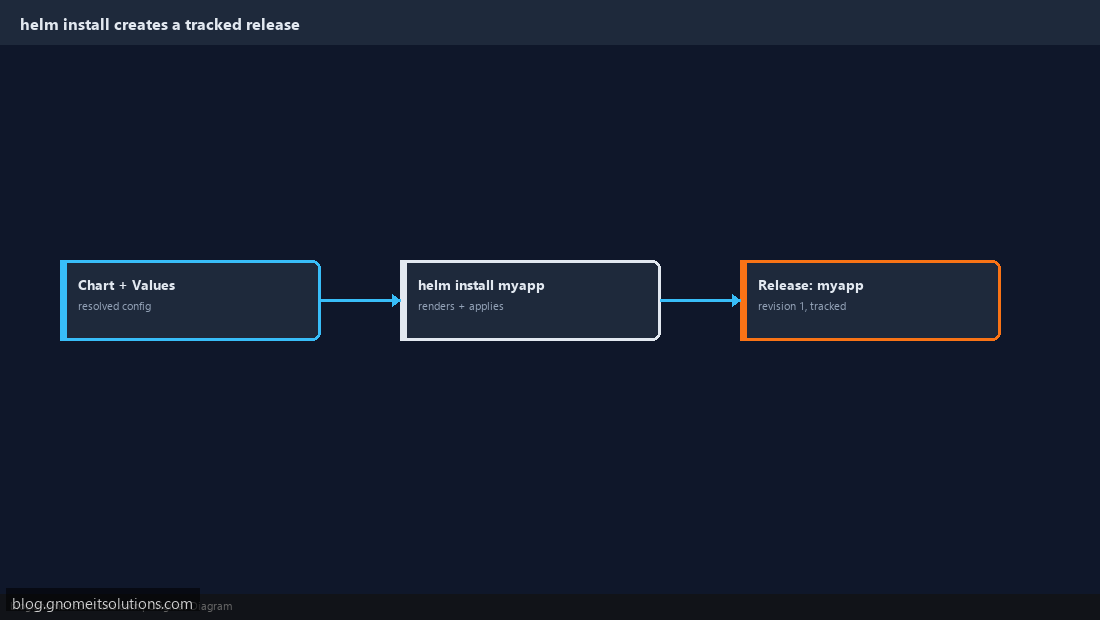
helm install myapp ./myapp renders every template with the resolved values and applies the result to the cluster, tracked under the release name myapp. helm list shows every currently installed release and its chart version — this tracking is what separates Helm from a bare kubectl apply, which has no concept of a named, versioned deployment.
Step 6: Upgrade a Release
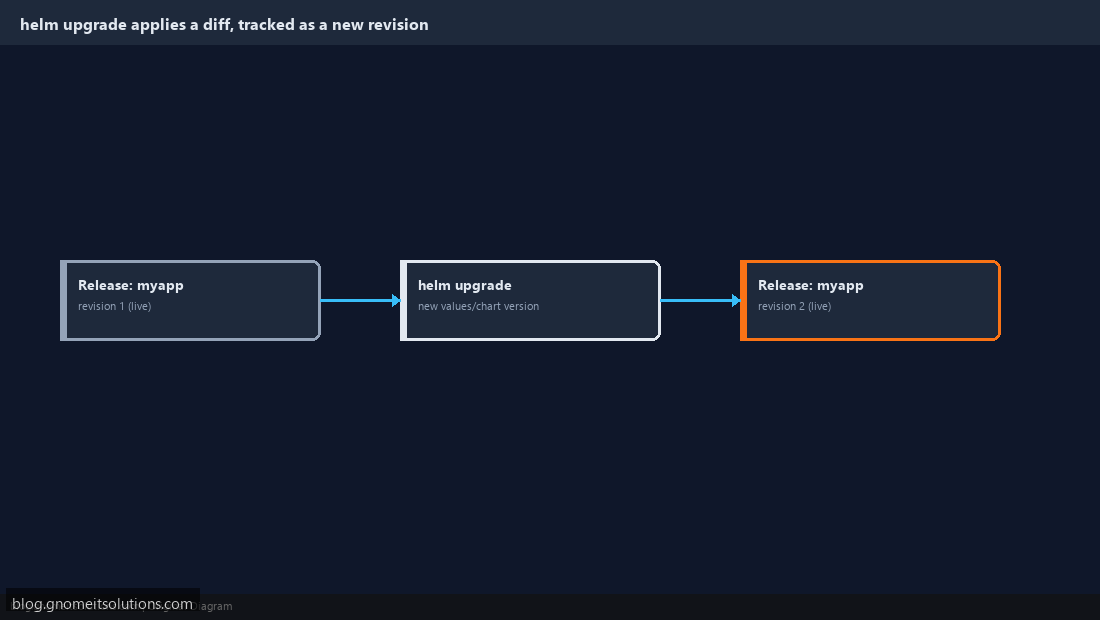
When the chart or values change: helm upgrade myapp ./myapp --set image.tag=1.3.0 applies only the diff needed to bring the cluster in line with the new configuration, rather than tearing down and recreating everything. Helm records this as a new revision of the release.
Step 7: Roll Back a Bad Release
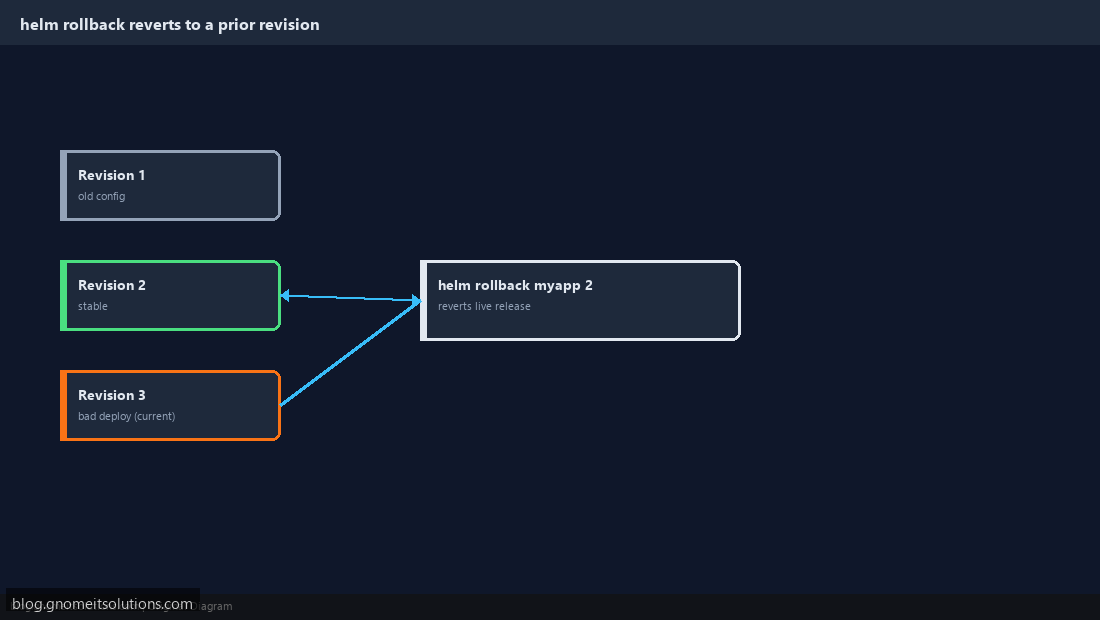
helm history myapp lists every revision; helm rollback myapp 2 reverts to revision 2’s exact configuration. This is the direct Helm equivalent of ArgoCD’s rollback history — and the two can work together, since ArgoCD itself can manage Helm charts as its deployment source.
Step 8: Use Public Charts From a Repository
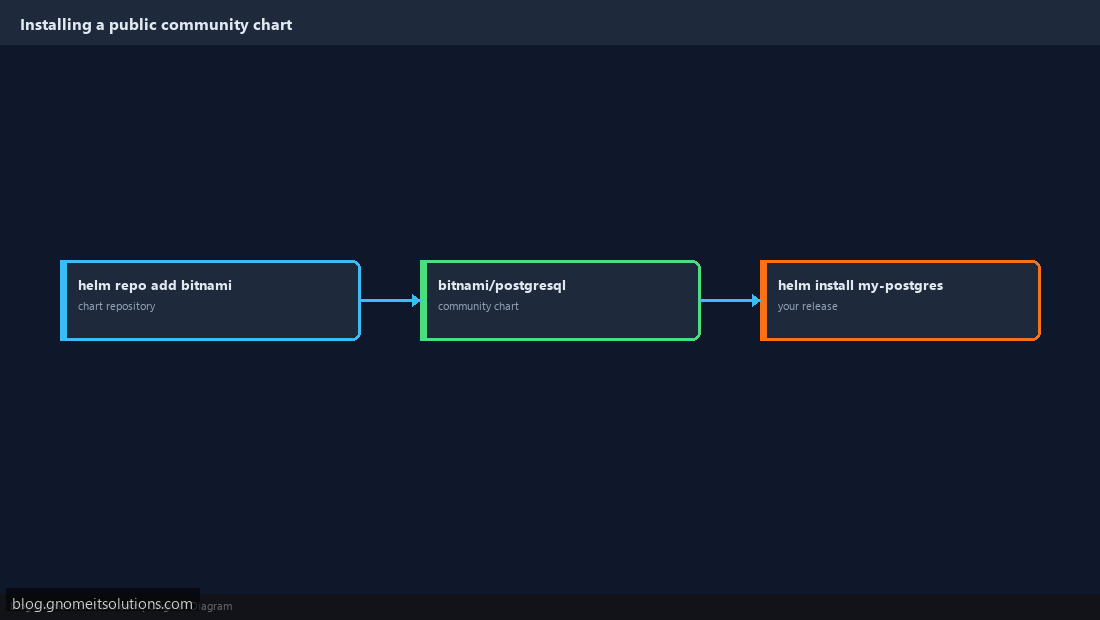
Not every chart needs to be written from scratch — add a public chart repository (helm repo add bitnami https://charts.bitnami.com/bitnami) and install a well-maintained community chart for common software (databases, monitoring stacks) directly: helm install my-postgres bitnami/postgresql, saving the work of writing and maintaining manifests for software you didn’t build.
Command reference
# Create and install
helm create myapp
helm install myapp ./myapp --set image.tag=1.2.0

# Upgrade and roll back
helm upgrade myapp ./myapp --set image.tag=1.3.0
helm history myapp
helm rollback myapp 2

# Public chart repos
helm repo add bitnami https://charts.bitnami.com/bitnami
helm install my-postgres bitnami/postgresql
Related tutorials
Terminal screenshots are original illustrations created for Gnome IT Solutions (blog.gnomeitsolutions.com).