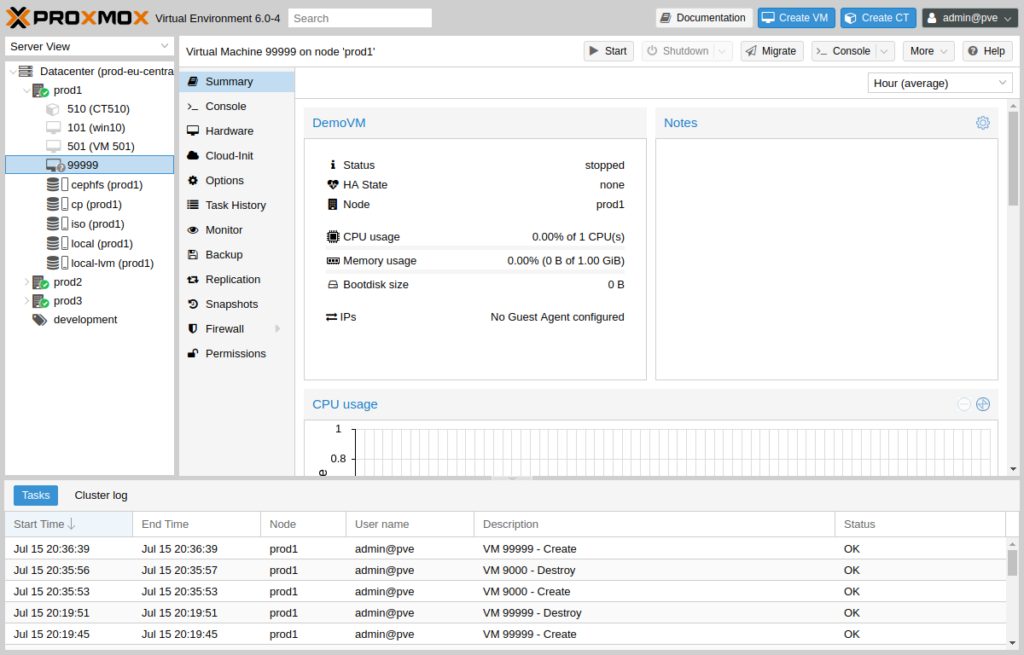
Proxmox snapshots capture VM state for quick rollback. This Proxmox snapshot tutorial covers the GUI workflow and CLI commands.
When to Use Snapshots
- Before OS or package updates
- Before risky configuration changes
- During lab testing (not long-term on production)
Step 1: Select Your Virtual Machine
In the Proxmox tree, click your VM. Use the Snapshots tab (next to Summary, Console, Hardware).
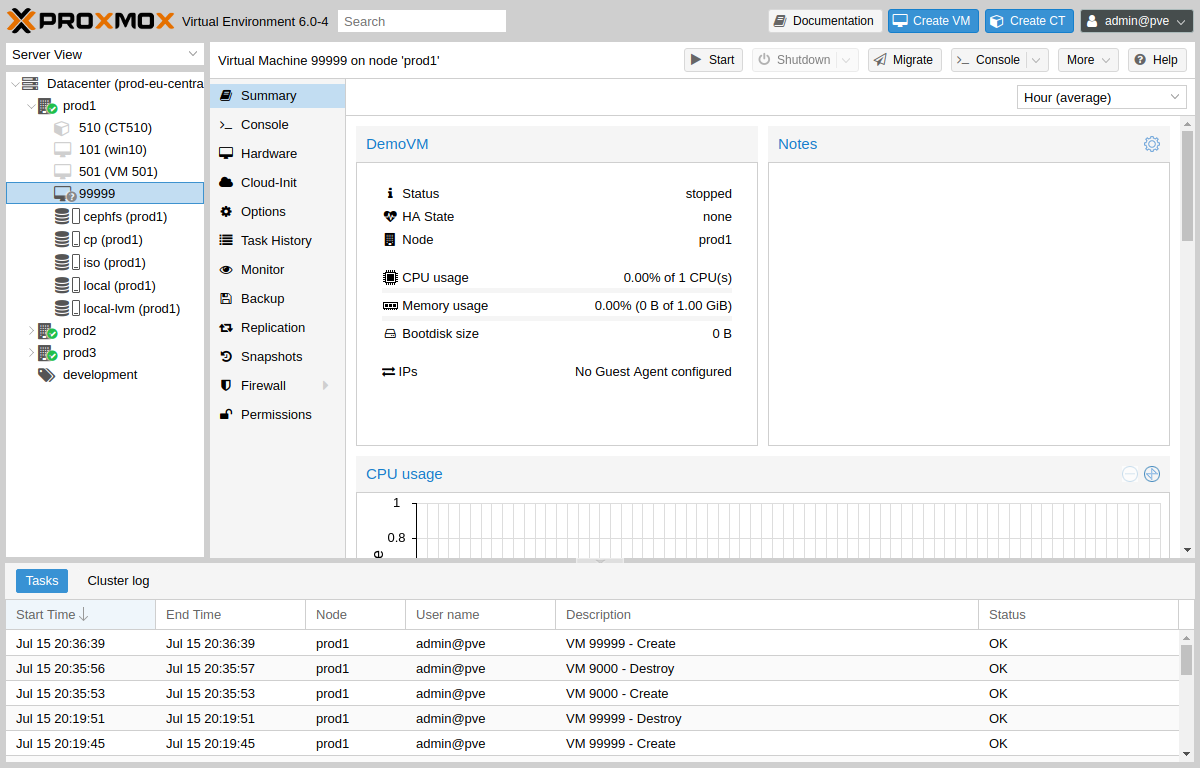
Step 2: Review VM Hardware Before Snapshot
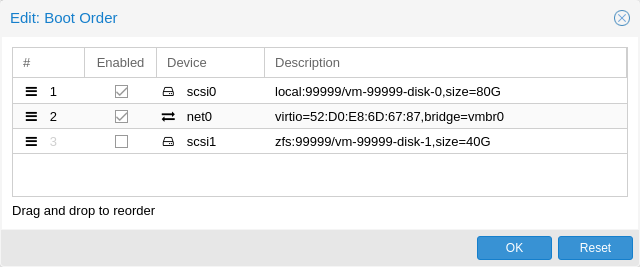
Confirm disk and network settings in the Hardware tab before taking a snapshot.
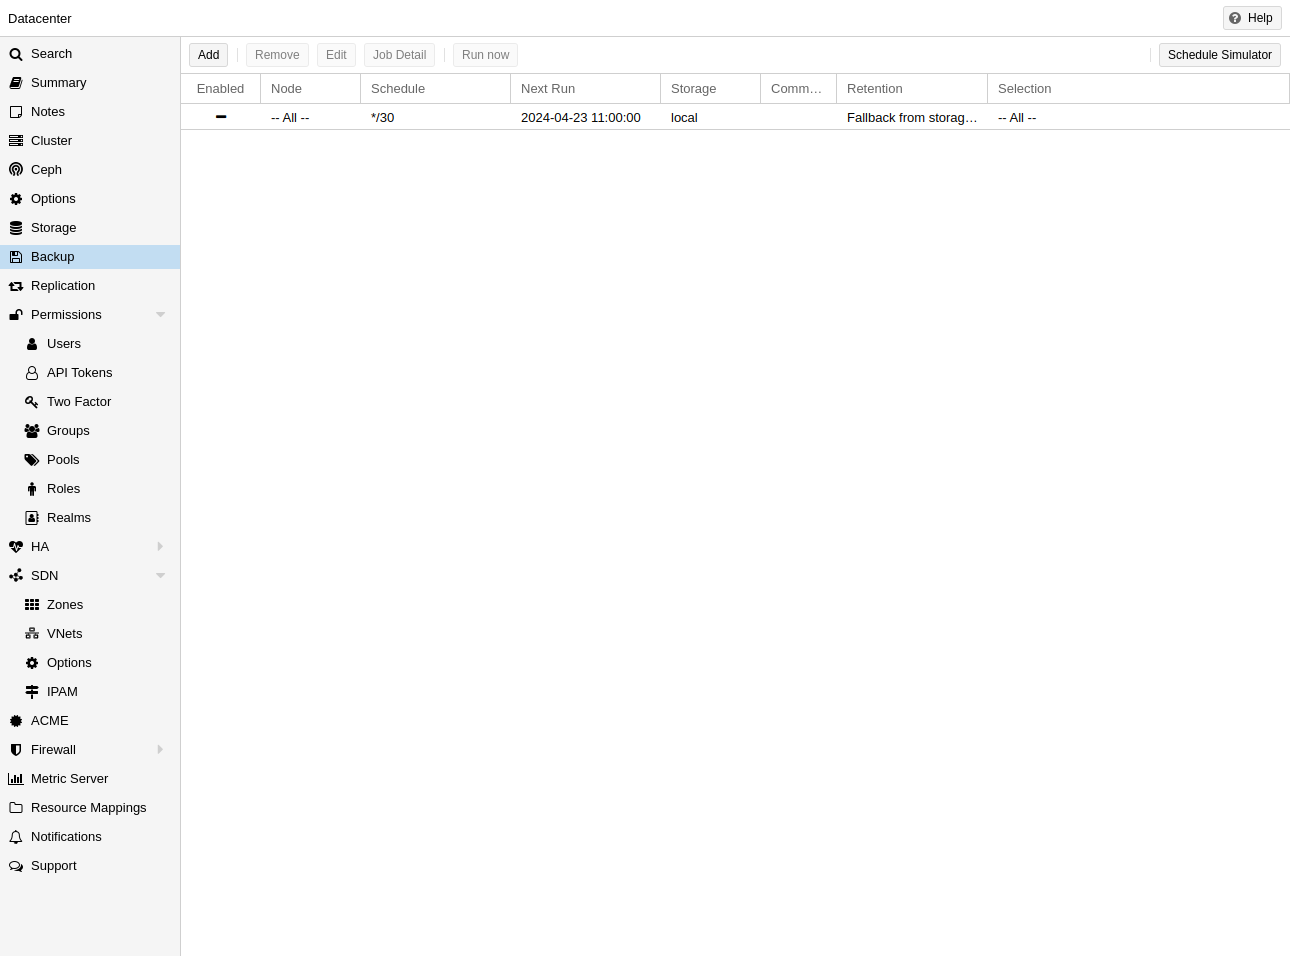
Step 3: Use Backup for Full Protection
For disaster recovery, combine snapshots with scheduled backups configured in Datacenter → Backup.
Take and Rollback Snapshots (GUI)
- VM → Snapshots tab → Take Snapshot
- Enter name (e.g.
before-update) → confirm - To rollback: select snapshot → Rollback
CLI Commands
qm snapshot 101 before-update
qm listsnapshot 101
qm rollback 101 before-update
Best Practices
- Remove old snapshots to free storage
- Use vzdump backups for full DR; snapshots for quick rollback
Image credits: Screenshots are from the official
Proxmox VE documentation
(Proxmox GmbH), used for educational purposes.