
“Just disable SELinux” is one of the most common pieces of bad advice in Linux troubleshooting — it silences a genuinely useful security layer instead of fixing the actual policy mismatch causing a denial. SELinux (RHEL/AlmaLinux/Fedora) and AppArmor (Ubuntu/Debian/SUSE) are both Mandatory Access Control systems — they add a second layer of permission checks on top of normal Unix file permissions, confining what a process can do even if it’s compromised.
This guide explains what each system actually does, how to read their status and diagnostics, and how to fix a real denial instead of reaching for the disable switch.
Step 1: What MAC Actually Adds Over Normal Permissions
Standard Unix permissions (DAC, discretionary access control) let the file owner decide who can read/write/execute — but a compromised web server process still has all of the web server user’s permissions. SELinux/AppArmor add a second, independent check: even if DAC permissions would allow an action, the MAC policy can still deny it based on what that specific process is allowed to do — confining a compromised nginx process from reading the system’s shadow password file even if some permission misconfiguration would otherwise allow it.

Step 2: Check Current Enforcement Status
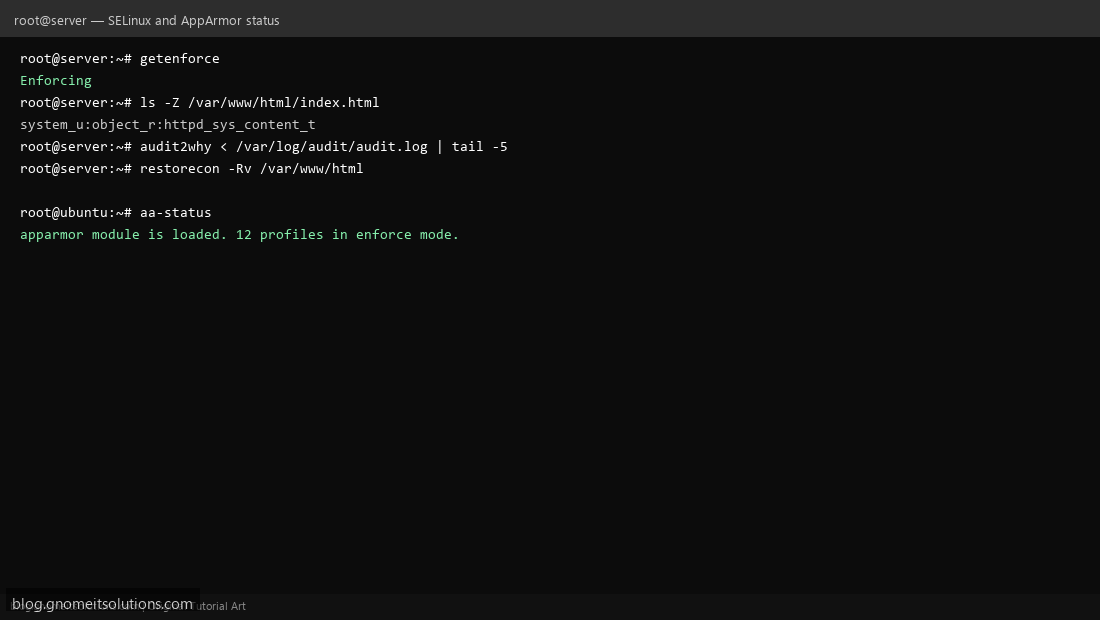
On SELinux systems: getenforce returns Enforcing, Permissive (policy violations are logged but not blocked — useful for testing), or Disabled. On AppArmor systems: aa-status shows how many profiles are loaded and whether each is in enforce or complain mode (AppArmor’s equivalent of permissive).
Step 3: Understand SELinux Contexts
Every file, process, and port under SELinux has a context — a label like system_u:object_r:httpd_sys_content_t. View a file’s context with ls -Z. SELinux policy rules say things like “processes with type httpd_t may read files with type httpd_sys_content_t” — denials almost always trace back to a file having the wrong context for what’s trying to access it, not a fundamentally broken policy.
Step 4: Diagnose and Fix a Real SELinux Denial
When something inexplicably gets “permission denied” despite correct file permissions, check /var/log/audit/audit.log for AVC denials, or run audit2why < /var/log/audit/audit.log for a human-readable explanation. The most common fix for a mislabeled file (e.g. web content moved from a non-standard directory) is restorecon -Rv /path, which resets the context to policy defaults — usually the actual fix, not a workaround.
Step 5: Use Permissive Mode for Testing, Not as a Permanent Fix
setenforce 0 temporarily switches to permissive mode (denials logged but not blocked) — useful to confirm SELinux is actually the cause of a problem before you dig further, or to test a new context change. This is not the same as disabling SELinux entirely, and should be a temporary diagnostic state, reverted with setenforce 1 once you've identified and fixed the real issue.
Step 6: AppArmor Profile Basics
AppArmor profiles live in /etc/apparmor.d/, one file per confined application, listing exactly which files/capabilities that program may use. Put a profile into complain mode for testing with aa-complain /etc/apparmor.d/usr.sbin.nginx, or back to enforcing with aa-enforce. Unlike SELinux's more abstract type system, AppArmor profiles are closer to a direct allow-list of file paths, which many admins find more approachable to read and edit directly.
Step 7: Troubleshoot a Blocked Service
For SELinux, check journalctl or ausearch -m avc -ts recent for recent denials tied to the service's timestamp. For AppArmor, check journalctl -xe | grep apparmor or dmesg | grep apparmor for DENIED entries naming the exact file/capability blocked. Both point you directly at what needs a context fix or a profile update — read the actual denial before assuming the whole security layer is the problem.
Step 8: Best Practices
Keep enforcement on in production — the security value comes entirely from actually blocking things, not just logging them. When something legitimately needs broader access, fix the specific context or profile rule rather than disabling the whole system; tools like audit2allow (SELinux) can even generate a custom policy module for a specific legitimate exception. Treat "just turn it off" as a last resort for a throwaway lab box, never for anything that matters.
Command reference
# SELinux
getenforce
ls -Z /path/to/file
audit2why < /var/log/audit/audit.log
restorecon -Rv /path
setenforce 0   # temporary permissive for testing

# AppArmor
aa-status
aa-complain /etc/apparmor.d/usr.sbin.nginx
aa-enforce /etc/apparmor.d/usr.sbin.nginx
journalctl -xe | grep apparmor
Related tutorials
- Proxmox Host Security Hardening Checklist
- sudo and visudo: Configuring Sudoers Safely
- UFW Firewall Basics on Linux
Terminal screenshots are original illustrations created for Gnome IT Solutions (blog.gnomeitsolutions.com).