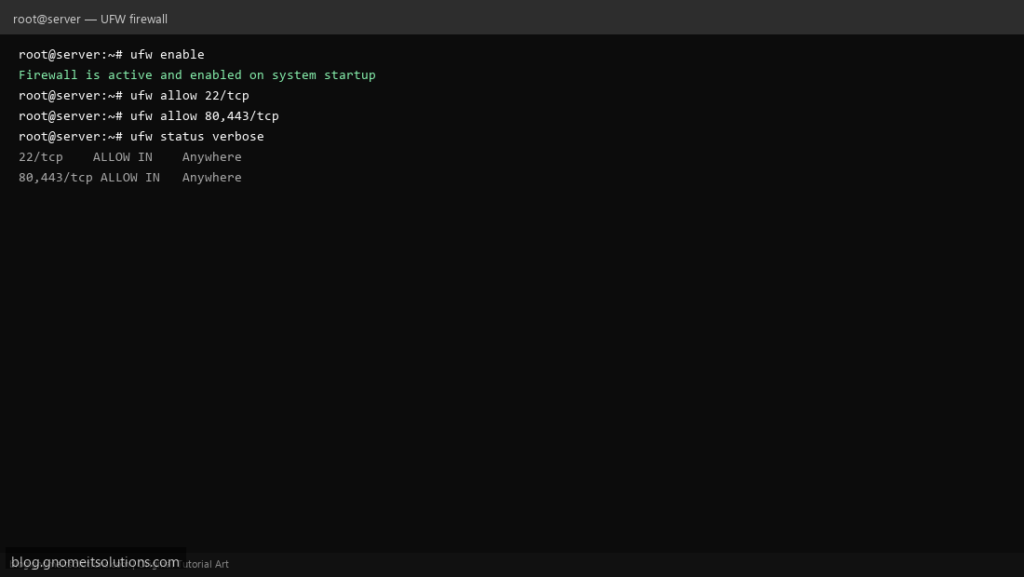
UFW (Uncomplicated Firewall) is a friendly front end over the kernel’s packet filter, built to make firewall rules readable without memorising raw
iptables or nftables syntax. It ships on Ubuntu by default and is available on Debian and other distributions.
This guide sets sane default policies, allows SSH before enabling the firewall (the step that saves you from locking yourself out of a remote server),
allows common services, and verifies from the outside rather than trusting the configuration alone.
Quick answer: sudo ufw allow OpenSSH first, then sudo ufw enable, never the other way around on a remote box.
What UFW Actually Does
UFW does not filter packets itself — it translates simple commands into rules for the kernel’s real packet filter (iptables or nftables, depending on the distribution) and manages them for you.
ufw allow 22/tcp --> UFW translates the rule --> kernel packet filter enforces it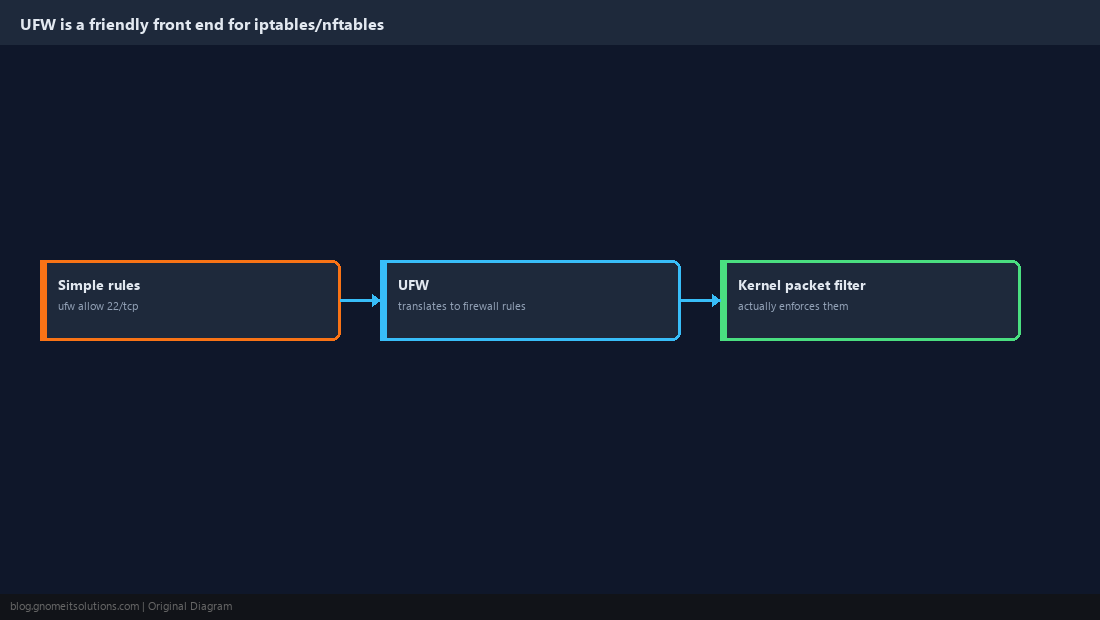
Set Default Policies First
Start from a known state: deny everything incoming by default, allow everything outgoing. Every service you actually need gets an explicit allow rule on top of this.
sudo ufw default deny incoming
sudo ufw default allow outgoing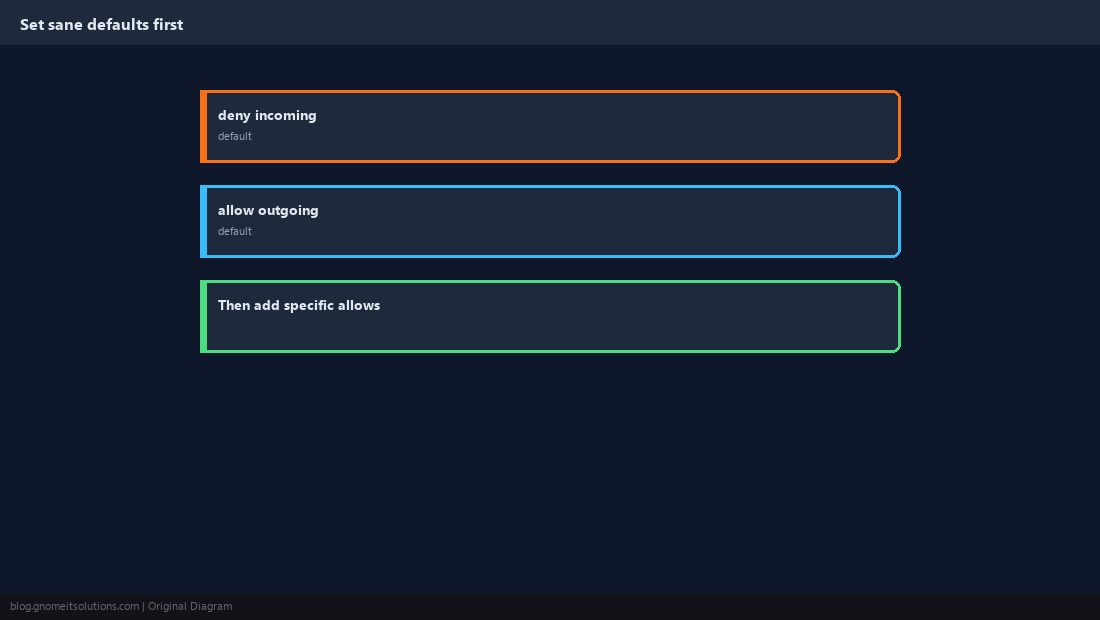
Allow SSH Before You Enable the Firewall
This is the step people skip and then get locked out over. If you are connected over SSH, allow it explicitly before turning UFW on, or the very next command can cut your own session.
sudo ufw allow OpenSSH
sudo ufw status
sudo ufw enablesudo ufw allow 2222/tcp. Confirm the rule exists with ufw status before enabling.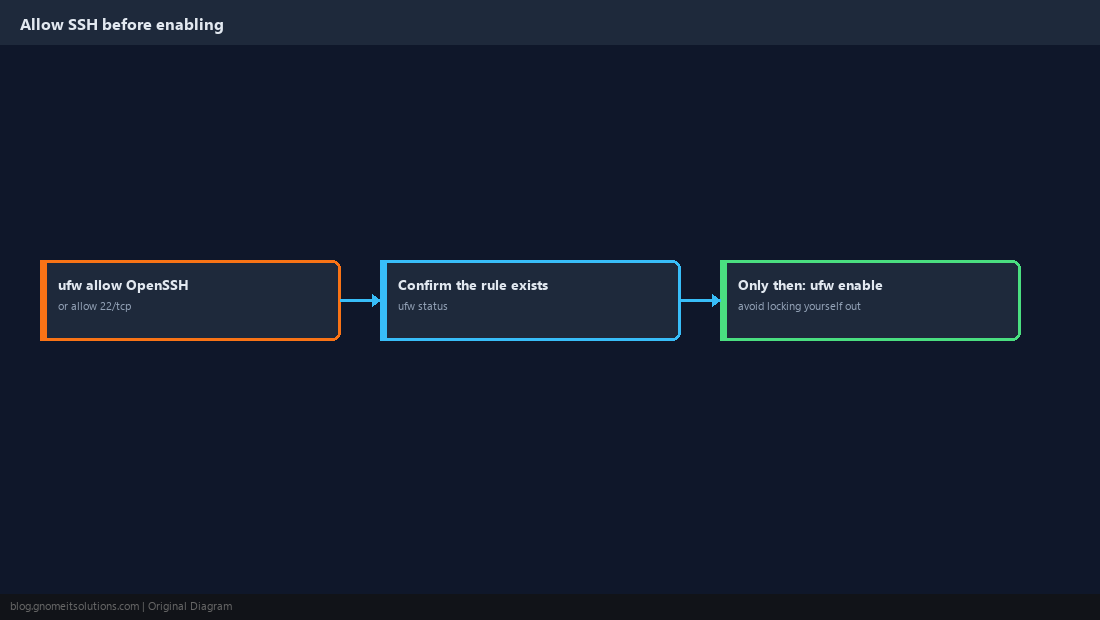
Allow the Services You Actually Run
Add a rule per service, or per source address for something that should only be reachable from a specific network.
sudo ufw allow 80/tcp
sudo ufw allow 443/tcp
sudo ufw allow from 10.0.0.0/24 to any port 3306
ufw app list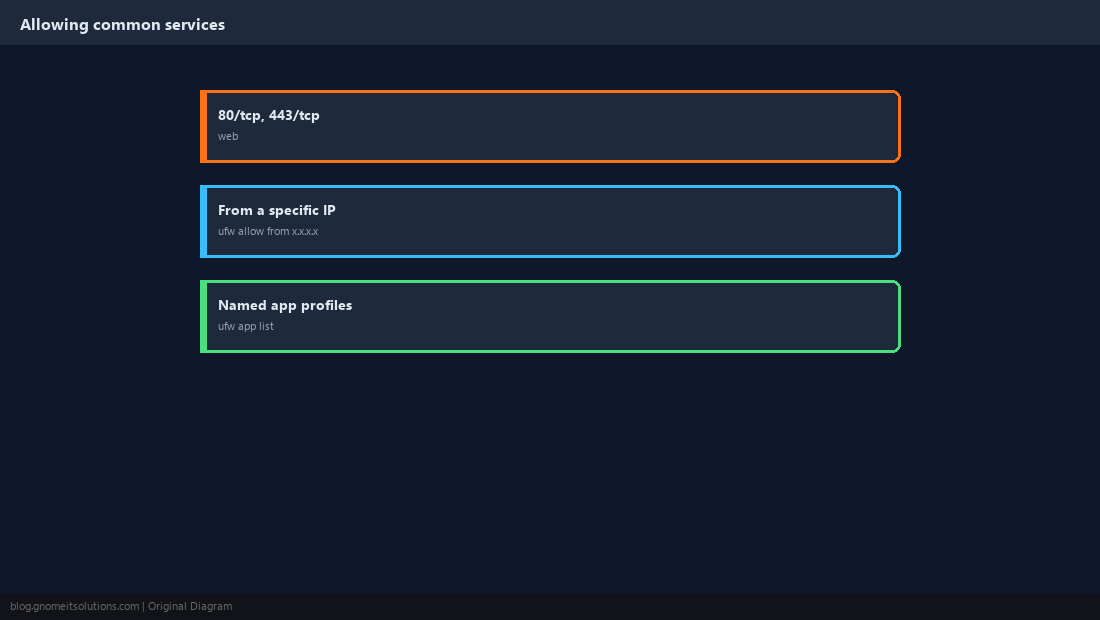
Remove Rules Safely
List rules with numbers first so you delete the exact one you mean, not a similar-looking one.
sudo ufw status numbered
sudo ufw delete 3
sudo ufw status numbered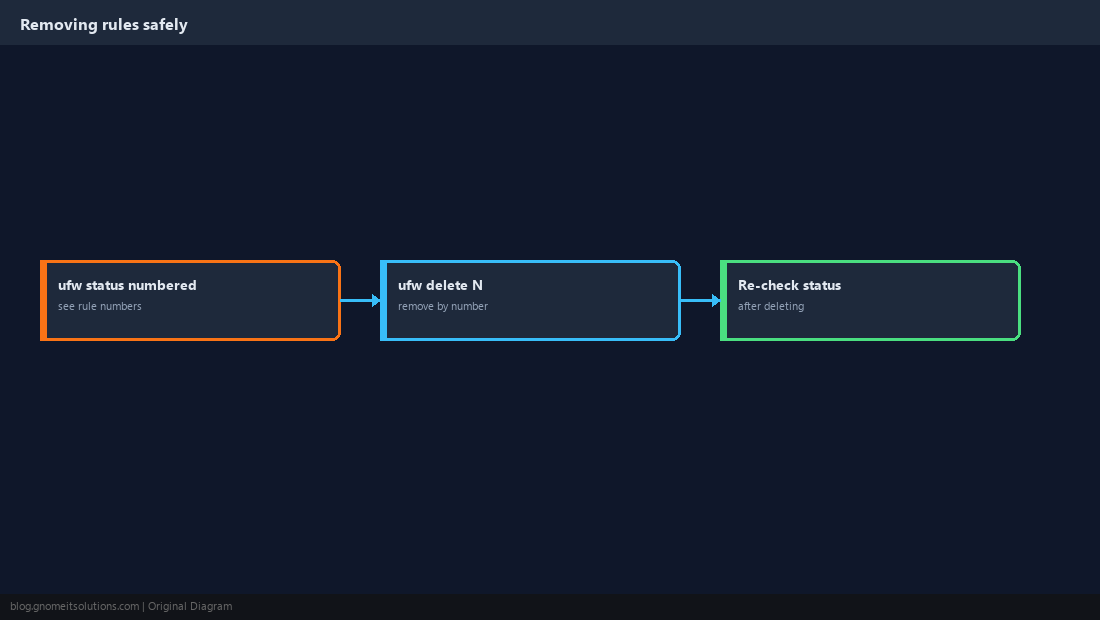
Turn On Logging and Rate Limiting
Logging shows what is being blocked, which is invaluable when a legitimate connection unexpectedly fails. limit throttles repeated connection attempts on a port, which is a cheap defence against basic brute-force scans on SSH.
sudo ufw logging medium
sudo ufw limit 22/tcp
sudo tail -f /var/log/ufw.log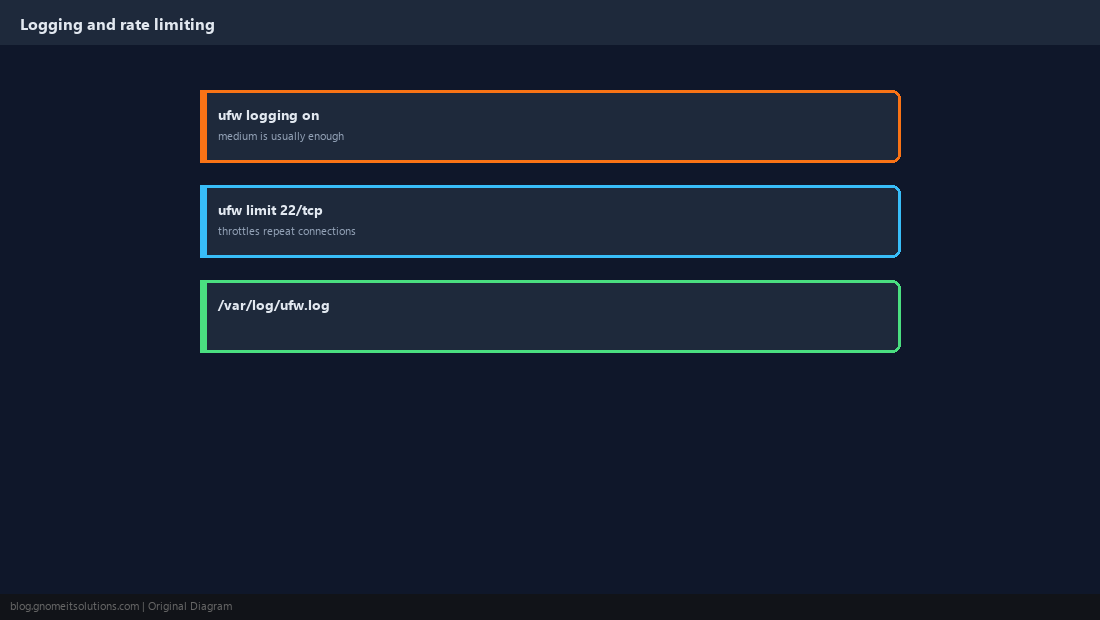
Don’t Forget IPv6
UFW manages IPv6 rules alongside IPv4 once enabled in its own configuration file, and every rule you add applies to both automatically after that.
IPV6=yessudo ufw status verbose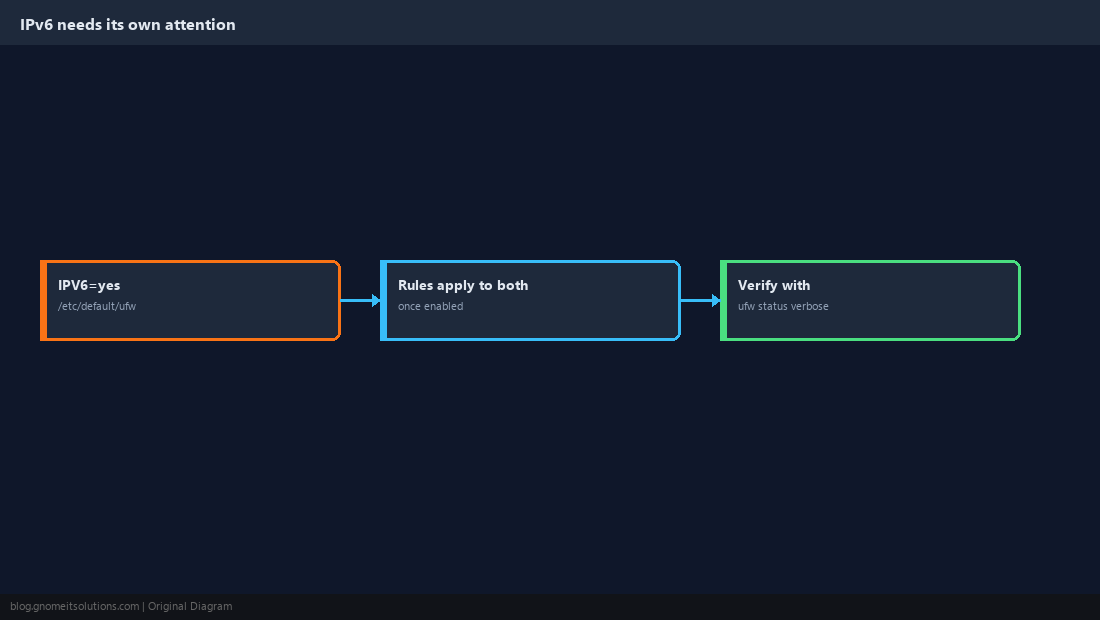
Verify From the Outside, Not Just the Config
A rule that looks right in ufw status can still be undermined by a cloud provider’s separate security group, a Docker network bypassing UFW, or a typo in a port number. Confirm from another machine.
sudo ufw status verbosenmap -Pn -p 22,80,443 your-server-ip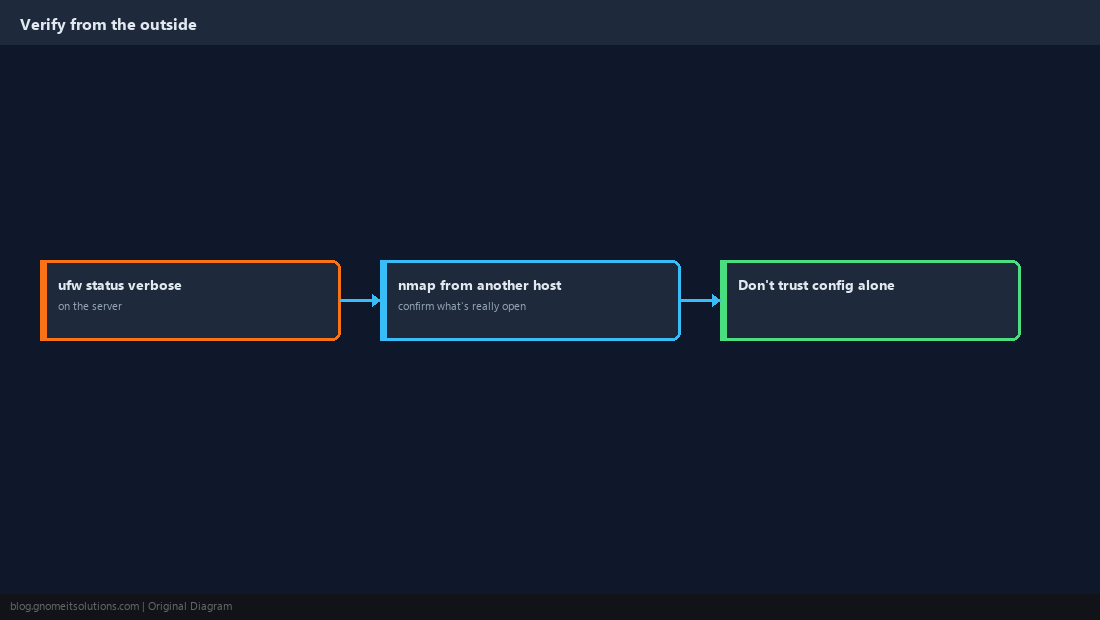
How do I allow SSH through UFW?
Run sudo ufw allow OpenSSH (or sudo ufw allow 22/tcp if you use the default port), and do this before running sudo ufw enable on a remote server.
What is the default UFW policy?
Out of the box UFW has no rules and is inactive. The recommended starting policy, set explicitly, is deny all incoming and allow all outgoing, with specific services allowed on top.
How do I see which UFW rules are active?
Run sudo ufw status verbose for the policies and every active rule, or sudo ufw status numbered when you need the rule numbers to delete one.
Does UFW work with Docker?
Not cleanly by default. Docker inserts its own iptables rules to publish container ports, which can bypass UFW’s filtering entirely. This needs specific extra configuration beyond the scope of basic UFW usage.
How do I completely reset UFW?
sudo ufw reset disables UFW and removes all rules, returning it to its default inactive state. You will need to re-add your allow rules, including SSH, before enabling it again.
Cheat Sheet
- Default deny incoming, allow outgoing; allow SSH before
ufw enable ufw status numberedto find rules,ufw delete Nto remove them- Verify open ports from a different machine, not just
ufw status
Related tutorials
Diagrams are original illustrations by Gnome IT Solutions. Tutorial text © Gnome IT Solutions.