Our networking basics guide covered VLANs on a single
bridge — simple, but it depends on your physical switches being configured to trunk the right VLAN IDs to
every Proxmox node. Proxmox SDN with VXLAN removes that dependency: VMs on
different physical nodes join the same Layer 2 network over a UDP overlay, using only IP reachability between
nodes — no switch VLAN configuration at all.
This guide enables SDN, creates a VXLAN zone spanning a 3-node cluster, builds a VNet, attaches VMs to it,
and verifies they can reach each other across nodes as if on the same physical switch.
When VXLAN makes sense over plain VLANs
- Multi-tenant labs — spin up isolated overlay networks per project without touching switch config
- Limited VLAN budget — VXLAN gives you up to 16 million VNIs vs. 4094 VLAN IDs
- Mixed/managed switches — works even if you don’t control the physical switch trunking
- Trade-off: VXLAN adds ~50 bytes of encapsulation overhead per packet — set MTU accordingly
Step 1: Enable SDN on the Cluster
SDN ships with Proxmox VE but needs the libpve-network-perl package (usually already installed on recent versions). Confirm Datacenter → SDN appears in the web UI. If not, install it and restart pvedaemon and pveproxy.
Step 2: Create a VXLAN Zone
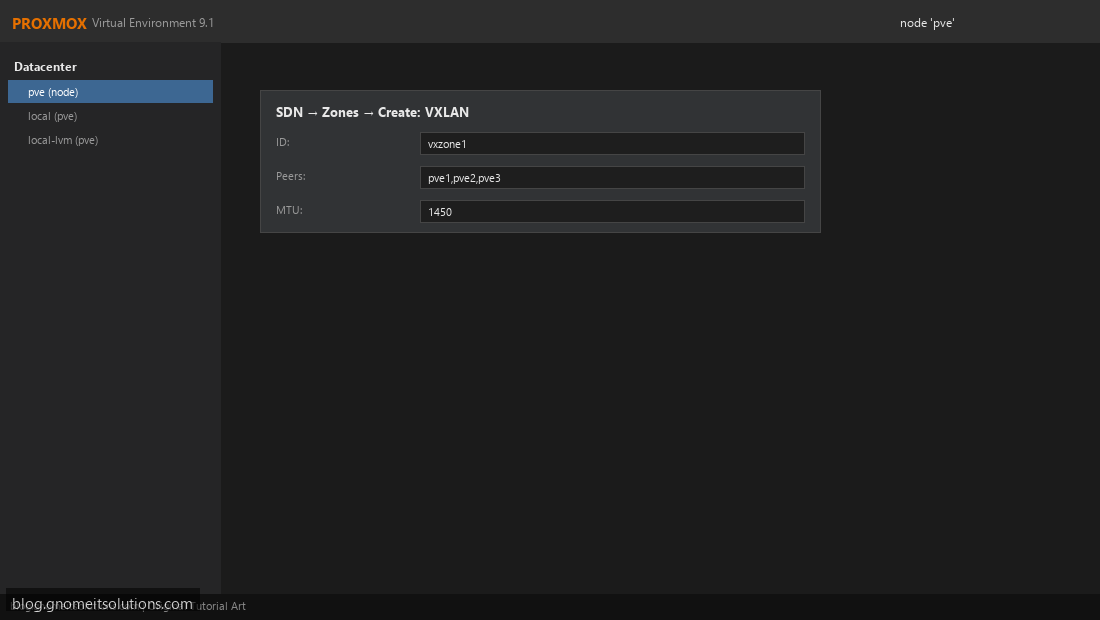
Datacenter → SDN → Zones → Create → VXLAN. Give it an ID (e.g. vxzone1) and list every node’s IP as a peer — this is how nodes discover each other’s VXLAN tunnel endpoints. Set MTU to 1450 (standard 1500 minus VXLAN overhead) unless your network already supports jumbo frames.
Step 3: Create a VNet Inside the Zone
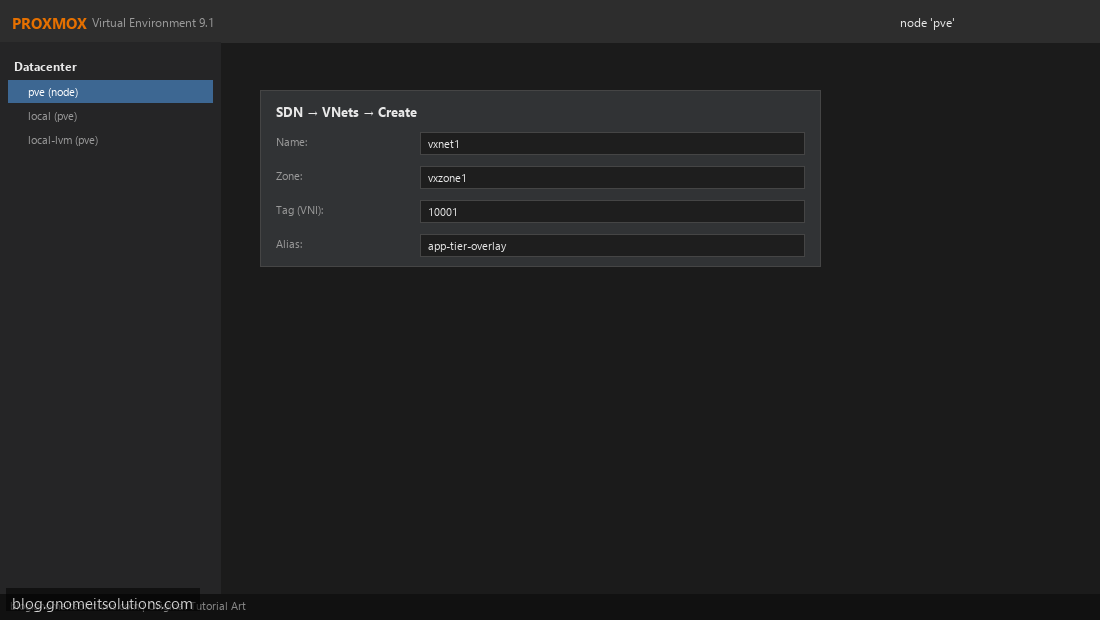
Datacenter → SDN → VNets → Create. Name it (e.g. vxnet1), assign it to vxzone1, and set a Tag — this is the VXLAN Network Identifier (VNI), a numeric ID (e.g. 10001) that uniquely identifies this overlay network across the cluster.
Step 4: Apply the SDN Configuration
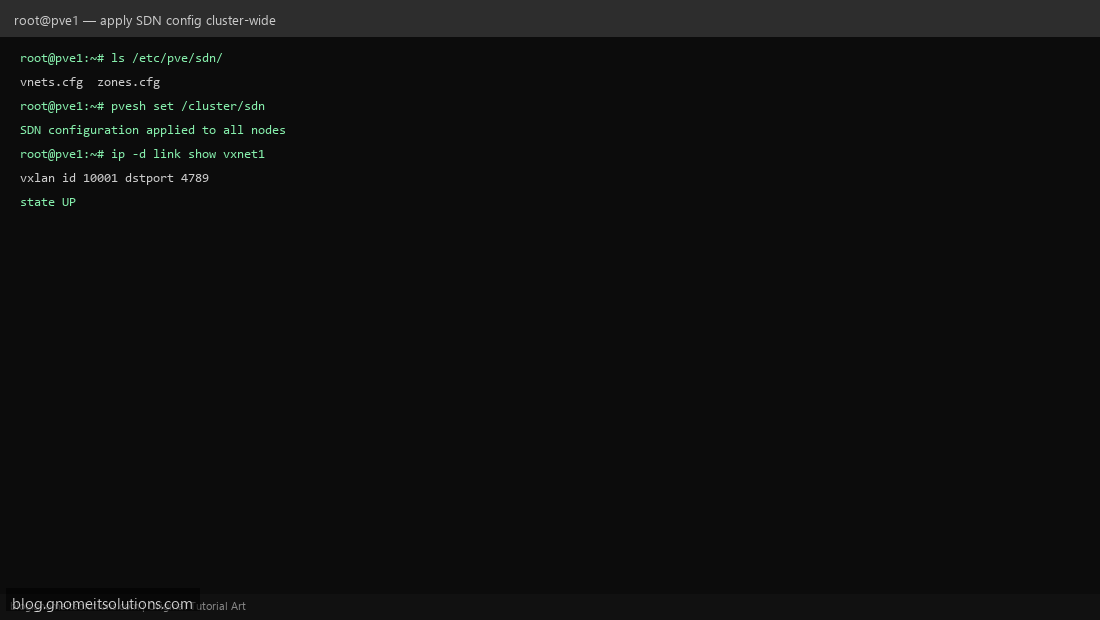
SDN changes are staged until you click Apply in Datacenter → SDN — this pushes the config to /etc/pve/sdn/ and reloads networking on every node cluster-wide. Verify with ip -d link show vxnet1 on each node — you should see a VXLAN interface with the correct VNI and destination port 4789.
Step 5: Attach a VM to the VNet
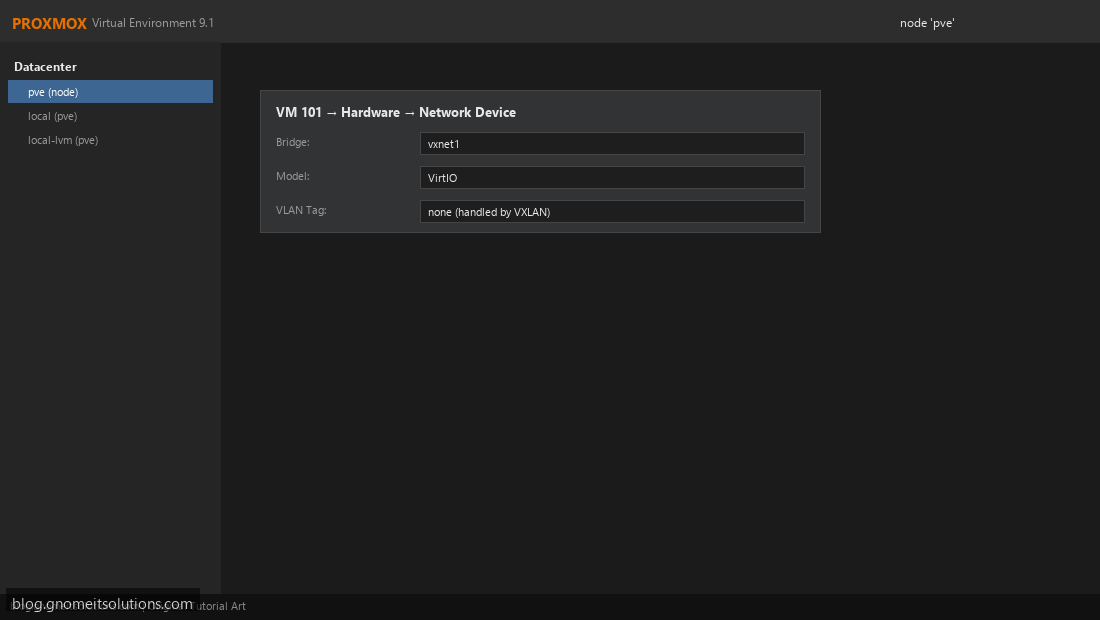
On any VM, VM → Hardware → Network Device, set Bridge to vxnet1. No VLAN tag is needed — the VXLAN encapsulation already isolates this traffic from everything else. Repeat on a second VM located on a different physical node to test cross-node connectivity.
Step 6: Verify Cross-Node Layer 2 Connectivity
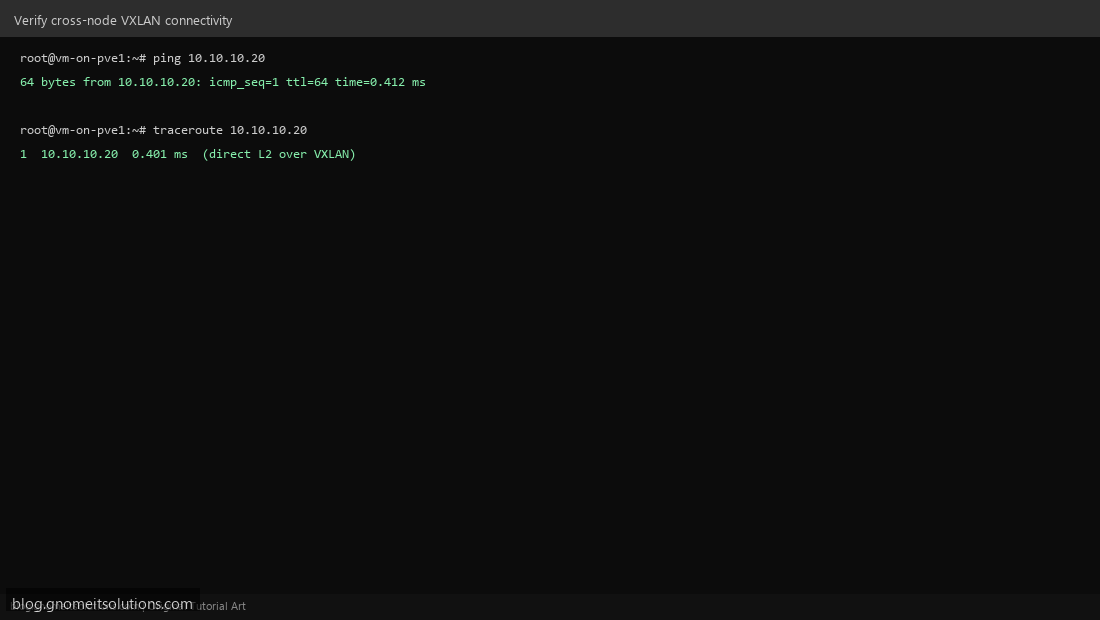
Assign IPs in the same subnet to both VMs (e.g. 10.10.10.10 and 10.10.10.20) and ping between them. A successful ping with low, direct latency confirms the VXLAN overlay is tunneling their traffic correctly — even though they’re on physically separate hosts with no shared VLAN on the switch.
Step 7: Add a Subnet for DHCP and Routing (Optional)
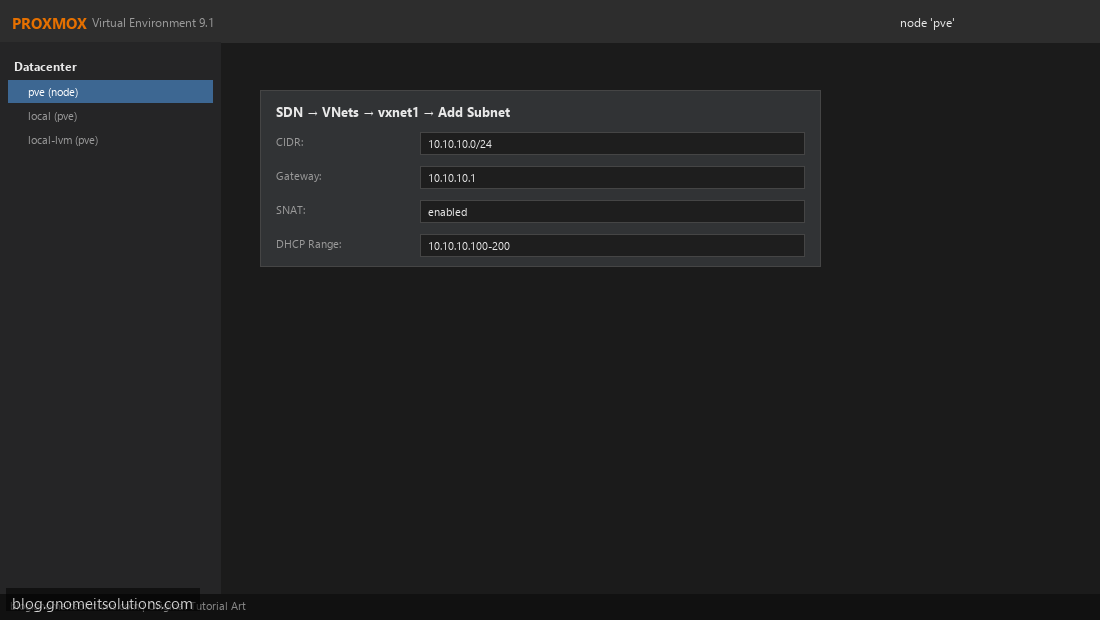
For a self-contained overlay network with its own DHCP, go to the VNet → Add Subnet. Set a CIDR (e.g. 10.10.10.0/24), a gateway, and enable SNAT if VMs on this overlay need outbound internet access through the Proxmox host. Proxmox’s built-in DHCP server can then hand out addresses to VMs automatically.
CLI reference
# Config files SDN writes to (after Apply)
cat /etc/pve/sdn/zones.cfg
cat /etc/pve/sdn/vnets.cfg

# Verify VXLAN interface on a node
ip -d link show vxnet1

# Apply SDN config from CLI (equivalent to clicking Apply)
pvesh set /cluster/sdn
Troubleshooting checklist
- Ping fails between VMs? Check that every node’s IP is listed as a peer in the zone, and that ”
“UDP port 4789 isn’t blocked by a firewall between nodes - High packet loss on large transfers? Lower the VM’s MTU to match the VXLAN zone’s MTU (1450)
- VNet not showing on a node? Confirm you clicked Apply after the config change — ”
“staged changes don’t take effect until applied
Related tutorials
Image credits: All illustrations use original Proxmox VE branded artwork created
for Gnome IT Solutions — not copied from vendor marketing assets or third-party screenshots.
Tutorial text © Gnome IT Solutions.
Image credits: Screenshots are from the official
Proxmox VE documentation
(Proxmox GmbH), used under open documentation terms for educational purposes.
Tutorial text and layout © Gnome IT Solutions.