Every action in the Proxmox web UI — creating a VM, starting a container, checking node status — is
backed by a REST API. Once you’re scripting anything against Proxmox (our
Terraform guide and
Ansible guide both use it under the
hood), it’s worth knowing how to call that API directly — for one-off scripts, monitoring integrations, or
debugging what a tool like Terraform is actually doing.
This guide creates a scoped API token (never use your root password in a script), explores the API
locally with the built-in pvesh tool, and calls it remotely with plain curl.
Step 1: Create a Dedicated User (Not Root)
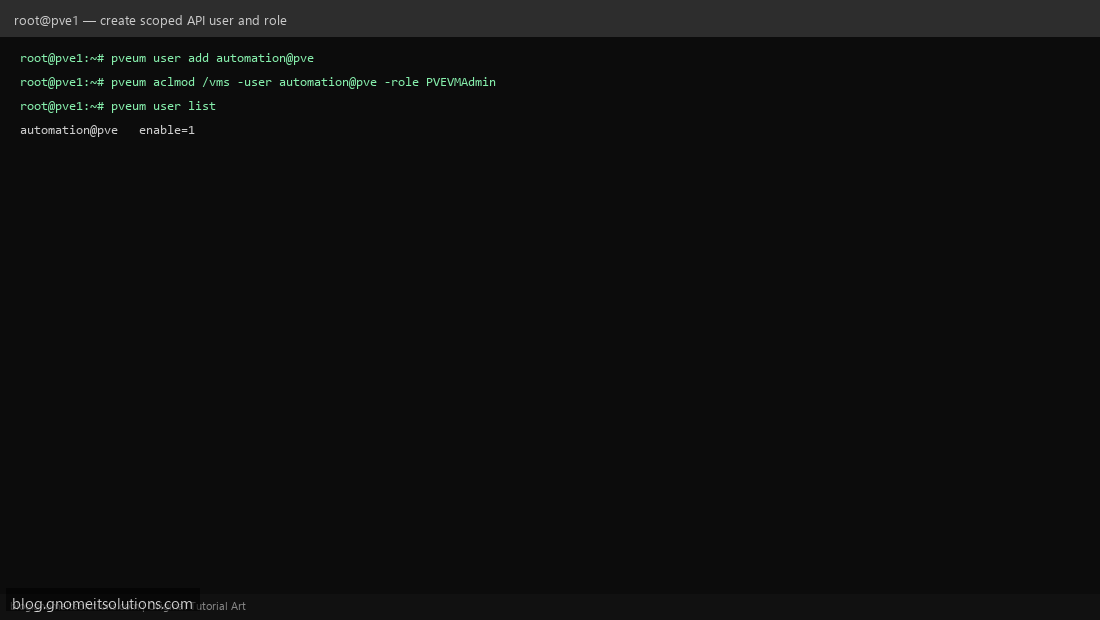
Never automate against root@pam. Create a purpose-specific user: pveum user add automation@pve. Using a separate user means you can revoke or audit its access independently of your own admin login.
Step 2: Grant a Scoped Role
Give the user only the permissions it needs. For VM management: pveum aclmod /vms -user automation@pve -role PVEVMAdmin. This restricts the user to VM-related actions — it cannot touch storage config, users, or the cluster itself. Use the built-in role PVEAuditor instead if the script only needs read access.
Step 3: Create an API Token
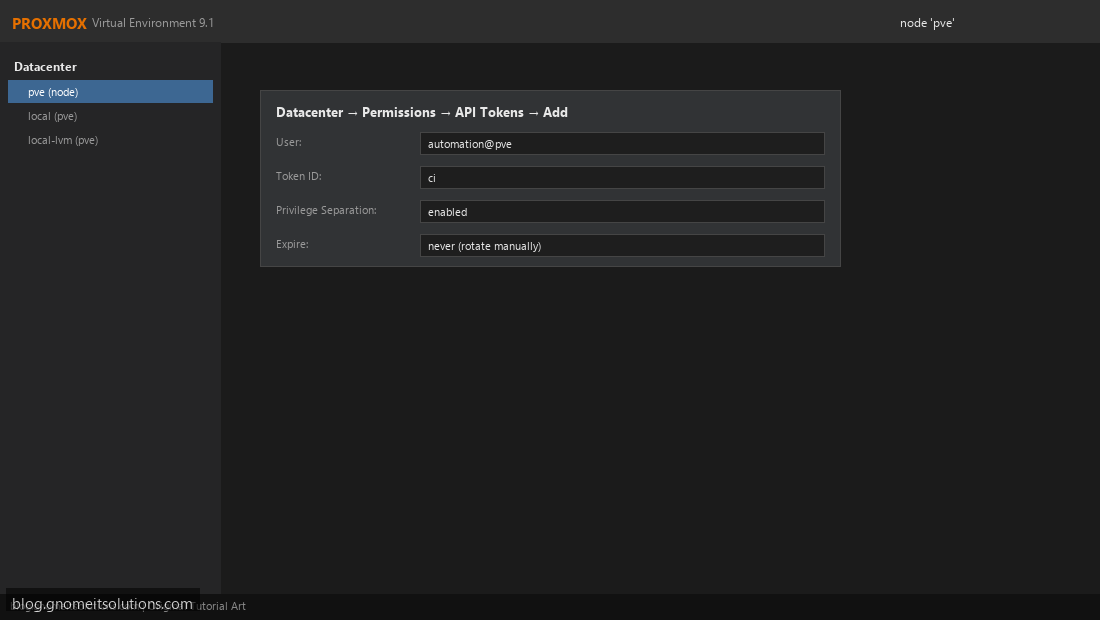
Datacenter → Permissions → API Tokens → Add. Select the user, give the token an ID (e.g. ci), and decide on Privilege Separation: enabled means the token only has permissions you explicitly grant it (recommended); disabled means it inherits the full user’s permissions. Copy the secret shown — like the Ceph and Terraform tokens in our other guides, it’s shown only once.
Step 4: Explore the API Locally With pvesh
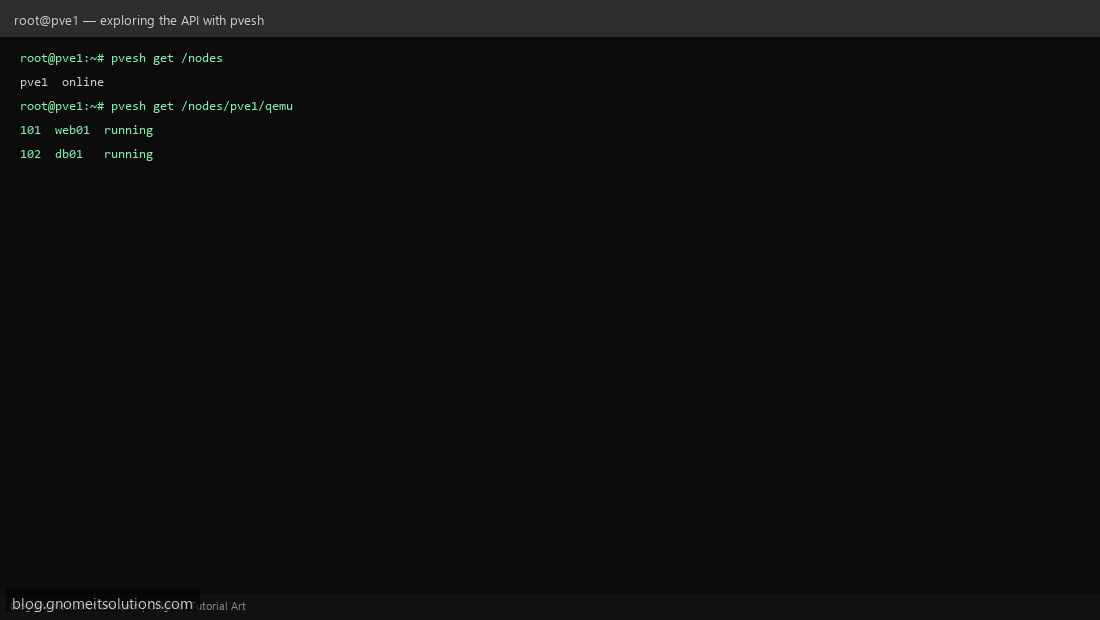
SSH into a Proxmox node and try pvesh get /nodes to list cluster nodes, then pvesh get /nodes/pve1/qemu to list VMs on that node. pvesh is a thin CLI wrapper around the same REST API, authenticated as your current shell user (usually root) — useful for quick exploration before you write a remote script.
Step 5: Call the API Remotely With curl
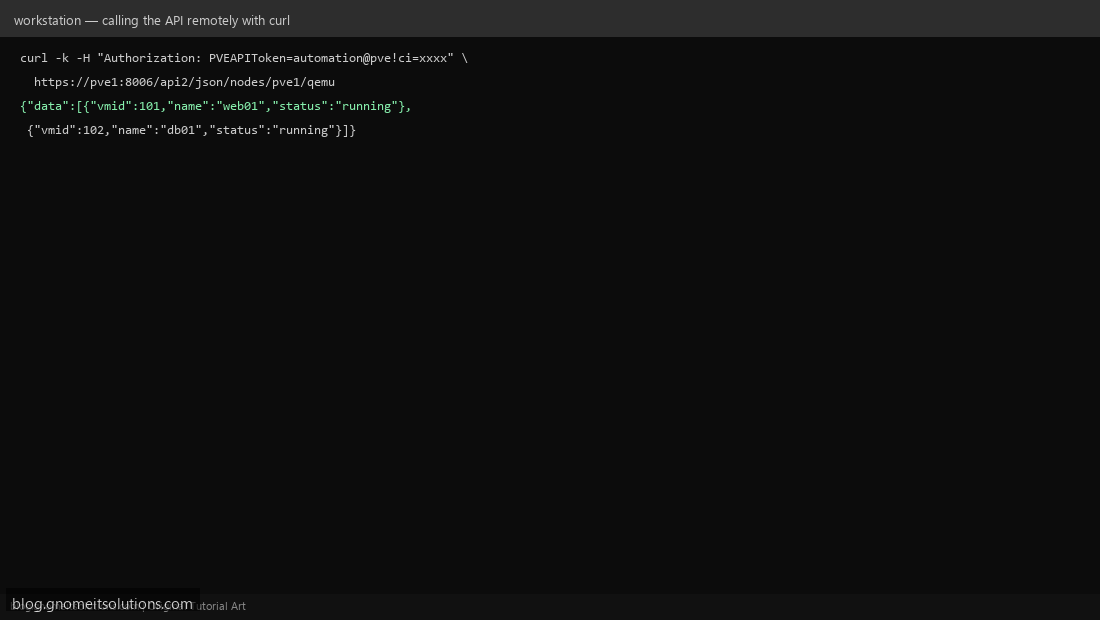
From your workstation (not the Proxmox host), authenticate with the token header: curl -k -H "Authorization: PVEAPIToken=automation@pve!ci=SECRET" https://pve1:8006/api2/json/nodes/pve1/qemu. The response is JSON listing VMs with their status — this is the same data pvesh showed, but reachable from any machine with network access to port 8006.
Step 6: Start or Stop a VM via the API
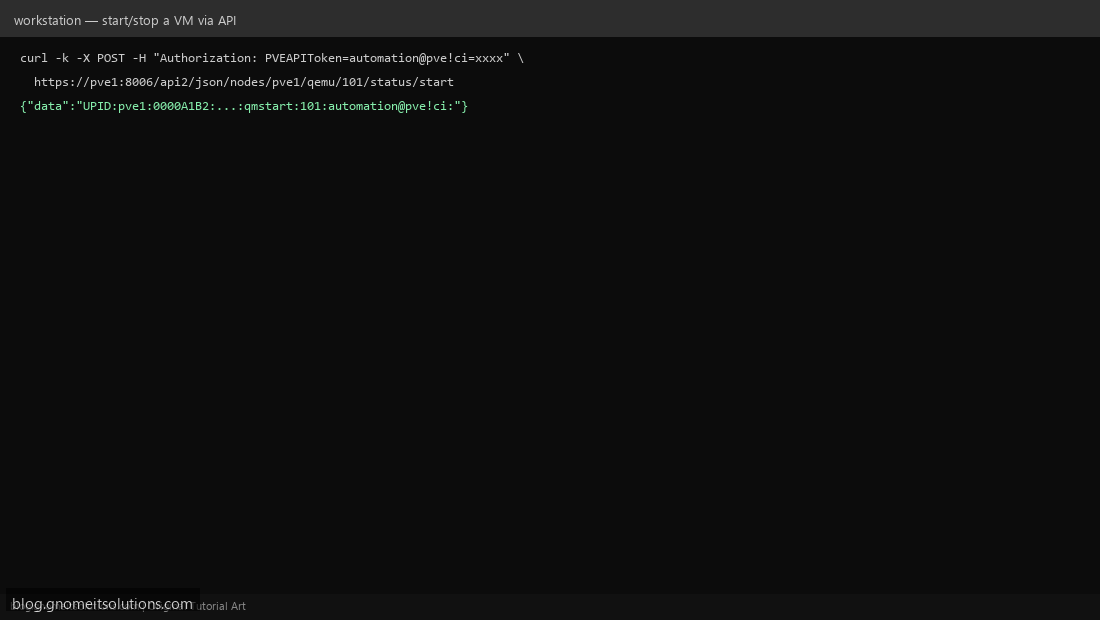
State-changing calls use POST instead of GET: curl -k -X POST -H "Authorization: PVEAPIToken=..." https://pve1:8006/api2/json/nodes/pve1/qemu/101/status/start. The response returns a UPID (task ID) you can poll at /nodes/pve1/tasks/UPID/status to check whether the start operation succeeded — API calls that trigger background work are asynchronous.
Step 7: Secure and Rotate Tokens
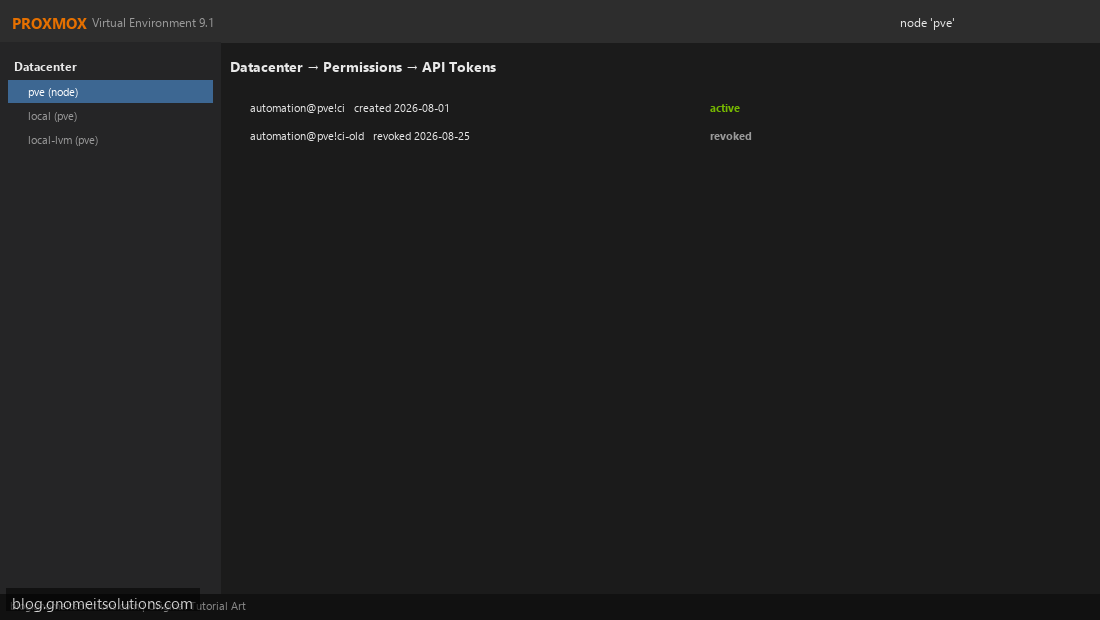
Treat API tokens like passwords: store them in a secrets manager or environment variable, never commit them to git, and set an expiry if your Proxmox version supports it. To rotate, create a new token, update your scripts, then revoke the old one from Datacenter → Permissions → API Tokens — Proxmox lets old and new tokens coexist during the cutover so nothing breaks mid-rotation.
Quick reference
# List nodes
pvesh get /nodes

# List VMs on a node
pvesh get /nodes/pve1/qemu

# Remote call with curl
curl -k -H "Authorization: PVEAPIToken=USER@REALM!TOKENID=SECRET" \
  https://HOST:8006/api2/json/nodes/NODE/qemu

# Start a VM remotely
curl -k -X POST -H "Authorization: PVEAPIToken=..." \
  https://HOST:8006/api2/json/nodes/NODE/qemu/VMID/status/start

# Check an async task's result
curl -k -H "Authorization: PVEAPIToken=..." \
  https://HOST:8006/api2/json/nodes/NODE/tasks/UPID/status
Where this fits with other automation
- Terraform’s
bpg/proxmoxprovider and Ansible’s Proxmox modules both call this same API ”
“under the hood — understanding it helps you debug when either tool errors out - For simple scripts (nightly snapshot, VM count check), calling the API directly with curl or a Python ”
“requests script is often simpler than reaching for a full IaC tool
Related tutorials
Image credits: All illustrations use original Proxmox VE branded artwork created
for Gnome IT Solutions — not copied from vendor marketing assets or third-party screenshots.
Tutorial text © Gnome IT Solutions.
Image credits: Screenshots are from the official
Proxmox VE documentation
(Proxmox GmbH), used under open documentation terms for educational purposes.
Tutorial text and layout © Gnome IT Solutions.