Our Ceph guide is the right answer for 3+ node clusters
needing true HA with automatic failover — but Ceph wants at least 3 nodes for meaningful redundancy, which is
overkill for a lot of small setups. If you only have two physical hosts, Proxmox’s built-in
ZFS storage replication gets you most of the way there: VM disks are periodically replicated
to the second node, so if the primary dies, you can bring the VM up on the replica with minimal data loss.
This is not automatic HA — failover is manual, and you lose whatever changed since the
last replication cycle (your RPO). But it’s dramatically simpler than Ceph and needs no extra hardware beyond
the two nodes you already have.
ZFS replication vs Ceph — pick the right tool
- Ceph: automatic failover, zero data loss, needs 3+ nodes and more RAM/CPU/network
- ZFS replication: manual failover, RPO of your replication interval (e.g. 15 min), works ”
“with just 2 nodes and local disks
Step 1: Confirm Both Nodes Have ZFS Storage
ZFS replication requires the same ZFS pool name and storage ID on both nodes. If you installed Proxmox with ZFS as the root filesystem, you likely already have rpool on both. Confirm with zpool list on each node — you need a healthy pool with free space roughly matching the VM disks you plan to replicate.
Step 2: Register the ZFS Storage as Cluster-Wide
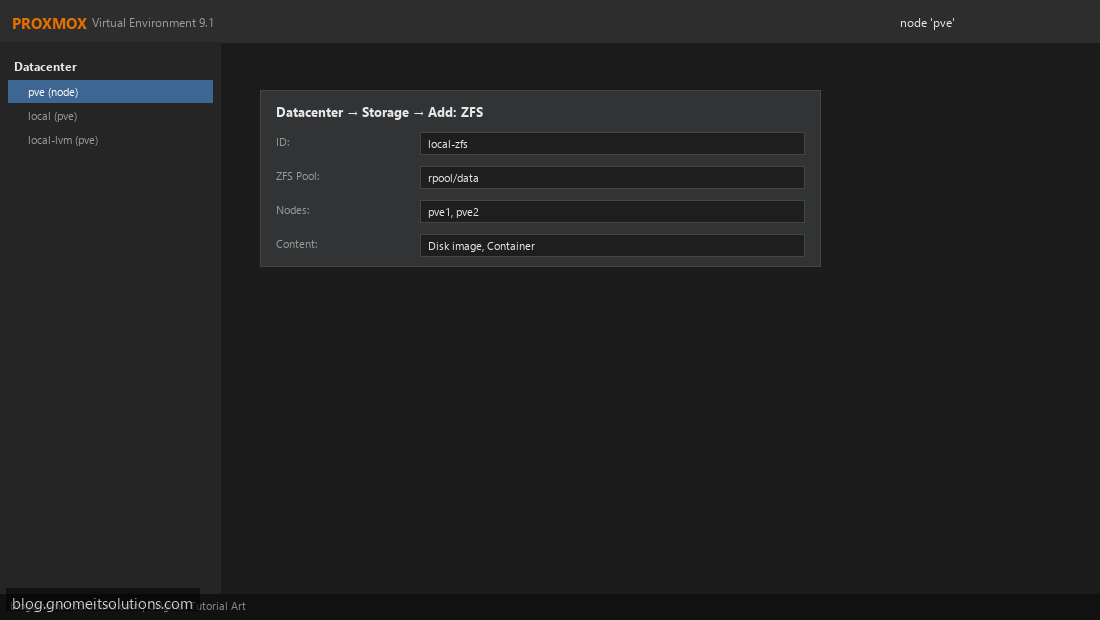
Datacenter → Storage → Add → ZFS. Set the storage ID (e.g. local-zfs), point it at the pool (e.g. rpool/data), and make sure Nodes includes both pve1 and pve2 — this tells Proxmox the storage exists identically on both, which is a prerequisite for setting up replication jobs.
Step 3: Create a Replication Job for a VM
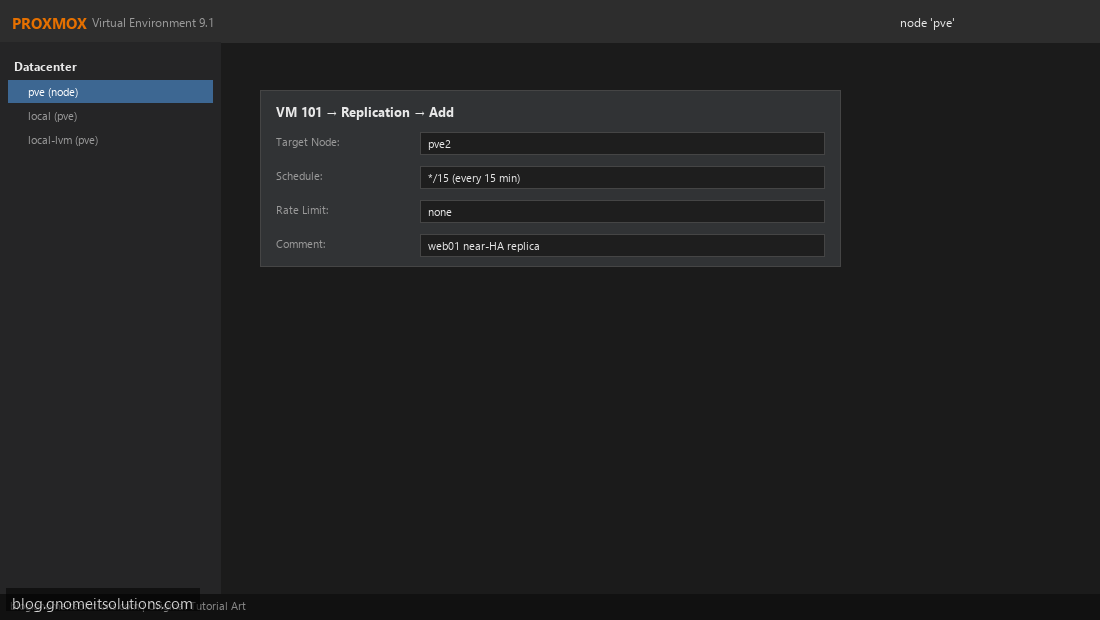
On the VM whose disk lives on ZFS storage, go to VM → Replication → Add. Set Target Node to the second node (pve2), and give it a schedule — Proxmox uses cron-style syntax, so */15 replicates every 15 minutes. This creates an incremental ZFS send/receive job that only transfers changed blocks after the first full sync.
Step 4: Understand the Replication Schedule Trade-off
A tighter schedule (every 5 min) gives a smaller RPO but adds more ZFS snapshot overhead and network traffic; a looser one (every hour) is cheaper but risks losing more data on failover. For most small setups, 15 minutes is a reasonable default — tune per-VM based on how much that workload’s data actually changes.
Step 5: Monitor Replication Status
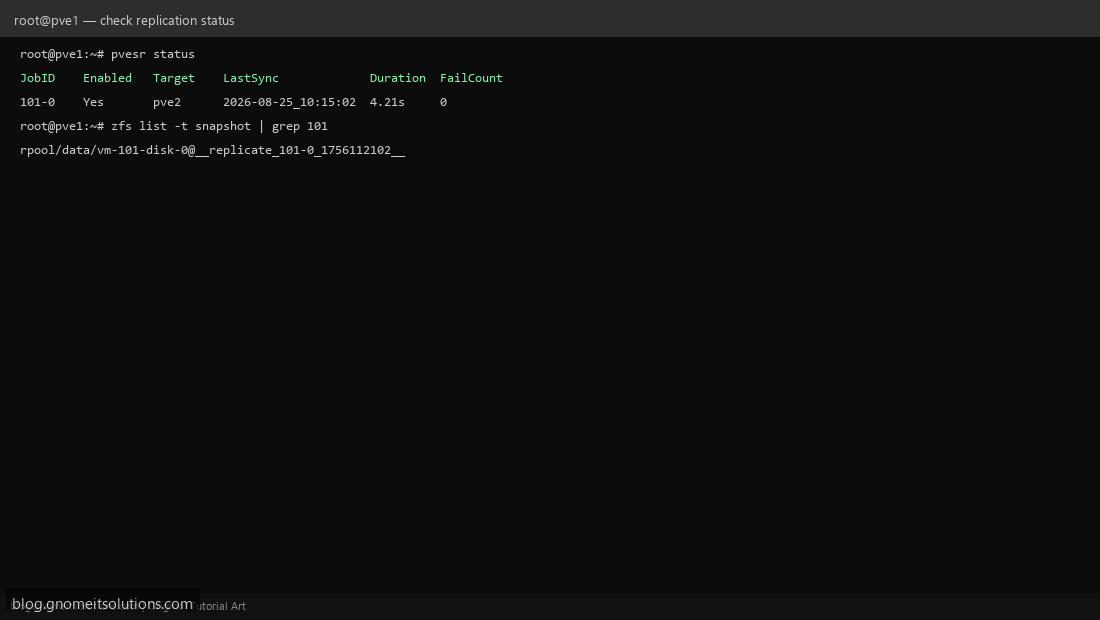
Check pvesr status on the primary node — it lists every replication job with its last sync time, duration, and fail count. A growing FailCount usually means the target node’s ZFS pool is out of space or briefly unreachable; investigate before you actually need to fail over.
Step 6: Perform a Manual Failover
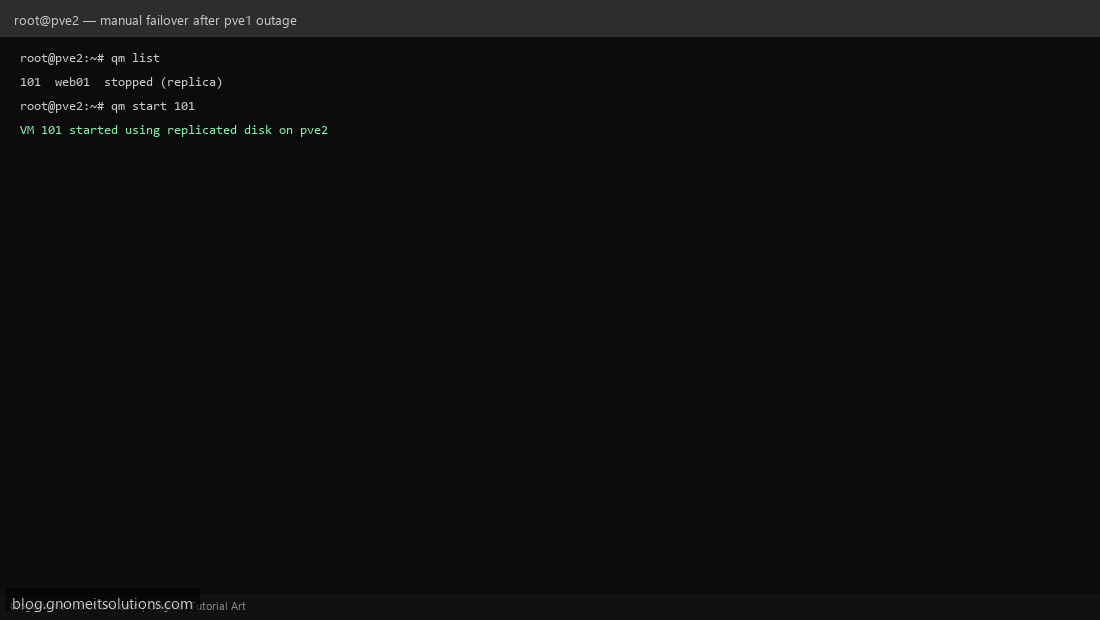
If pve1 goes down: on pve2, run qm list to confirm the replicated VM disk is present (status stopped, since it was only a replica), then qm start 101 to bring it up using the last-replicated disk. You will lose any writes made on pve1 after the last successful sync — this is the RPO trade-off you accepted by not running Ceph.
Step 7: Add a QDevice if You Also Want Cluster Quorum
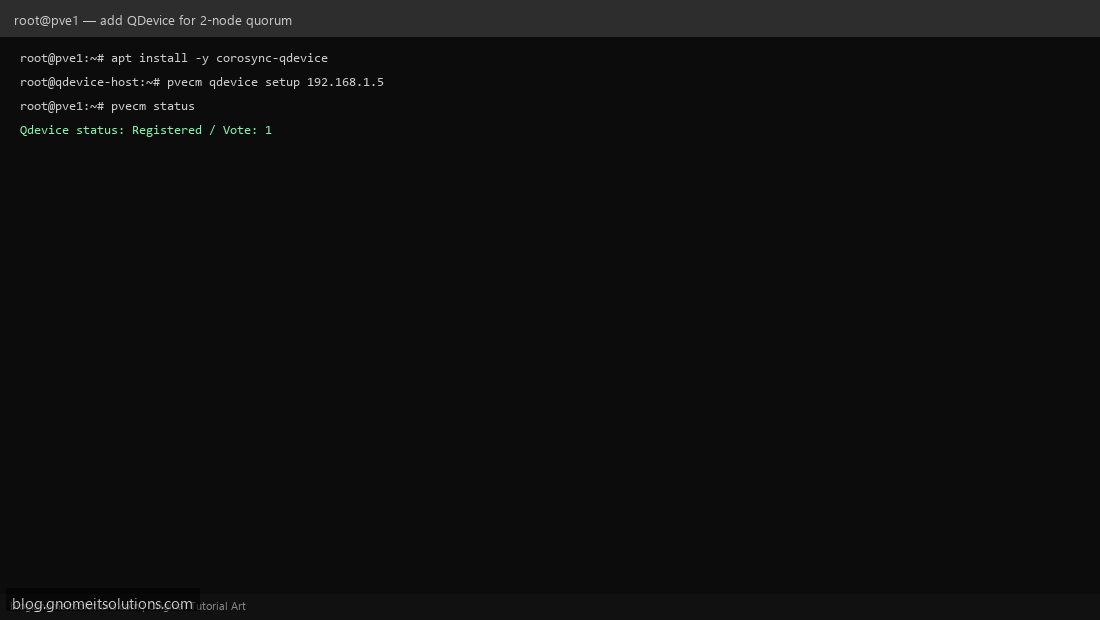
A 2-node Proxmox cluster loses quorum entirely when one node is down — corosync needs a majority, and 1-of-2 is a tie. If you also want the cluster to stay quorate during a single-node outage (not just the VM to be recoverable), add a lightweight QDevice on a third machine (even a Raspberry Pi): pvecm qdevice setup QDEVICE_IP. This doesn’t replicate data — it just casts a tie-breaking vote.
CLI reference
# Check ZFS pool health on each node
zpool list
zpool status

# Create a replication job from CLI
pvesr create-local-job 101-0 pve2 --schedule "*/15"

# Check replication status
pvesr status

# Manual failover on target node
qm list
qm start 101

# Add a QDevice for 2-node quorum
apt install -y corosync-qdevice
pvecm qdevice setup 192.168.1.5
Related tutorials
Image credits: All illustrations use original Proxmox VE branded artwork created
for Gnome IT Solutions — not copied from vendor marketing assets or third-party screenshots.
Tutorial text © Gnome IT Solutions.
Image credits: Screenshots are from the official
Proxmox VE documentation
(Proxmox GmbH), used under open documentation terms for educational purposes.
Tutorial text and layout © Gnome IT Solutions.