Installing Windows Server on Proxmox with default settings works, but leaves real performance on the
table: the default emulated IDE disk controller and Intel e1000 network adapter are compatibility fallbacks,
not the fast path. VirtIO is the paravirtualized driver set that lets a Windows guest talk
to Proxmox’s virtual hardware far more efficiently — noticeably faster disk I/O and network throughput,
lower CPU overhead on the host.
The catch: Windows doesn’t ship with VirtIO SCSI drivers built in, so you have to load them manually
during setup, or the installer won’t even see your virtual disk. This guide walks through the complete
process — VM creation, driver injection at install time, remaining guest tools, and QEMU Guest Agent for
clean shutdowns and IP reporting.
Step 1: Why VirtIO Matters
Without VirtIO, Proxmox emulates real hardware — an IDE controller and an Intel e1000 NIC — that Windows recognizes out of the box, but which route every I/O operation through a slower, more CPU-intensive emulation layer. VirtIO devices are paravirtualized: the guest OS knows it’s virtual and talks to Proxmox’s virtio backend directly, cutting overhead substantially for both disk throughput and network packets-per-second. For any production Windows Server VM, VirtIO is worth the extra setup step.
Step 2: Download the VirtIO Driver ISO
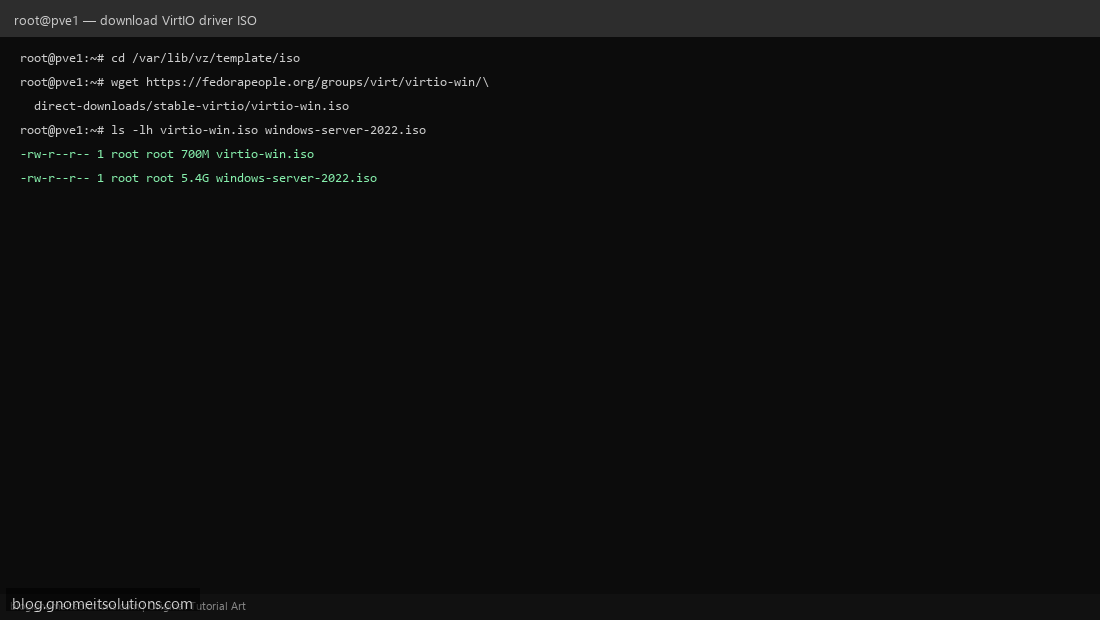
Download the official virtio-win.iso (maintained by the Fedora/RHEL virtualization team, the standard source Proxmox itself points to) into Proxmox’s ISO storage: /var/lib/vz/template/iso/, alongside your Windows Server installer ISO. You’ll attach both to the VM as separate virtual CD/DVD drives.
Step 3: Create the VM With VirtIO Hardware
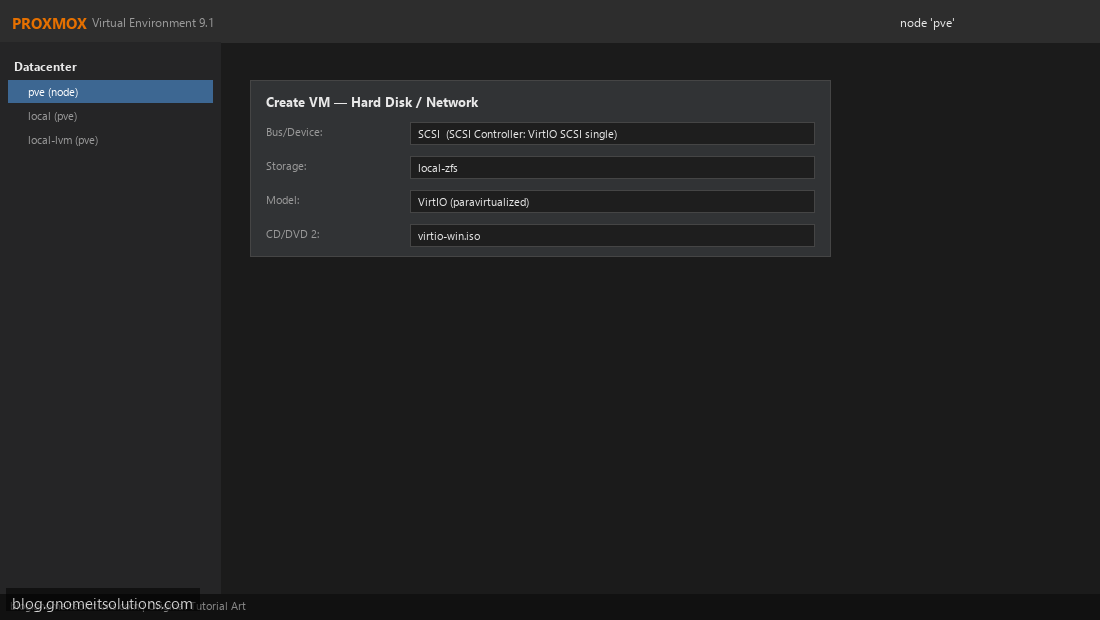
In the Create VM wizard: on the Hard Disk tab, set Bus/Device to SCSI and SCSI Controller (under System tab) to VirtIO SCSI single. On the Network tab, set Model to VirtIO (paravirtualized). On the CD/DVD tabs, attach the Windows Server ISO as the primary drive and add a second CD/DVD drive for virtio-win.iso — you need both mounted simultaneously.
Step 4: Load the VirtIO SCSI Driver at Install Time
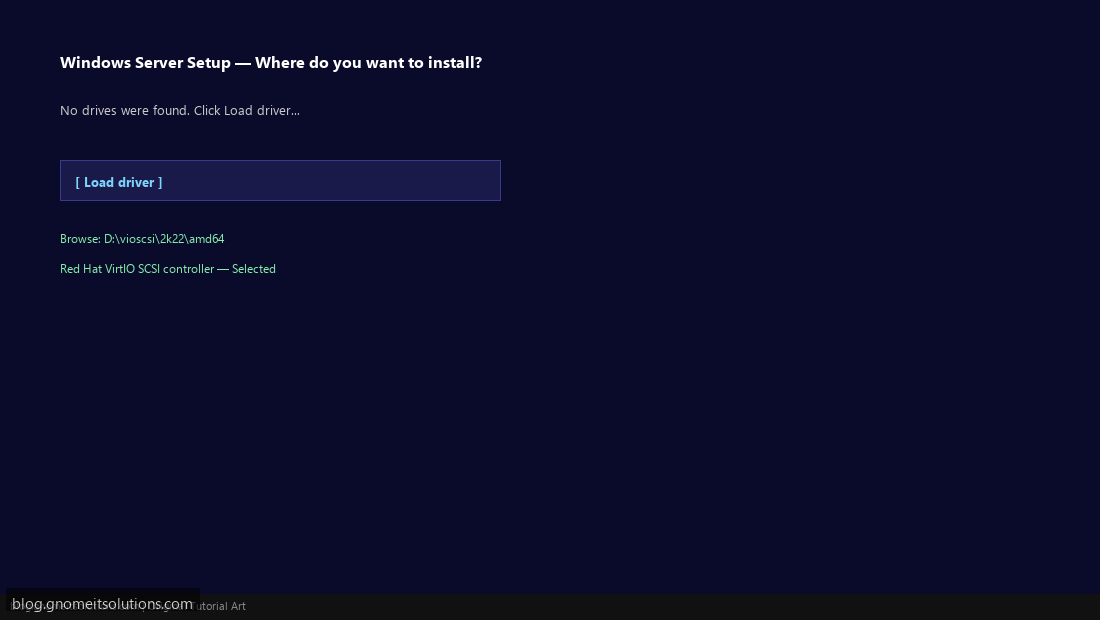
Boot the VM and start the Windows Server install. At the “Where do you want to install Windows?” screen, no disk will appear — this is expected, since Windows has no built-in VirtIO SCSI driver. Click Load driver, browse to the mounted VirtIO ISO’s vioscsi\2k22\amd64 folder (match the folder to your Windows Server version), and select Red Hat VirtIO SCSI controller. Your virtual disk now appears and installation can proceed normally.
Step 5: Install Remaining VirtIO Drivers Inside Windows
After Windows finishes installing and boots, the VirtIO ISO is still mounted as a drive letter (usually D:). Run virtio-win-guest-tools.exe from it — this installs the remaining drivers as a bundle: NetKVM (network adapter), Balloon (dynamic memory management), and vioserial. Reboot when prompted.

Step 6: Enable QEMU Guest Agent
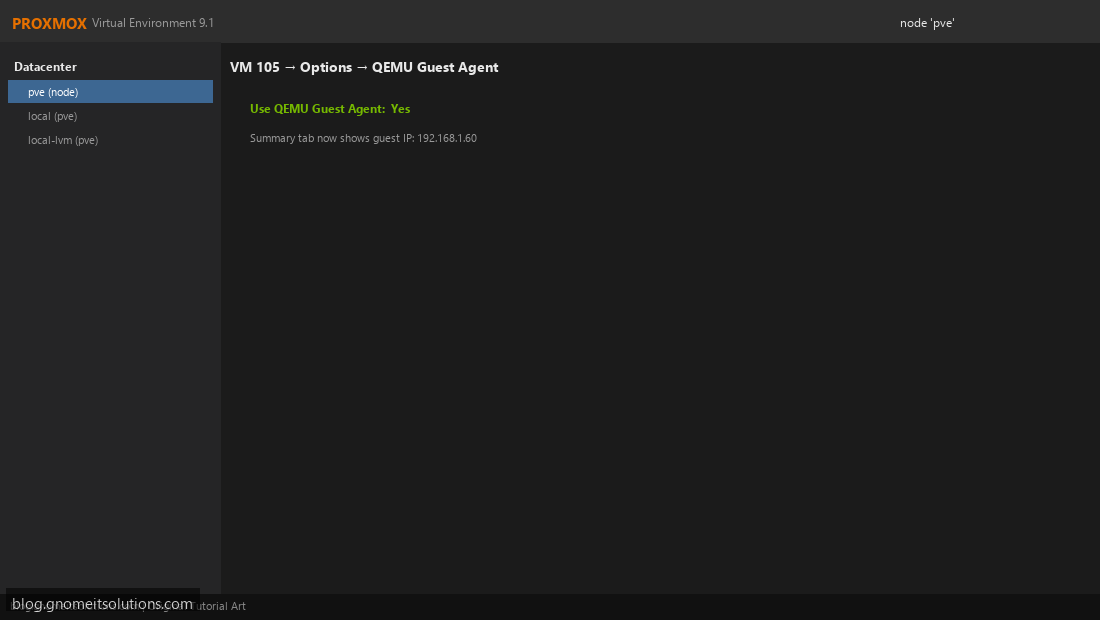
The guest tools bundle also installs the QEMU Guest Agent service, but Proxmox needs to be told to expect it: VM → Options → QEMU Guest Agent → set to Yes. Once running, Proxmox can trigger a clean in-guest shutdown instead of a hard power-off, and the VM’s Summary tab will start showing the actual guest IP address — invaluable when DHCP hands out an address you otherwise couldn’t see from the hypervisor side.
Step 7: Verify Every Device Is Using VirtIO
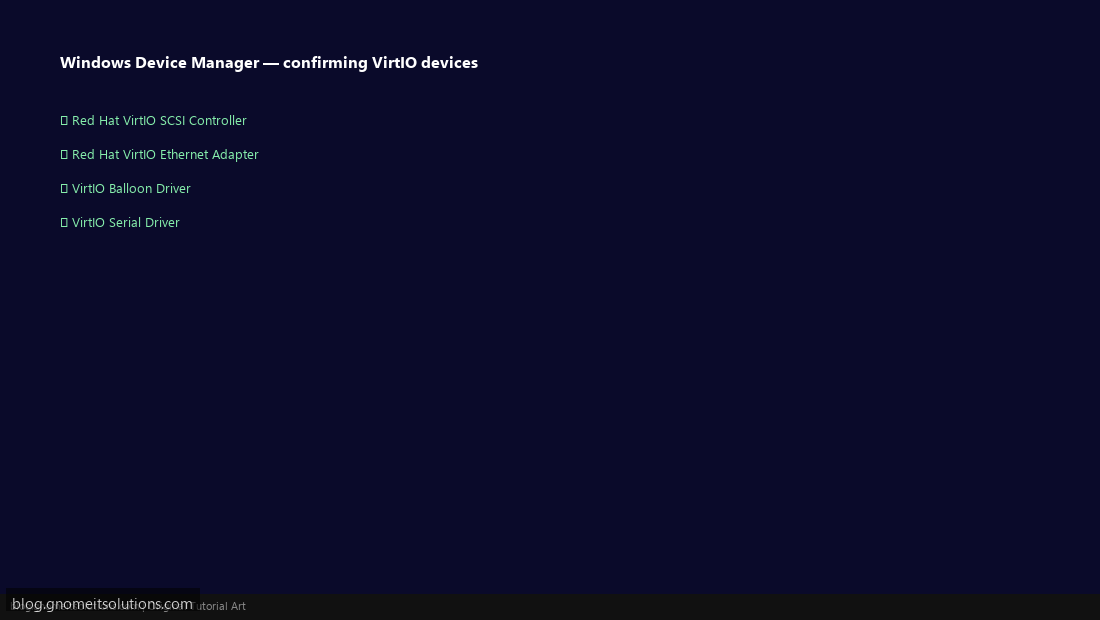
Open Windows Device Manager and confirm: Red Hat VirtIO SCSI Controller under Storage controllers, Red Hat VirtIO Ethernet Adapter under Network adapters, and VirtIO Balloon Driver under System devices — with no yellow warning triangles anywhere. If you see “Standard SATA AHCI Controller” or an Intel network adapter instead, the VM’s hardware wasn’t actually configured for VirtIO back in Step 3, and you’ll need to correct it (changing the disk bus type after install requires re-attaching the disk, so it’s worth getting Step 3 right the first time).
Quick reference
# Download VirtIO ISO on the Proxmox host
cd /var/lib/vz/template/iso
wget https://fedorapeople.org/groups/virt/virtio-win/direct-downloads/stable-virtio/virtio-win.iso

# Key VM config for VirtIO (via qm CLI, equivalent to the GUI settings)
qm set 105 --scsihw virtio-scsi-single
qm set 105 --net0 virtio,bridge=vmbr0
qm set 105 --agent enabled=1
Post-install tips
- Memory ballooning: with the Balloon driver installed, you can safely set a VM’s memory ”
“with a min/max range in Proxmox instead of a fixed allocation, letting Windows release unused RAM back to ”
“the host under pressure - Windows Server 2022 Secure Boot: if you enable UEFI + Secure Boot on the VM, add a TPM ”
“state device (VM → Hardware → Add → TPM State) before install — some Windows Server roles and features ”
“check for it - Backups: with QEMU Guest Agent enabled, PBS/vzdump backups can freeze the filesystem ”
f’consistently before snapshotting — see our PBS setup guide
‘
“
”
“
Related tutorials
”
“
- ”
- Install QEMU Guest Agent on Proxmox VMs
- Proxmox Backup Server Setup Guide
- Proxmox User Permissions and Roles
f’
‘
f’
‘
f’
‘
“
”
Image credits: All illustrations use original Proxmox VE branded artwork created
for Gnome IT Solutions — not copied from vendor marketing assets or third-party screenshots.
Tutorial text © Gnome IT Solutions.
Image credits: Screenshots are from the official
Proxmox VE documentation
(Proxmox GmbH), used under open documentation terms for educational purposes.
Tutorial text and layout © Gnome IT Solutions.