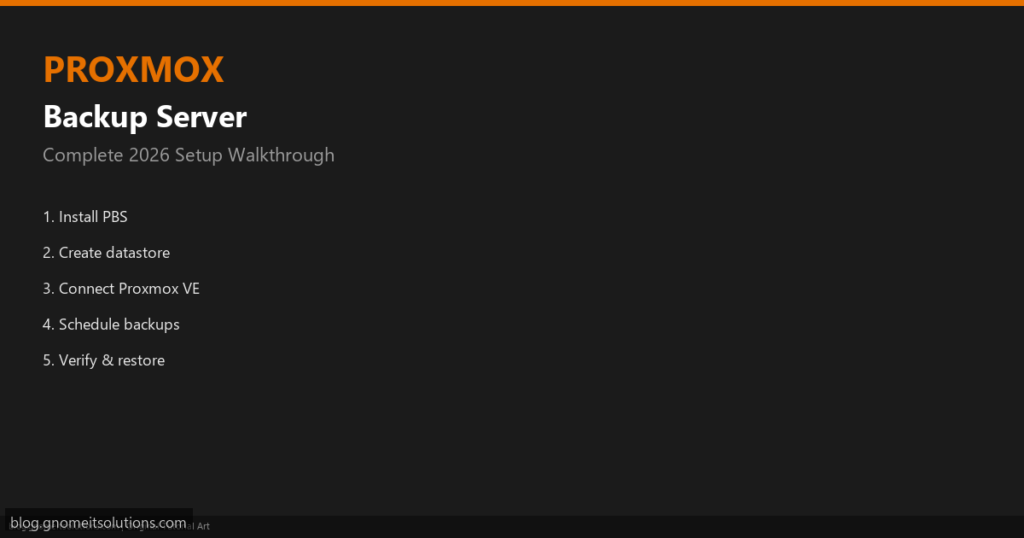
Proxmox Backup Server (PBS) is the recommended backup target for production
Proxmox VE clusters. Unlike plain vzdump files on NFS, PBS provides block-level
incremental backups, client-side deduplication, encrypted datastores, built-in verify jobs, and
fast granular restore — all from a dedicated appliance you control.
This 2026 walkthrough covers a full greenfield PBS deployment: dedicated hardware or VM, encrypted
datastore, Proxmox VE integration, scheduled backups, integrity verification, offsite sync, and a
documented restore test.
Before you start
- Dedicated server or VM: 4+ vCPU, 8+ GB RAM, fast storage for backup datastore (ZFS or ext4/XFS)
- Proxmox VE 8.x or 9.x cluster or single node with VMs to protect
- Network: TCP 8007 open between every PVE node and PBS (bidirectional for restore)
- Separate DNS name recommended:
pbs1.lab.local - NTP synchronized on PBS and all PVE nodes (backup timestamps and TLS depend on correct time)
PBS vs vzdump on NAS — quick decision
| Scenario | Recommendation |
|---|---|
| 1–5 VMs, homelab, existing NAS | vzdump to directory/NFS may be enough |
| 10+ VMs, production, compliance | PBS with verify jobs and offsite sync |
| Need file-level restore from backup | PBS (browse backup archive in UI) |
Step 1: Download PBS ISO and Plan Storage
Download the latest Proxmox Backup Server ISO from proxmox.com. Plan your datastore disk separately from the OS disk — a dedicated ZFS pool or large secondary disk is ideal. For 20 VMs averaging 50 GB each, budget 2–4 TB after deduplication (often 40–60% savings vs full vzdump copies). Record IP, hostname, and datastore path before install.
Step 2: Install Proxmox Backup Server
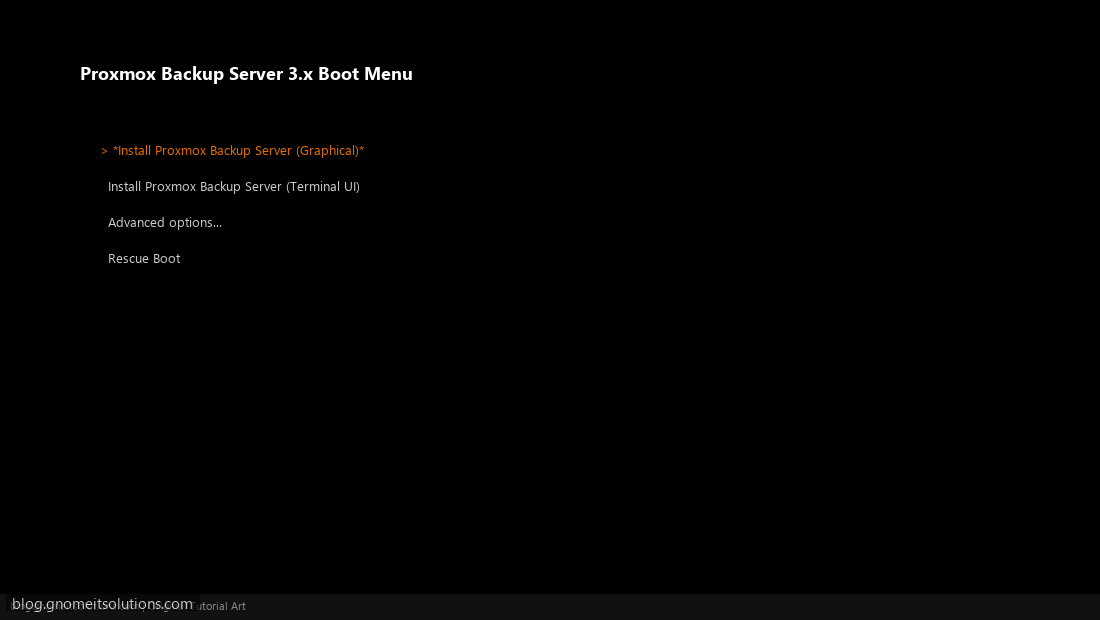
Boot the ISO, select Install Proxmox Backup Server (Graphical), set root password, choose the OS disk, configure static IP (e.g. 192.168.1.60/24), gateway, and DNS. After reboot, open https://pbs1.lab:8007 in your browser. Accept the self-signed certificate on first login — replace with Let’s Encrypt or internal CA for production.
Step 3: Create Encrypted Datastore
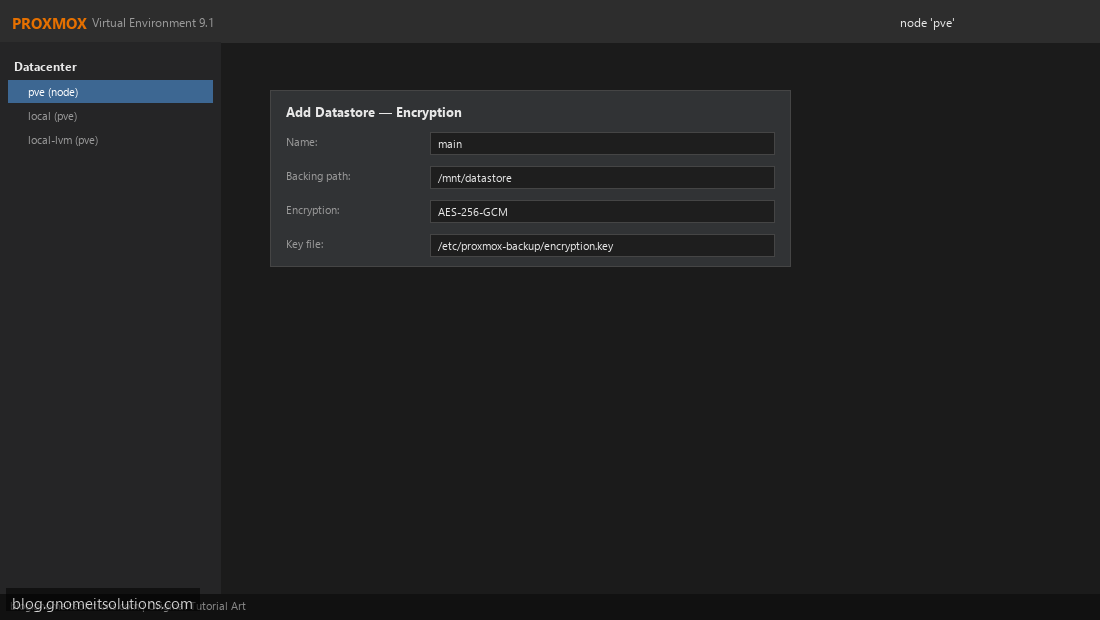
In PBS web UI go to Datastore → Add. Name it main, point to your backup disk mount (e.g. /mnt/datastore), and enable encryption with a strong passphrase. Store the passphrase in your password manager — loss means permanent data loss. Optional: use a YubiKey or split key escrow for compliance environments.
Step 4: Create PBS API Token for Proxmox VE
Datacenter → Permissions → Users → add a dedicated user (e.g. pve-backup@pbs) or use root for homelab only. Create an API token with DatastoreBackup and DatastoreRead on the main datastore. Copy the token secret immediately — it is shown once.
Step 5: Add PBS Storage in Proxmox VE
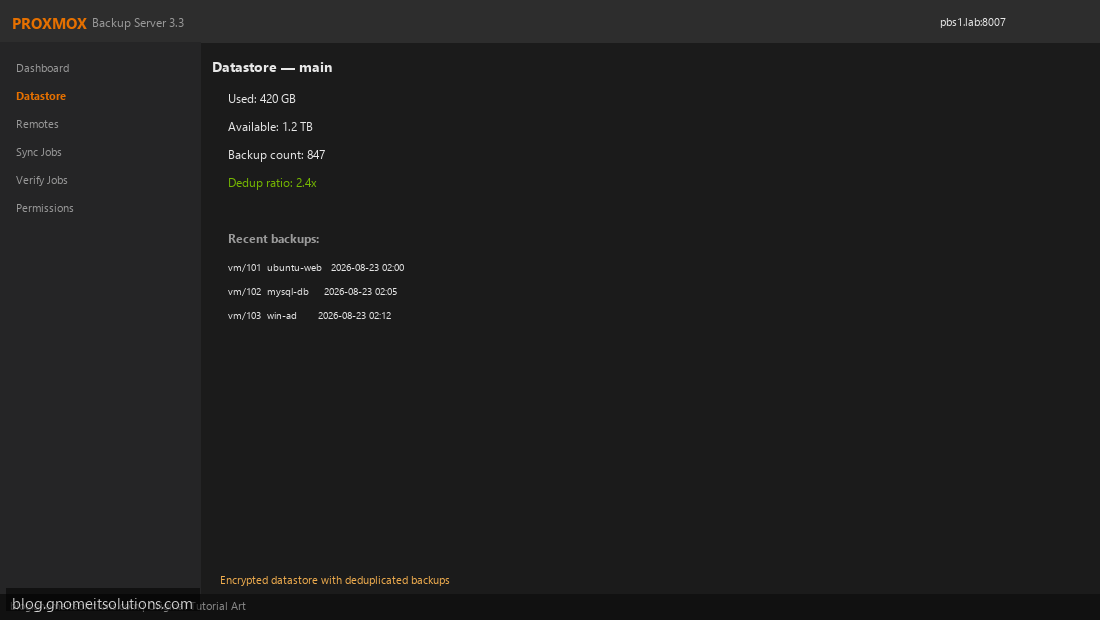
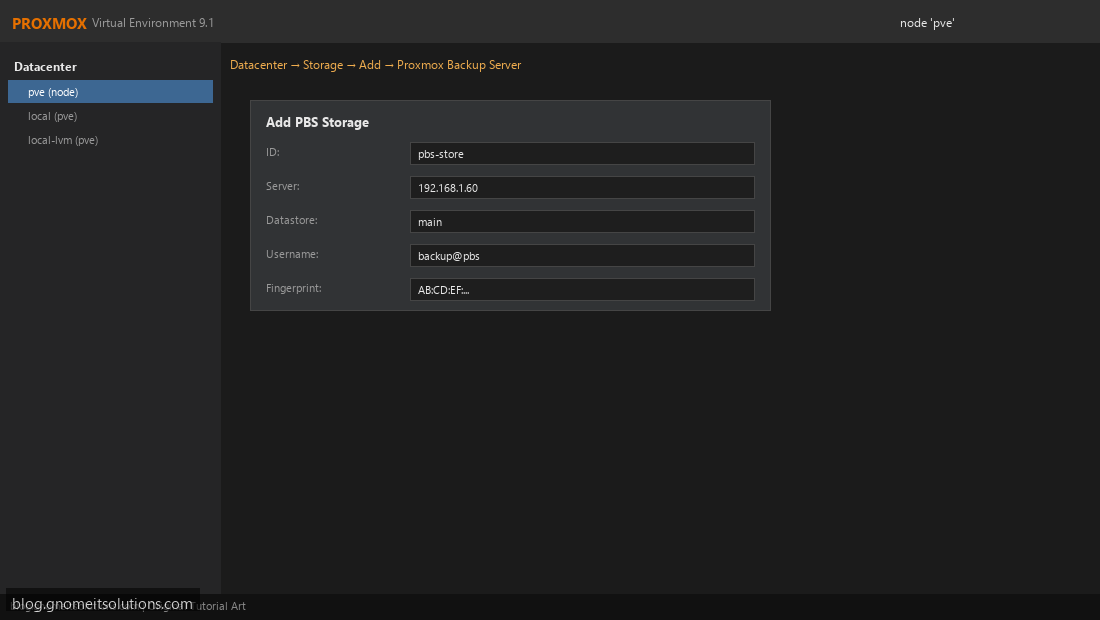
On each Proxmox node (or once at Datacenter level): Datacenter → Storage → Add → Proxmox Backup Server. Set ID pbs-main, server 192.168.1.60, datastore main, and paste the API token. Enable content: backup. Repeat for every node in a cluster or add at datacenter scope if your PVE version supports it.
Step 6: Configure Scheduled Backup Jobs
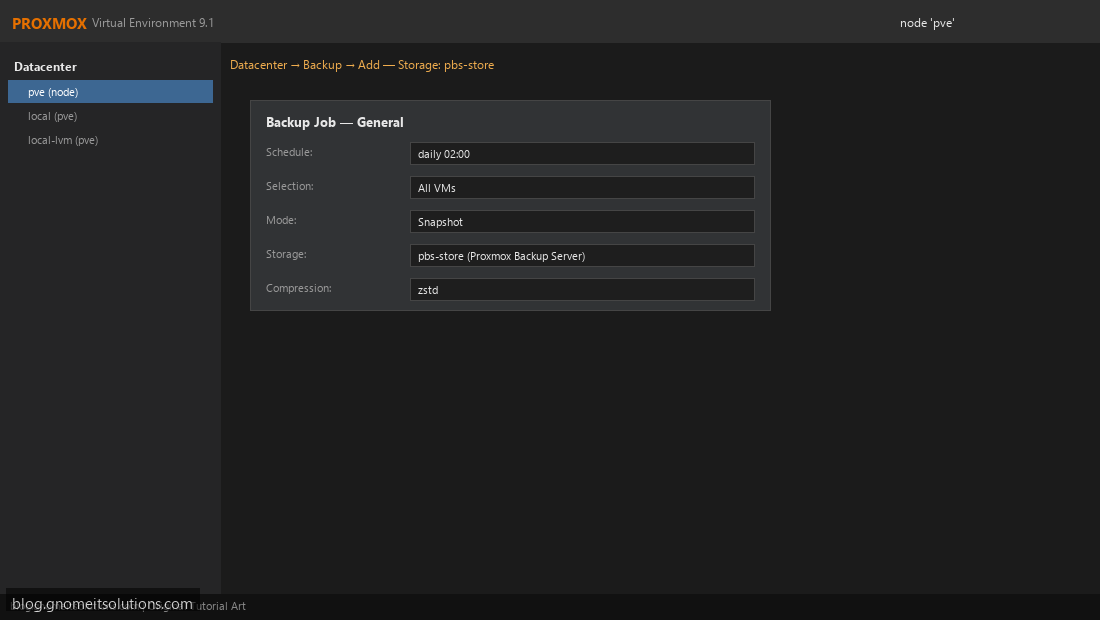
Datacenter → Backup → Add. Select all VMs or a pool, set schedule (e.g. daily 02:00), mode snapshot for running VMs, storage target pbs-main, compression zstd, and retention (keep-last 7, keep-daily 14, keep-weekly 4). Enable email notification on failure.
Step 7: Add Verify Job (Integrity Checks)
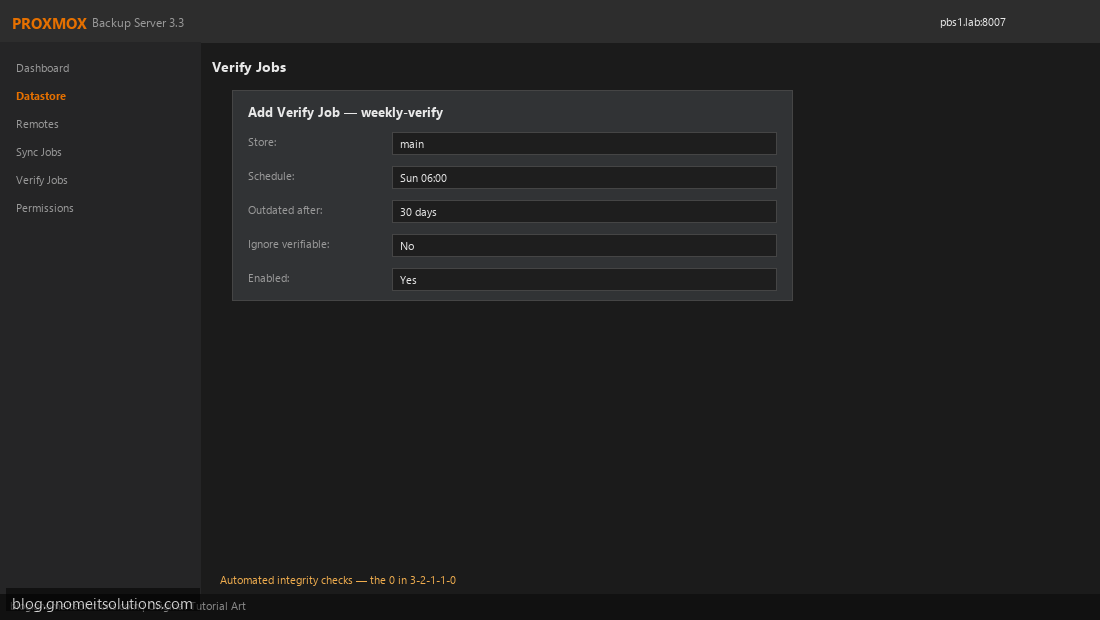
In PBS: Verify Jobs → Add. Target store main, schedule weekly Sunday 06:00, outdated-after 30 days. Verify jobs read every backup block and confirm checksums — this is the 0 errors pillar of the 3-2-1-1-0 rule. Review verify task logs monthly; failed verify means treat backup as untrusted until re-run passes.
Step 8: Configure Offsite Sync (Optional but Recommended)
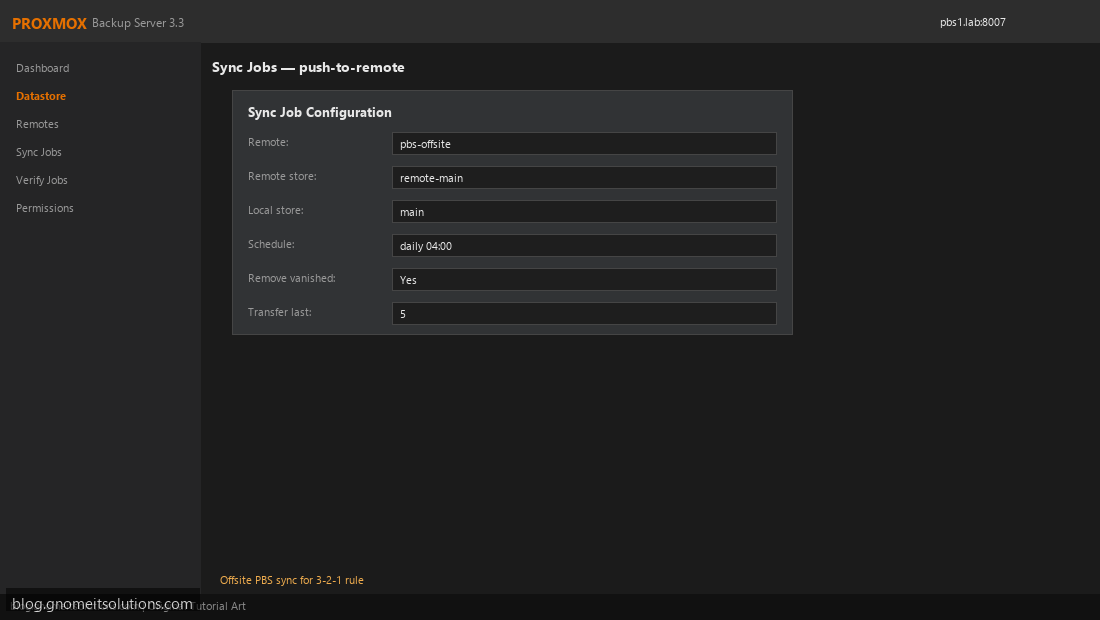
Deploy a second PBS at another site or cloud VPS. On primary PBS add Remotes, then create a Sync Job pushing main to the remote store nightly. Use separate credentials and firewall rules so a compromised primary cannot wipe the remote copy without additional authentication.
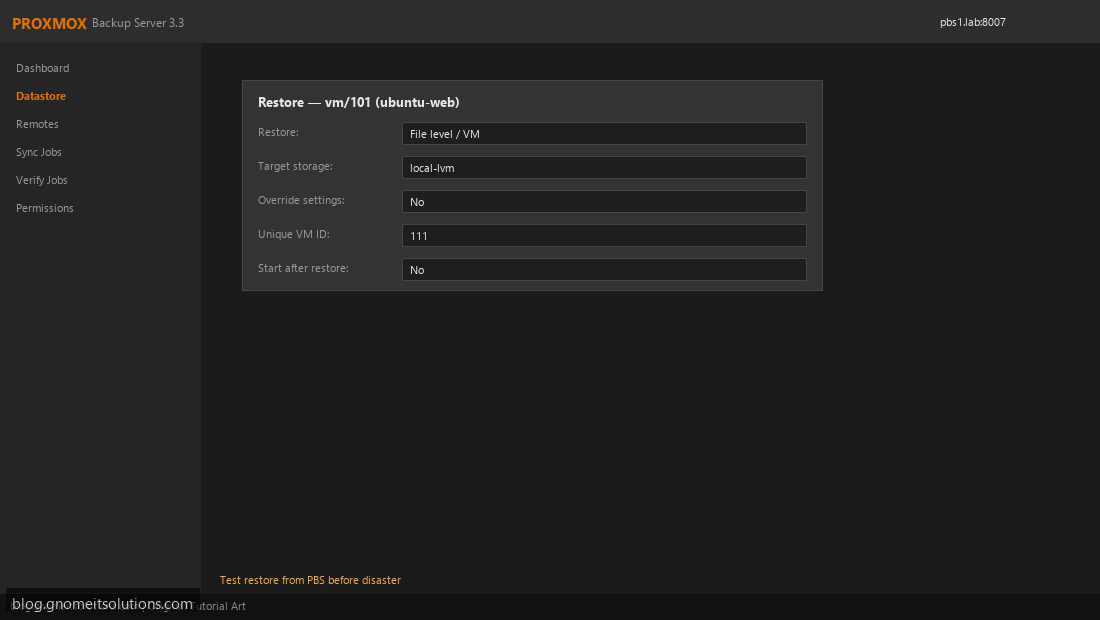
Step 9: Test Restore Before You Need It
Quarterly, restore one non-critical VM to an isolated VLAN. In Proxmox VE open the backup browser on PBS storage, select a snapshot, choose Restore, assign a new VMID, and confirm the guest boots. Document restore time (RTO) and data age (RPO) for your runbook.
CLI reference
# Add PBS storage from Proxmox VE shell
pvesm add pbs pbs-main --server 192.168.1.60 --datastore main \
  --username pve-backup@pbs --token-id pve --token-secret YOUR_SECRET

# Manual backup of VM 101 to PBS
vzdump 101 --storage pbs-main --mode snapshot --compress zstd

# List backups on PBS (from PBS shell)
proxmox-backup-manager list main

# Verify datastore manually
proxmox-backup-manager verify main --output-format text
Firewall ports
- 8007/tcp — PBS web UI and backup protocol (PVE → PBS)
- 22/tcp — SSH admin (restrict to management subnet)
Troubleshooting
- Backup stuck at 0% — check DNS resolution, time sync, and token permissions
- Datastore full — prune old backups, add disk, or tune retention
- Verify failures — disk errors or incomplete sync; run
zpool statuson ZFS
Related tutorials
- 3-2-1-1-0 Backup Rule for Proxmox
- vzdump vs Proxmox Backup Server
- Quick PBS Install (short guide)
- Proxmox Scheduled Backup Jobs
Image credits: All illustrations use original Proxmox VE and Proxmox Backup Server
branded artwork created for Gnome IT Solutions — not copied from vendor marketing assets or third-party
screenshots. Tutorial text © Gnome IT Solutions.
Image credits: Screenshots are from the official
Proxmox VE documentation
(Proxmox GmbH), used under open documentation terms for educational purposes.
Tutorial text and layout © Gnome IT Solutions.