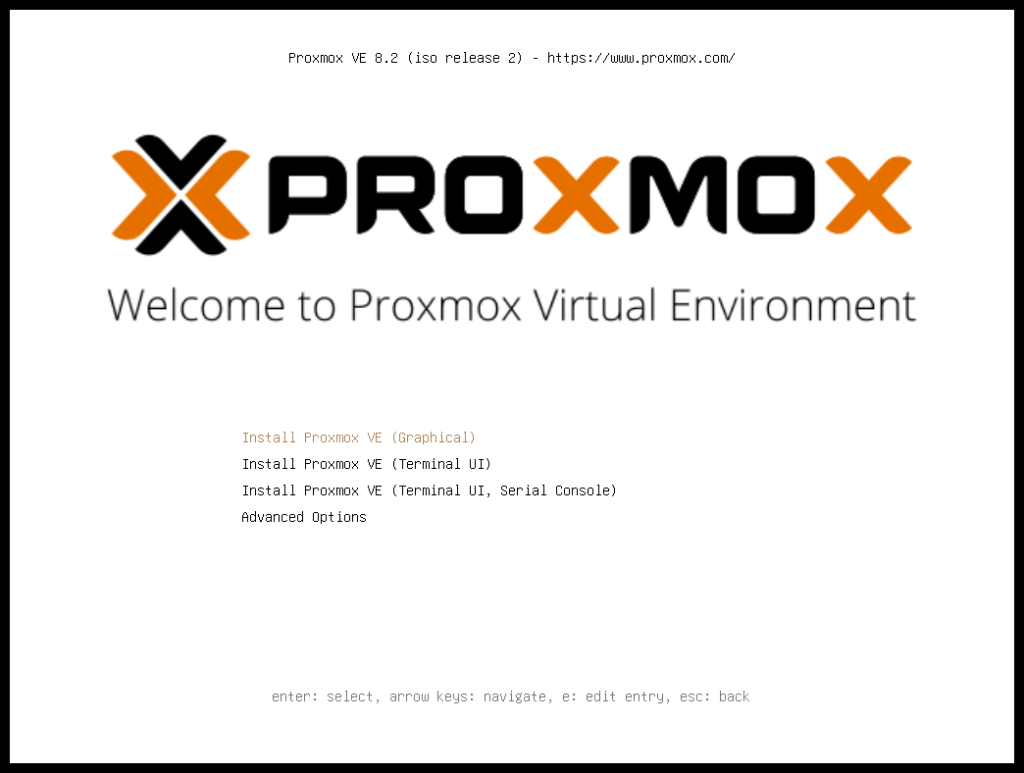
This complete guide shows how to install Proxmox VE from scratch on bare metal hardware. Follow each step below with the official Proxmox installer screens.
What You Need Before Starting
- 64-bit server with Intel VT-x or AMD-V enabled
- 8 GB+ RAM (16 GB+ recommended)
- Proxmox VE ISO from proxmox.com/downloads
- USB flash drive (8 GB+) — create boot media with Rufus or balenaEtcher
- Network cable connected to your management LAN
Prepare Bootable USB Media
Download the latest Proxmox VE ISO, flash it to USB, and boot your server from the USB drive. Enable USB boot in BIOS/UEFI if needed.
# Linux example
sudo dd if=proxmox-ve_*.iso of=/dev/sdX bs=1M status=progress
Step 1: Boot from USB and Select Graphical Install
Insert your Proxmox VE USB installer and boot the server. Select Install Proxmox VE (Graphical) from the boot menu.
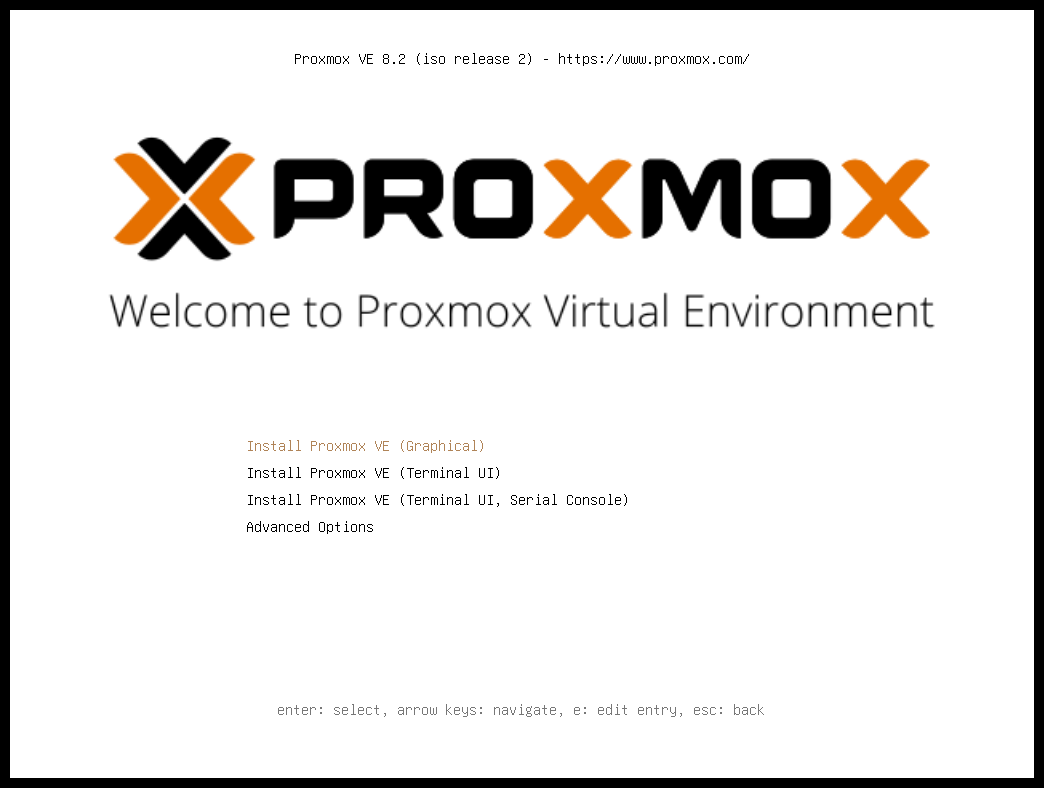
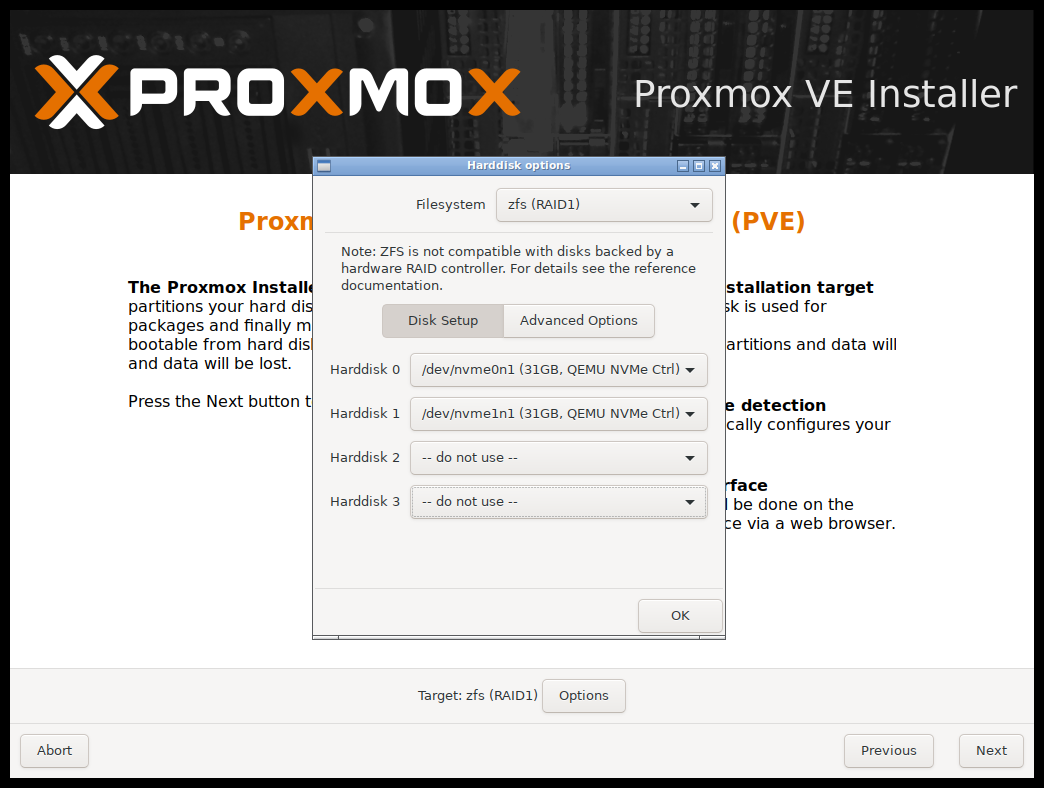
Step 2: Accept EULA and Select Target Disk
Read the EULA, then choose the target hard disk. Use Options to pick ext4, XFS, or ZFS. All data on the selected disk will be erased.
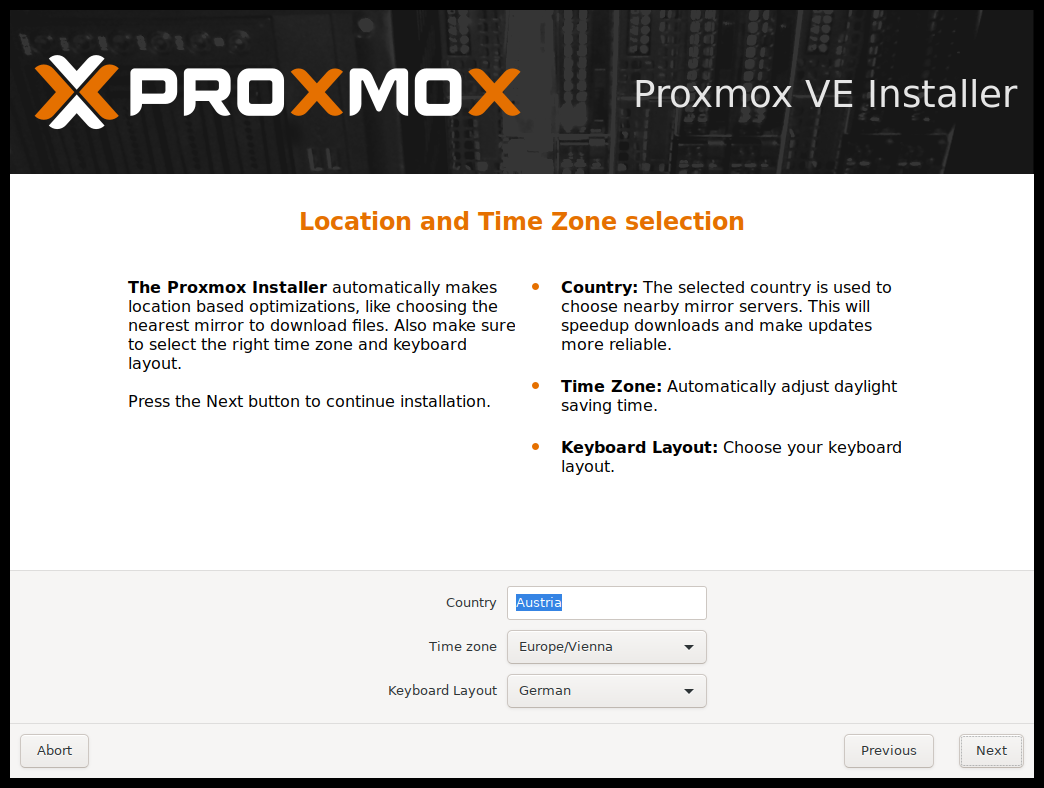
Step 3: Set Country, Timezone, and Keyboard
Configure your location, timezone, and keyboard layout. The installer usually auto-detects these settings.
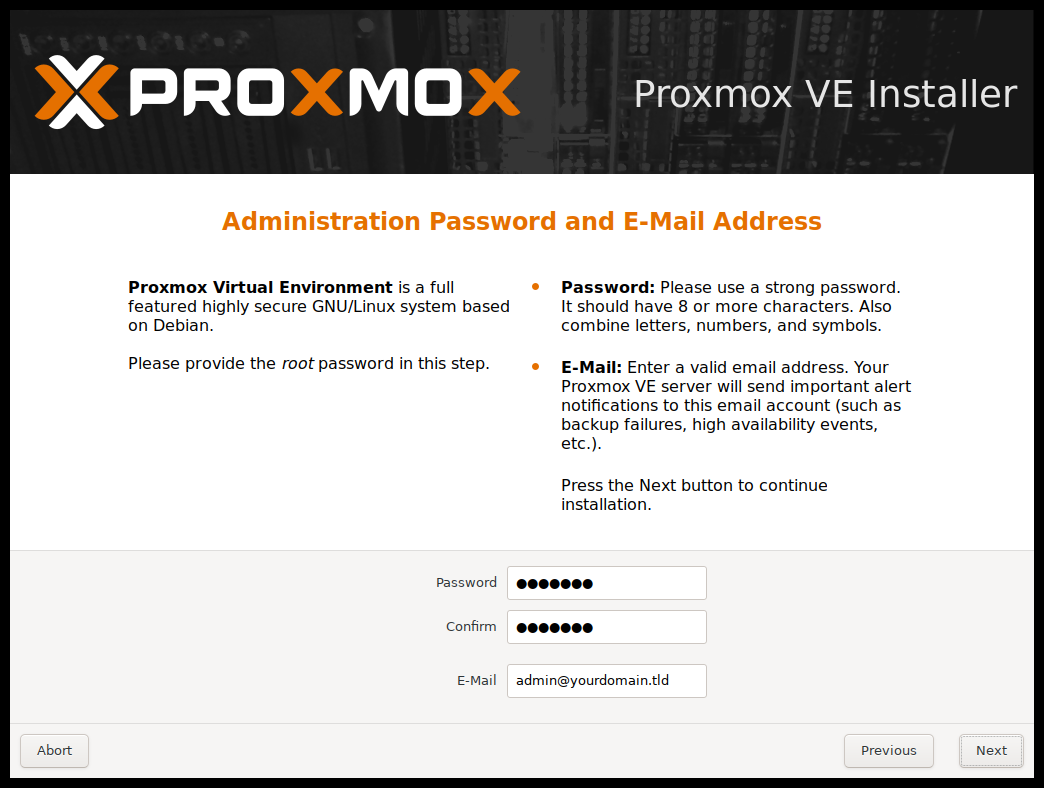
Step 4: Set Root Password and Email
Create a strong root password (minimum 8 characters; 12+ recommended). Enter an admin email for system notifications and alerts.
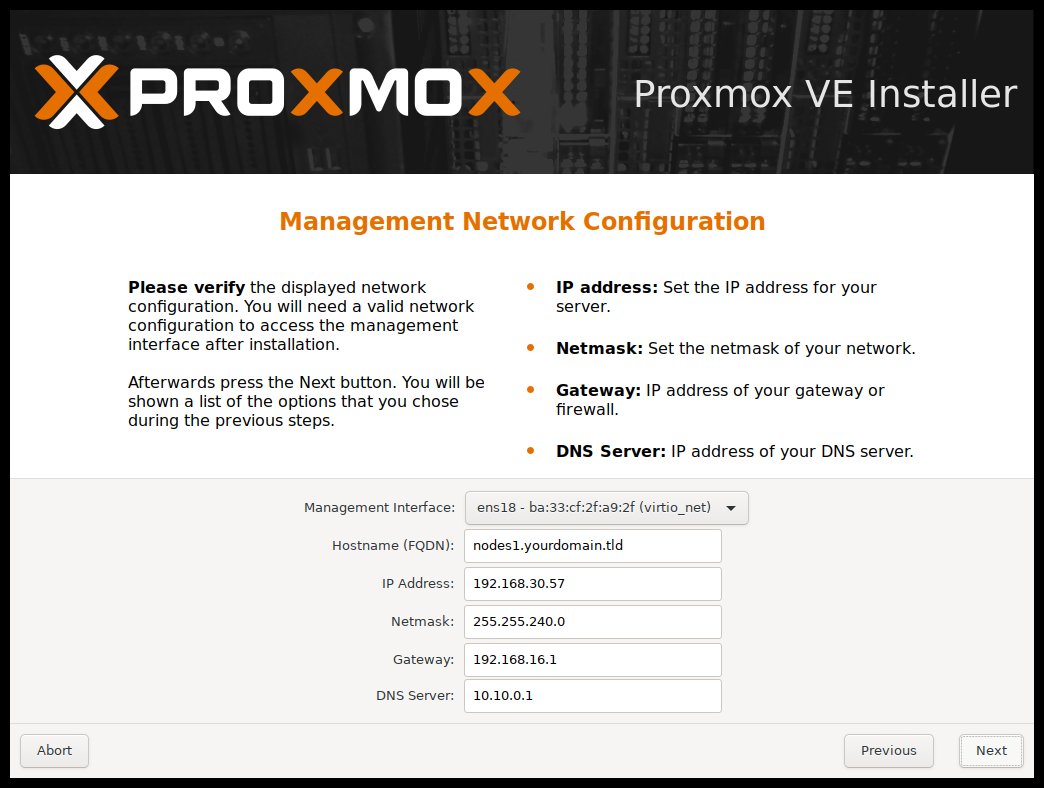
Step 5: Configure Management Network
Select the network interface for Proxmox management. Set a static IPv4 address, gateway, and DNS. Note: only IPv4 OR IPv6 during install.
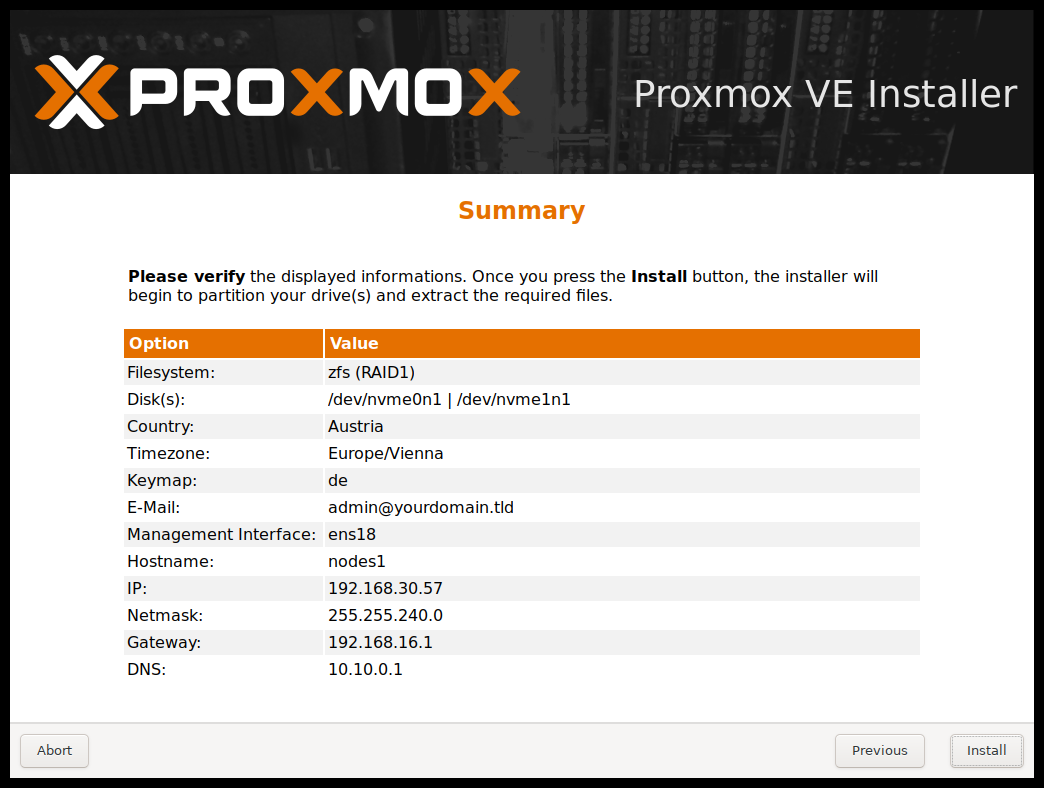
Step 6: Review Summary
Verify disk, network, password, and timezone settings on the summary screen. Click Previous to change any setting.
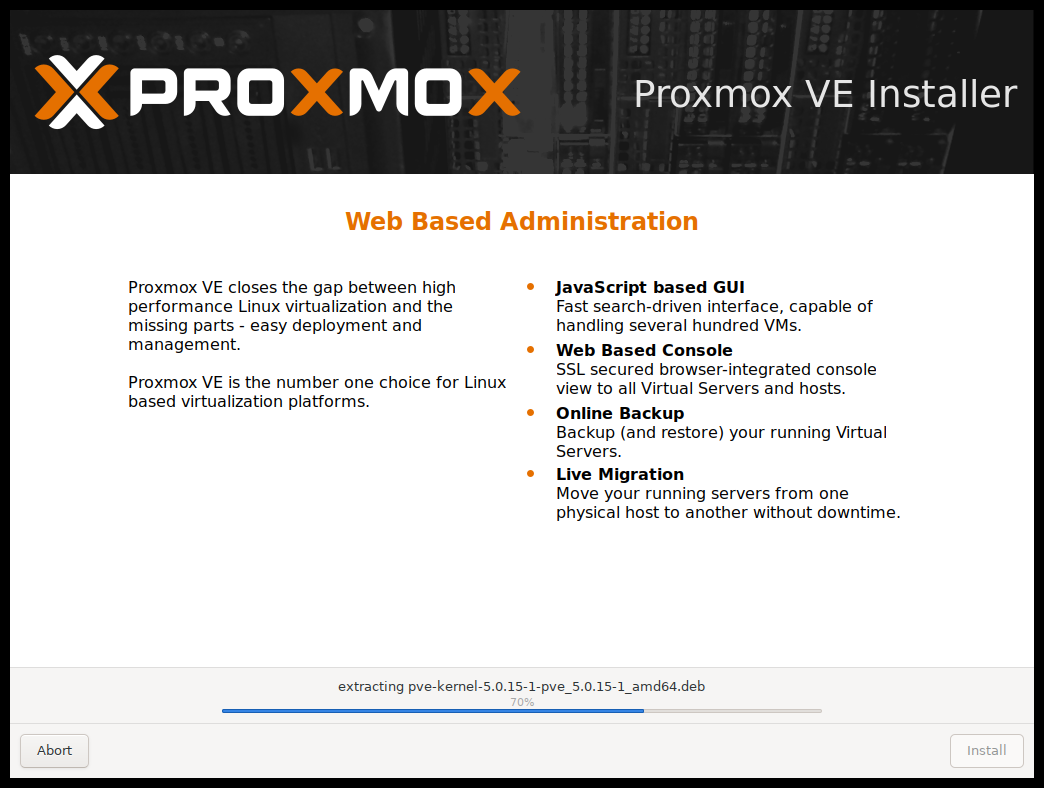
Step 7: Install Proxmox VE
Click Install. The installer formats disks and copies packages. Remove the USB drive when prompted and reboot.
Step 8: Access the Proxmox Web Interface
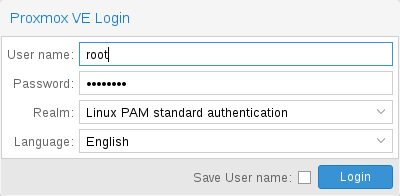
Open https://YOUR-SERVER-IP:8006 in your browser. Log in with username root (realm PAM) and your password.
Post-Installation Checklist
- Run updates:
apt update && apt dist-upgrade - Verify version:
pveversion -v - Configure storage and upload ISO images
- Create your first VM or LXC container
- Set up backup jobs to NAS or Proxmox Backup Server
Troubleshooting
Installer does not start (black screen)
Try Install Proxmox VE (Terminal UI) or add the nomodeset kernel parameter from the boot menu.
Installation failed
Press Ctrl + Alt + F2 during install to view error logs on the second TTY.
Conclusion
You have successfully learned how to install Proxmox VE from scratch on bare metal. Your server is ready for virtual machines, LXC containers, and cluster expansion.
Image credits: Installer and GUI screenshots are from the official
Proxmox VE documentation (Proxmox GmbH), used for educational purposes in this tutorial.