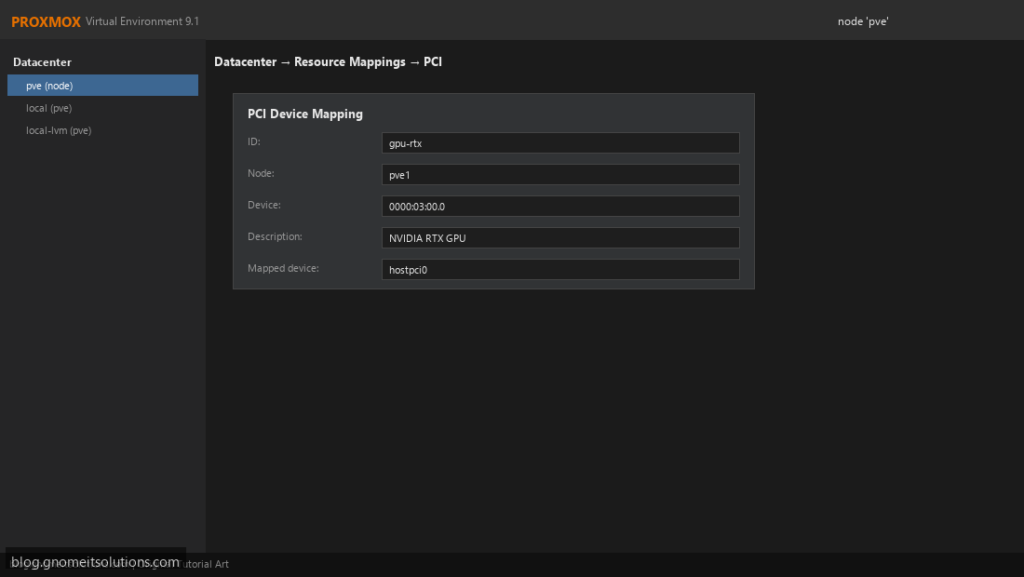
PCI passthrough gives a virtual machine direct, exclusive control of a physical device — a GPU, a network card, an HBA disk controller or a USB controller.
The guest loads the vendor’s own driver and gets close to bare-metal performance, at the cost of that device being unavailable to the host and every other VM.
This guide covers the generic procedure for any PCI device. For GPU-specific details see the GPU passthrough guide,
and to share one GPU across several VMs instead, see vGPU mediated devices.
Quick answer: enable IOMMU in firmware and on the kernel command line, load the vfio modules, check IOMMU groups, then add the device to a q35 VM.
How Passthrough Works
The IOMMU (Intel VT-d or AMD-Vi) lets the hypervisor map a device’s memory access to one VM only. The vfio-pci driver claims the device on the host so the host driver never touches it, and QEMU hands it to the guest.
physical device --> IOMMU (VT-d / AMD-Vi) --> vfio-pci on host --> VM with vendor driver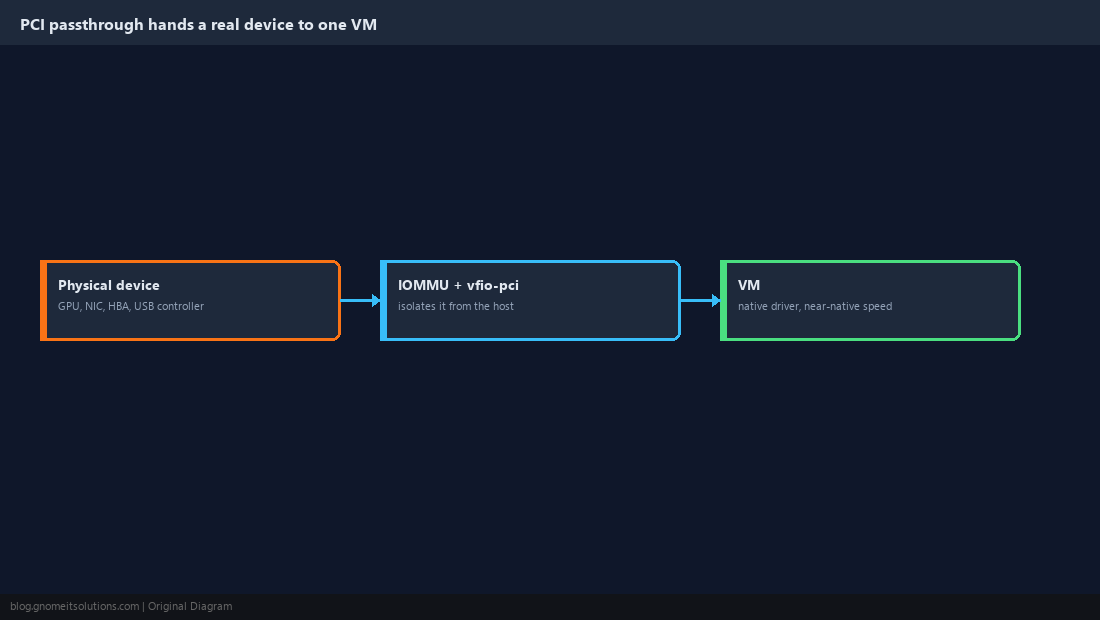
Enable It in Firmware
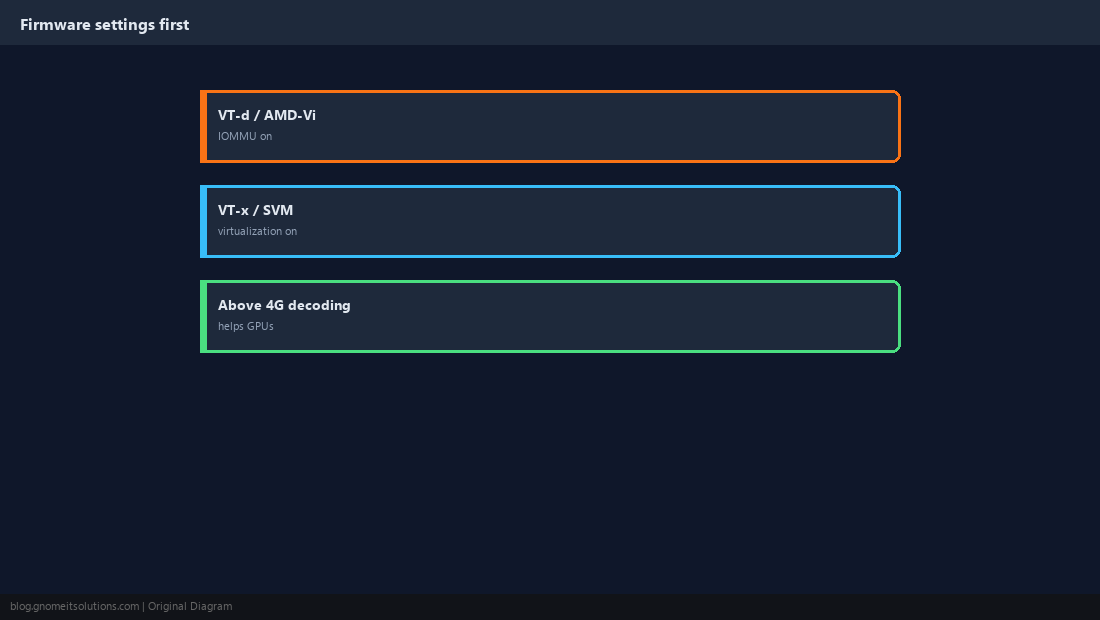
In the BIOS/UEFI setup, enable VT-d (Intel) or AMD-Vi/IOMMU (AMD) alongside ordinary virtualization (VT-x/SVM). For GPUs, Above 4G decoding and disabling CSM often help.
Enable the IOMMU on the Kernel Command Line
Recent kernels enable the IOMMU on AMD by default, and Intel on newer Proxmox kernels, but being explicit does no harm. Proxmox boots with GRUB (legacy/most installs) or systemd-boot (ZFS root on UEFI); edit the matching file.
GRUB_CMDLINE_LINUX_DEFAULT="quiet intel_iommu=on iommu=pt"
# then:
update-grubroot=ZFS=rpool/ROOT/pve-1 boot=zfs intel_iommu=on iommu=pt
# then:
proxmox-boot-tool refreshdmesg | grep -e DMAR -e IOMMU | headiommu=pt alone; intel_iommu has no effect there.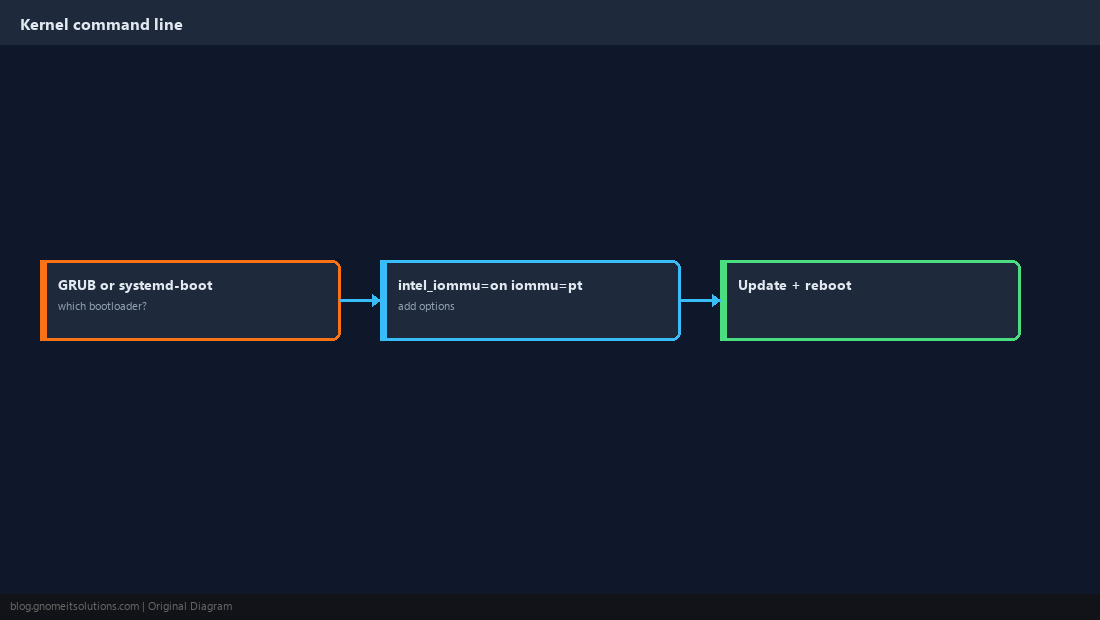
Load the vfio Modules
Add the modules so they load at every boot, then rebuild the initramfs.
vfio
vfio_iommu_type1
vfio_pciupdate-initramfs -u -k all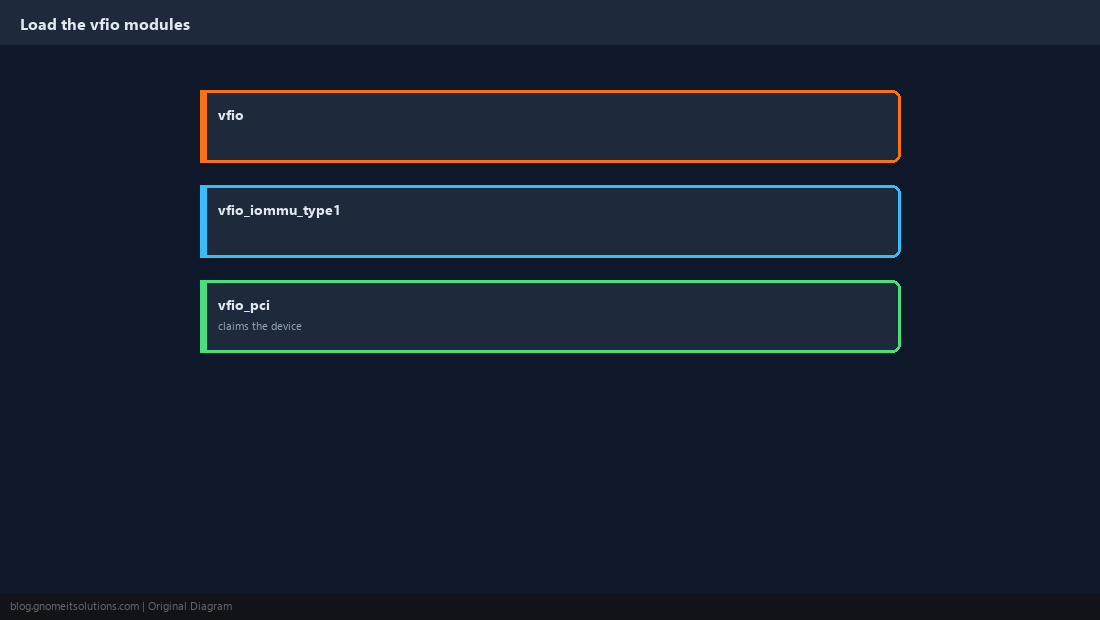
Check IOMMU Groups
Devices in the same IOMMU group must be passed through together. A device alone in its group is the easy case; one that shares a group with, say, a SATA controller the host needs is the hard case.
for d in /sys/kernel/iommu_groups/*/devices/*; do
  g=${d#*/iommu_groups/}; g=${g%%/*}
  echo "group $g: $(lspci -nns ${d##*/})"
done | sort -V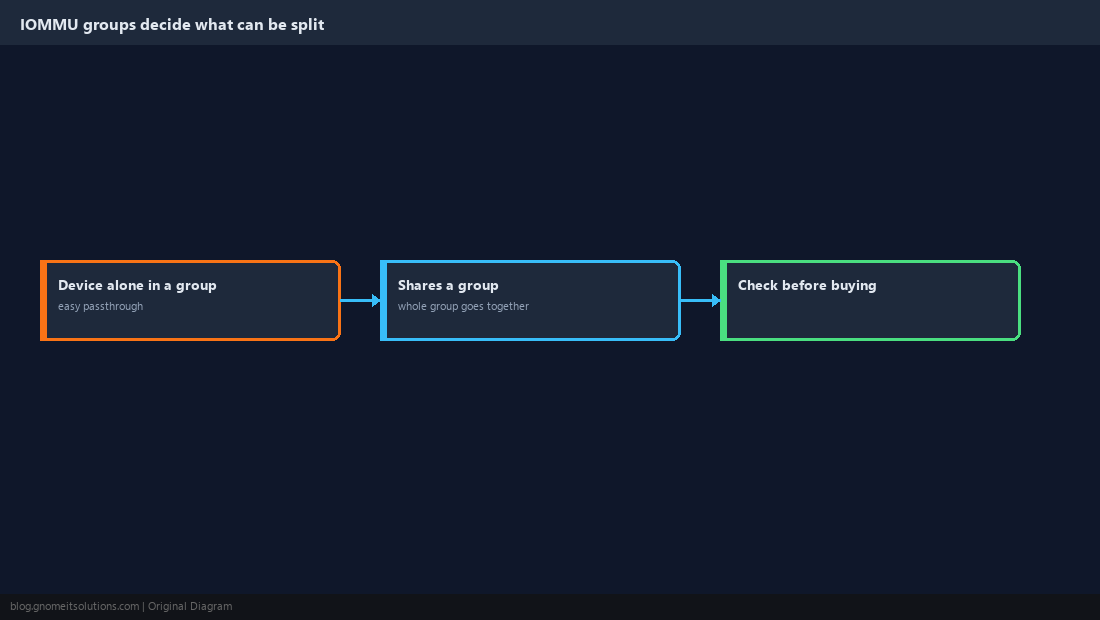
Keep the Host Driver Away From the Device
Find the device’s vendor:device IDs and tell vfio-pci to claim them at boot. For GPUs, pass both the video and audio functions.
lspci -nn | grep -i nvidiaoptions vfio-pci ids=10de:2204,10de:1aefupdate-initramfs -u -k all
lspci -nnk -s 01:00.0 | grep 'driver in use'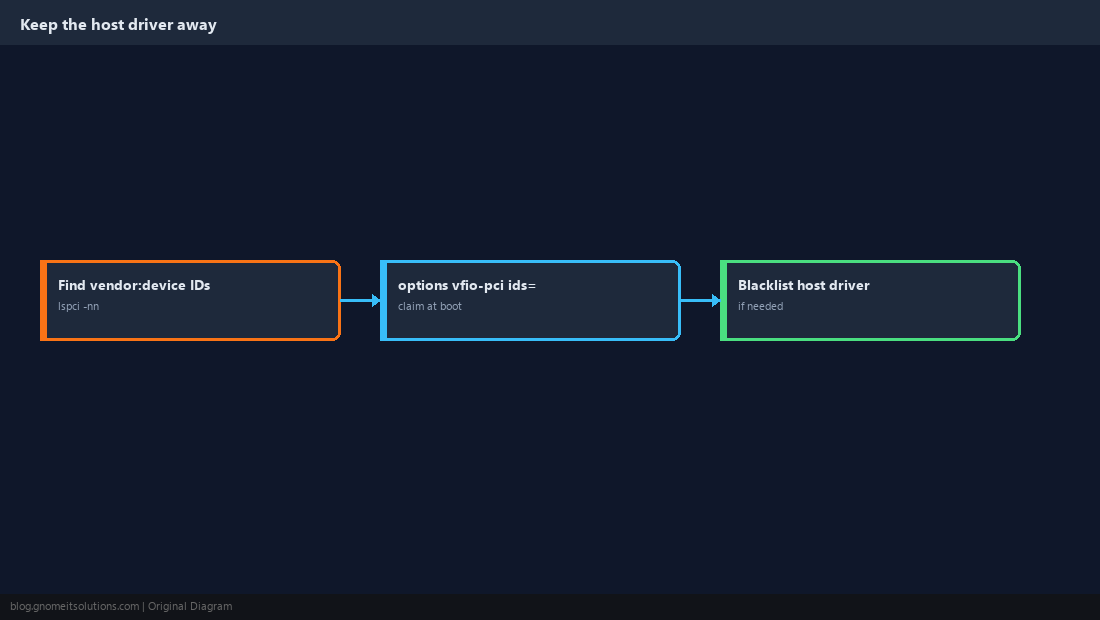
Add the Device to the VM
Use the q35 machine type so the device appears as PCIe, and OVMF (UEFI) firmware for GPUs. In the web UI: VM → Hardware → Add → PCI Device. Proxmox 8 can also map devices cluster-wide under Datacenter → Resource Mappings.
qm set 101 --machine q35 --bios ovmf
qm set 101 --hostpci0 0000:01:00.0,pcie=1,x-vga=1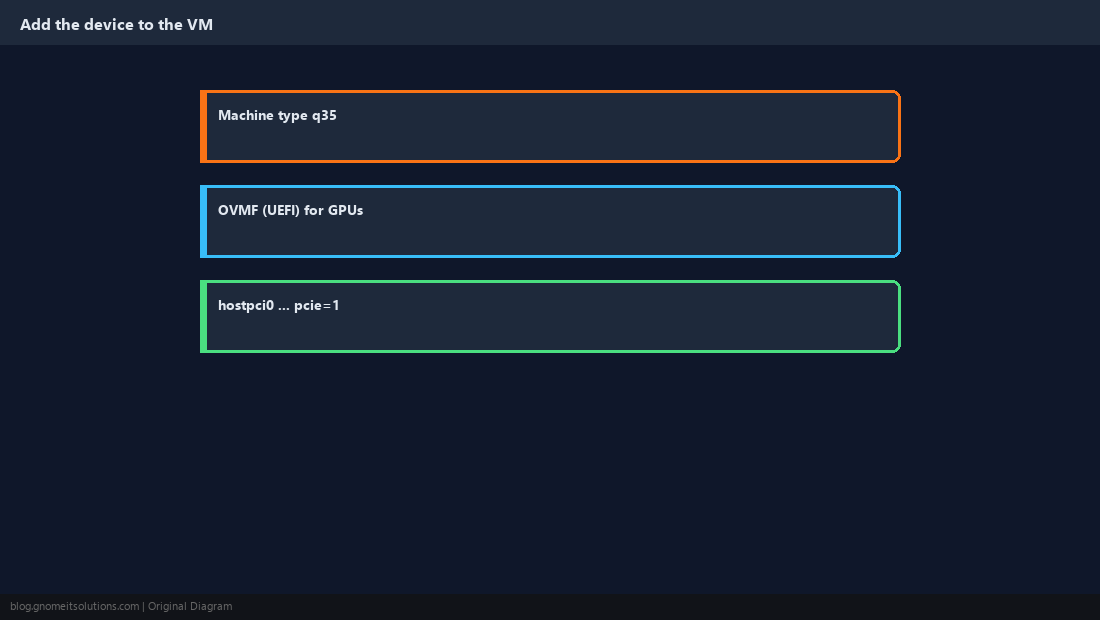
Verify Inside the Guest
Confirm the guest sees the real device and the vendor driver binds. Then run a real workload, not just a device listing.
lspci -nnk | grep -A3 -i vga
nvidia-smi    # for NVIDIA GPUs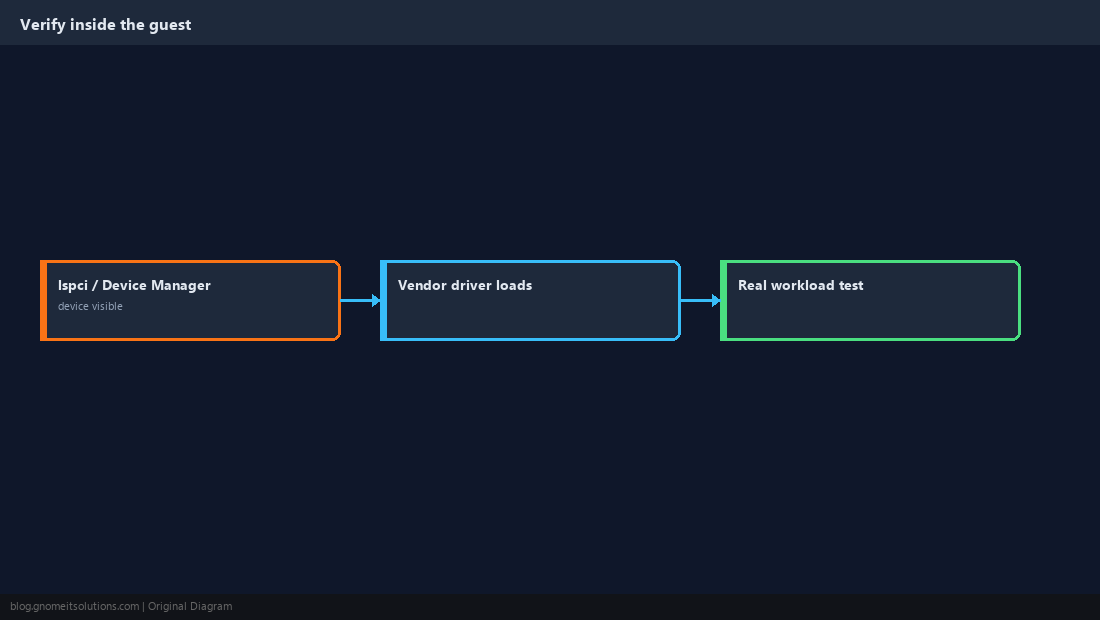
How do I enable IOMMU on Proxmox?
Enable VT-d or AMD-Vi in firmware, add intel_iommu=on iommu=pt (Intel) or iommu=pt (AMD) to the kernel command line via GRUB or systemd-boot, reboot, and check dmesg | grep -e DMAR -e IOMMU.
Why can’t I pass through a single device?
It shares an IOMMU group with other devices. All devices in a group must go to the same VM; moving the card to another slot often puts it in its own group.
Can a VM with PCI passthrough be live migrated?
No. The device is physically attached to one host, so the VM must be shut down to move.
Do I need vfio_virqfd in /etc/modules?
Not on current Proxmox kernels; it was merged into vfio. Load vfio, vfio_iommu_type1 and vfio_pci.
Which machine type should I use for passthrough?
q35, so devices appear on a PCIe bus. Use OVMF (UEFI) firmware for GPUs.
Cheat Sheet
- Firmware IOMMU → kernel cmdline → vfio modules → IOMMU groups → vfio-pci ids → q35 VM
- Passed-through VMs cannot live-migrate
Related tutorials
Diagrams are original illustrations by Gnome IT Solutions. Tutorial text © Gnome IT Solutions.