Database passwords in a plaintext .env file, API keys committed to a repo by accident, the same credential copy-pasted across a dozen servers — these are the everyday failure modes HashiCorp Vault exists to fix. Vault stores secrets centrally, encrypted at rest, with fine-grained access policies and a full audit trail of who read what and when.
This guide installs Vault, initializes and unseals it, stores a real secret, and writes a least-privilege policy so an application can read only the secrets it actually needs.
Step 1: Why Centralized Secrets Management
A plaintext config file or environment variable works until: the server it’s on gets compromised and every secret on it is exposed at once, someone needs to rotate a credential across 15 servers manually, or you need to prove for a compliance audit exactly who accessed a specific production database password and when. Vault centralizes storage, makes rotation a single operation, and logs every access — none of which a scattered collection of config files can do.
Step 2: Install Vault
Add HashiCorp’s apt repository and install: apt install vault (or the equivalent for your distro). Confirm with vault version. Vault runs as a single binary that acts as both server and CLI client depending on the command.
Step 3: Start the Vault Server
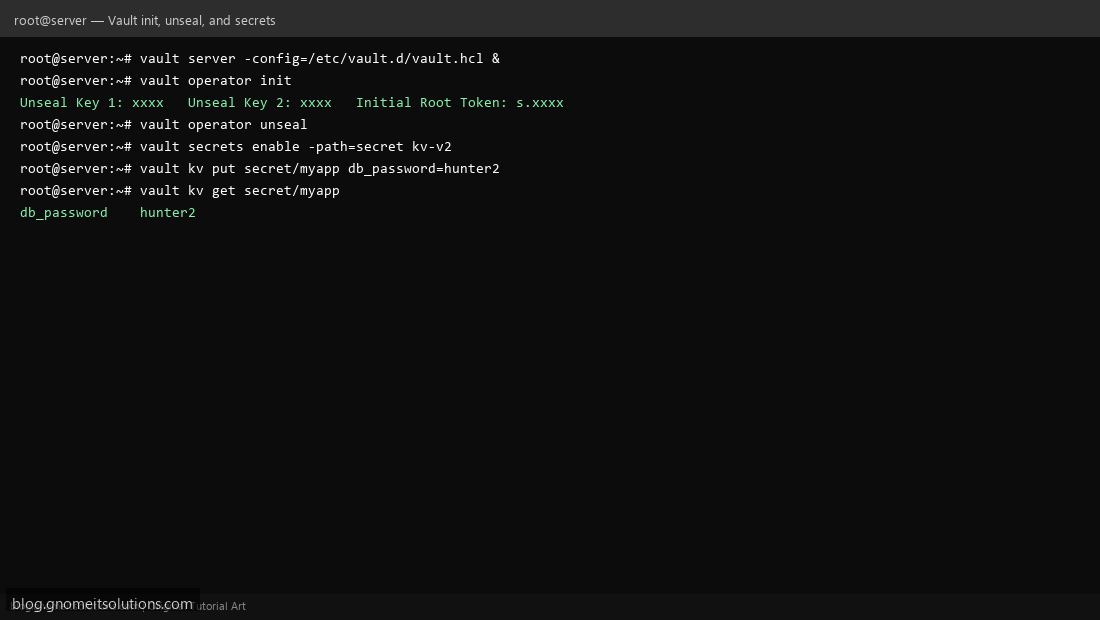
For learning, vault server -dev starts an in-memory, auto-unsealed instance — never use dev mode for real secrets, since everything is lost on restart and there’s no real encryption-at-rest. For a persistent setup, configure a real storage backend (the file backend for a single node, Consul or Raft integrated storage for HA) in /etc/vault.d/vault.hcl and start it as a systemd service.
Step 4: Initialize and Unseal
A freshly started production-mode Vault is sealed — it has encrypted storage but no key to decrypt it yet. vault operator init generates a master key split into several unseal key shares (using Shamir’s Secret Sharing) plus an initial root token — save all of these securely and immediately, they’re shown only once. vault operator unseal run enough times with different key shares (the default threshold is 3 of 5) brings Vault online.
Step 5: Enable a KV Secrets Engine
Authenticate with a token (vault login), then enable a key-value secrets engine — the simplest way to store arbitrary secrets: vault secrets enable -path=secret kv-v2. The -v2 variant additionally versions every secret, letting you view or roll back to a previous value.
Step 6: Write and Read a Secret
vault kv put secret/myapp db_password=hunter2 api_key=abc123 stores a secret with multiple fields under one path. Read it back: vault kv get secret/myapp. This is the core operation every application integration eventually wraps — reading a specific secret path at startup instead of a hardcoded config value.
Step 7: Write a Least-Privilege Policy
Don’t hand out the root token to applications. Write a policy file granting only read capability on the specific path an app needs: a path "secret/data/myapp" { capabilities = ["read"] } block, applied with vault policy write myapp-read myapp-policy.hcl. Generate a scoped token bound to that policy for the application to actually use, rather than the unrestricted root token.
Step 8: Enable Audit Logging
vault audit enable file file_path=/var/log/vault_audit.log logs every request — who authenticated, what path they accessed, when. This is what actually answers “who read the production database password last month” during a security review, and should be enabled before Vault holds anything you’d actually care about auditing.
Command reference
# Initialize and unseal
vault operator init
vault operator unseal

# Enable KV engine and store a secret
vault secrets enable -path=secret kv-v2
vault kv put secret/myapp db_password=hunter2
vault kv get secret/myapp

# Policy and audit
vault policy write myapp-read myapp-policy.hcl
vault audit enable file file_path=/var/log/vault_audit.log
Production notes
- Never run dev mode (
vault server -dev) for anything real — no persistence, no real security - Store unseal keys with different trusted people/systems, not all in one place — that’s the entire point of Shamir’s Secret Sharing
- Auto-unseal via a cloud KMS avoids needing humans to manually unseal after every restart, worth setting up once this matters for production
Related tutorials
Terminal screenshots are original illustrations created for Gnome IT Solutions (blog.gnomeitsolutions.com).