Our NFS server guide covers file sharing between Linux/Unix machines — but NFS clients don’t exist natively on Windows or macOS. Samba implements the SMB/CIFS protocol on Linux, letting a Linux server show up as a normal network share in Windows Explorer or macOS Finder with no special client software needed.
This guide installs Samba, configures a share definition, creates a Samba-specific user account, and locks the share down to only the access it actually needs.
Step 1: Understand Why Samba Instead of NFS
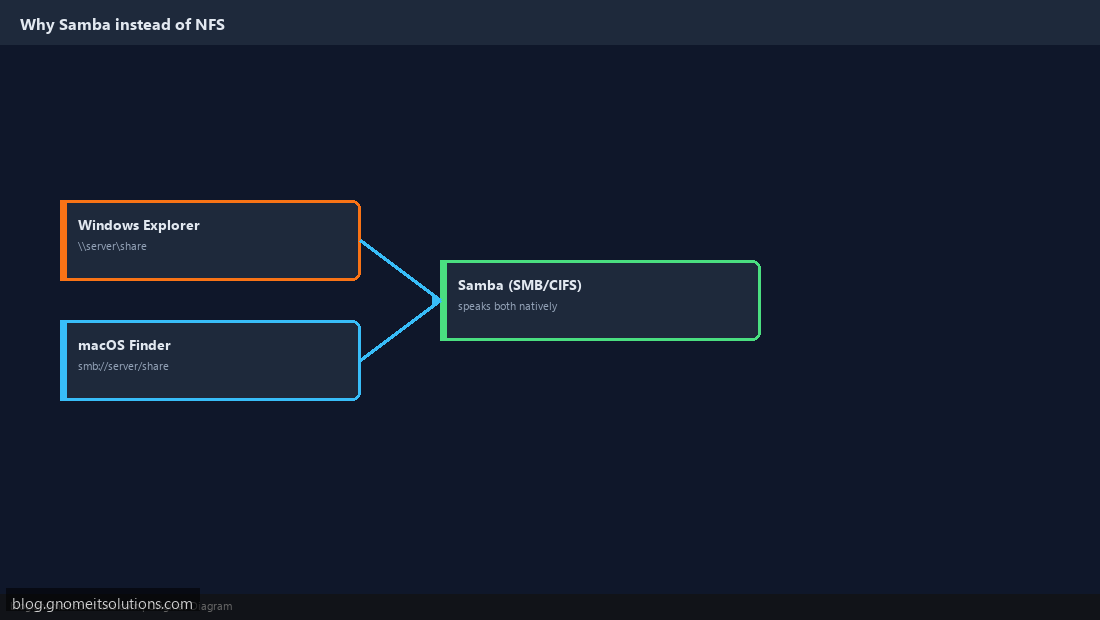
Windows Explorer and macOS Finder both speak SMB/CIFS natively — \\server\share on Windows or smb://server/share on macOS just works with no extra software, exactly the way NFS just works between two Linux boxes. Samba implements this protocol on Linux, effectively making a Linux server present itself as a normal Windows-style file server to any client that doesn’t speak NFS.
Step 2: Install Samba
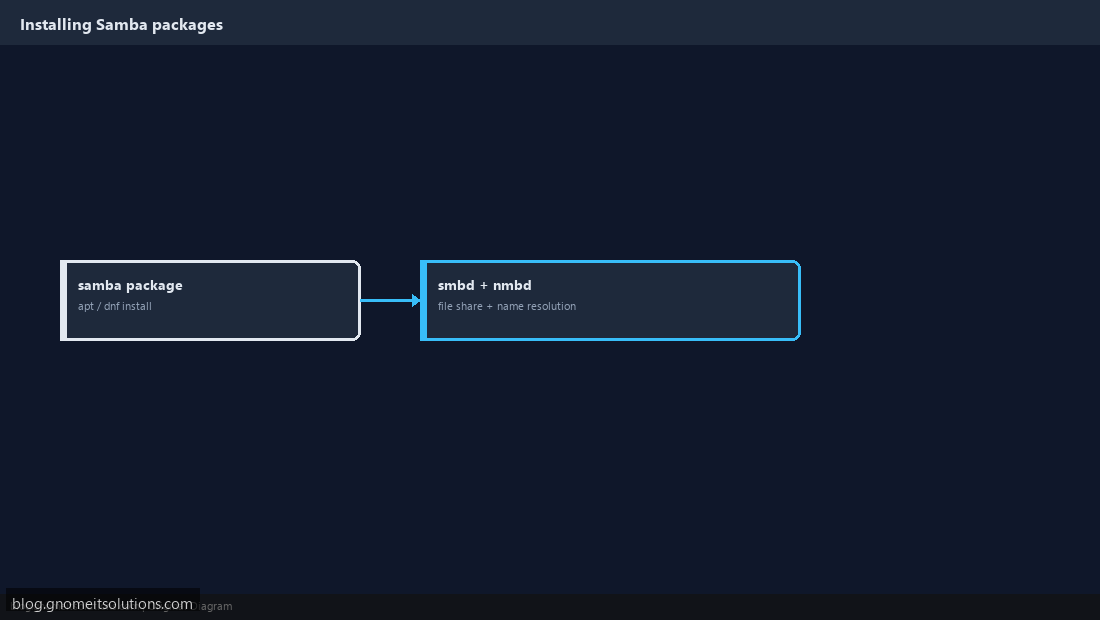
On Debian/Ubuntu: apt install samba. On AlmaLinux/RHEL: dnf install samba. This installs smbd (the actual file-sharing daemon) and nmbd (NetBIOS name resolution, so the share shows up by hostname on older Windows network browsing). Confirm both installed with systemctl status smbd nmbd.
Step 3: Create the Shared Directory
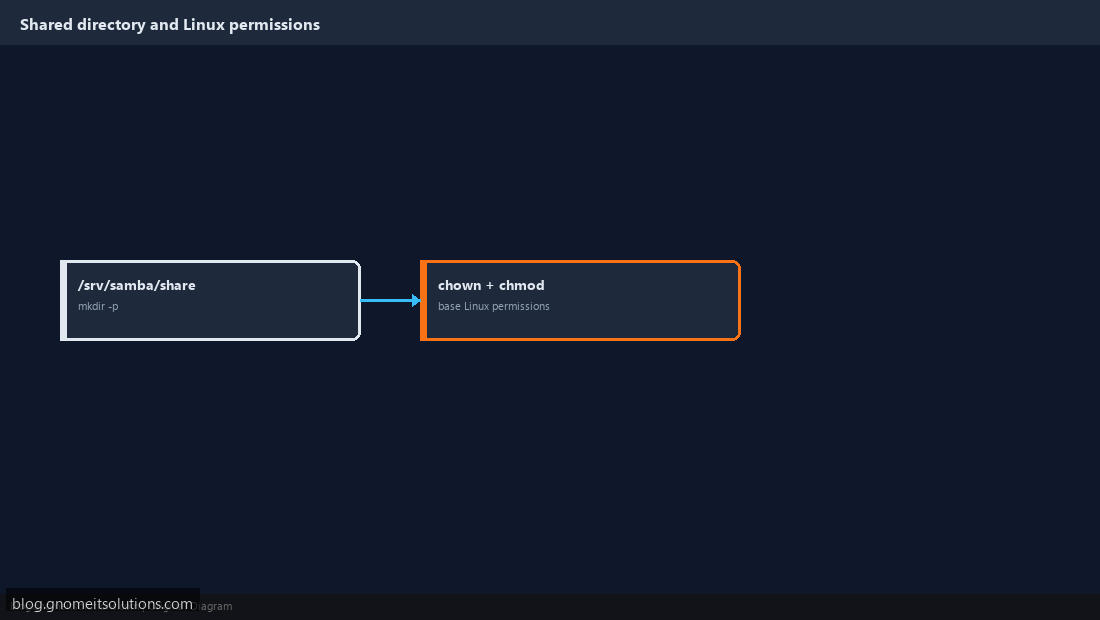
mkdir -p /srv/samba/share, then set base Linux ownership and permissions — chown -R nobody:nogroup /srv/samba/share and chmod -R 0775 /srv/samba/share is a reasonable starting point for a shared writable folder, refined later by Samba’s own access controls in smb.conf.
Step 4: Define the Share in smb.conf
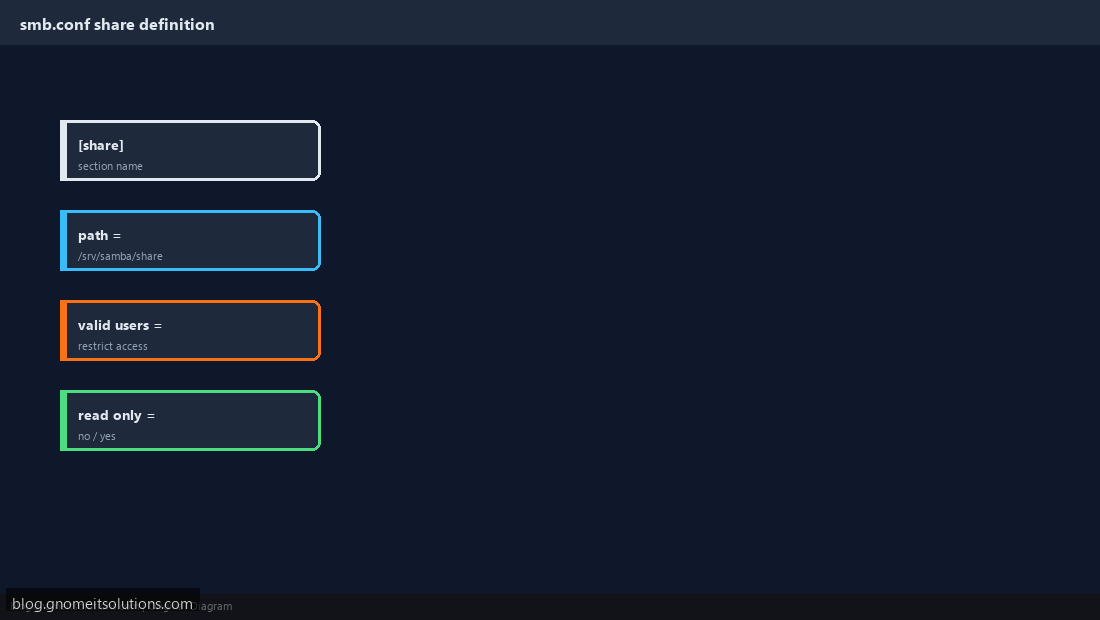
Add a section to /etc/samba/smb.conf: [share], path = /srv/samba/share, valid users = @sambashare (restricting to a group rather than every system user), read only = no, and browsable = yes so it appears in network browsing. Naming the section clearly (avoid generic names like [data] across multiple shares) makes the client-side share list easier for actual users to navigate.
Step 5: Create a Samba User
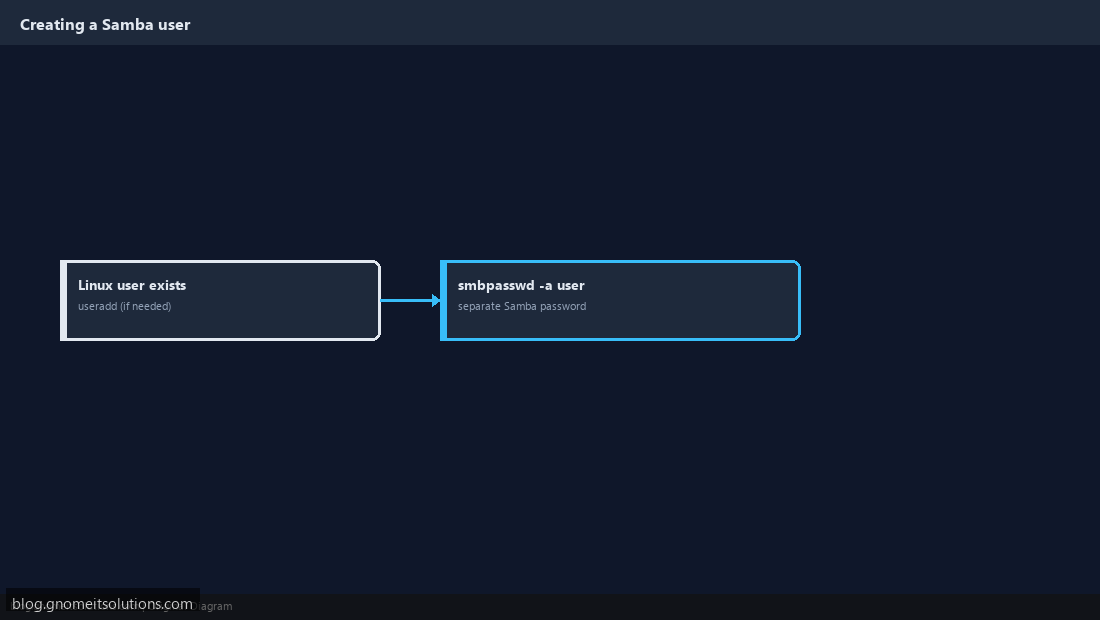
Samba maintains its own password database separate from Linux system passwords — create the Linux user first if it doesn’t exist (useradd -M -s /sbin/nologin sambauser for a share-only account with no shell login), then set the Samba password: smbpasswd -a sambauser. This two-step requirement (Linux user existing, then a separate Samba password) trips people up the first time — Samba won’t authenticate a user that isn’t a real Linux account, even with a Samba password set.
Step 6: Validate and Restart
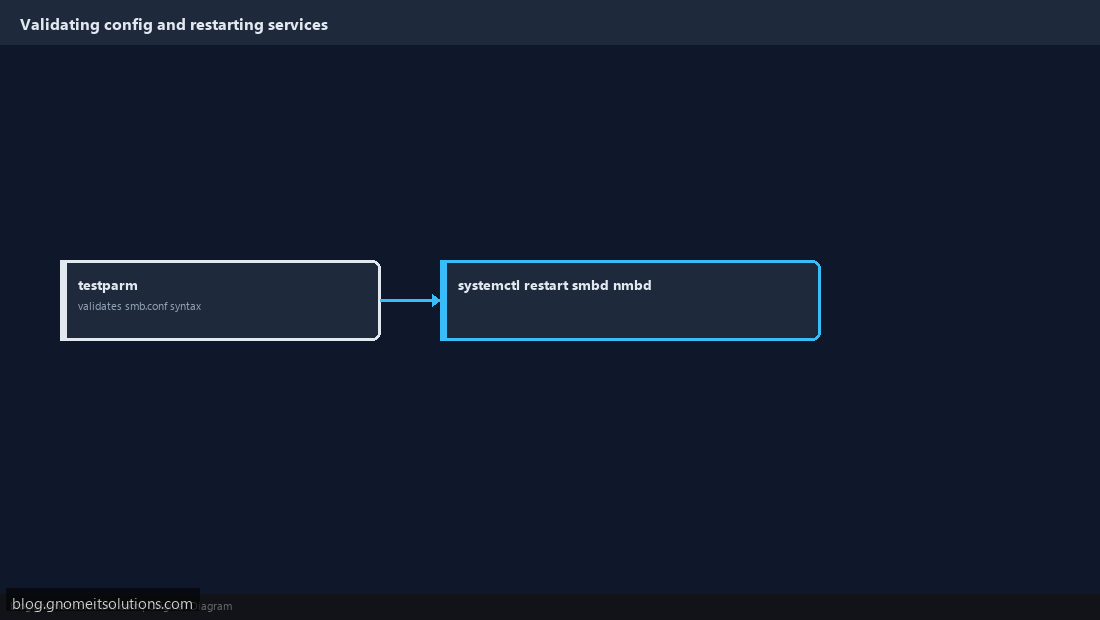
Before restarting, always run testparm — it parses smb.conf and reports syntax errors or unknown parameters, catching typos before they take down the whole Samba service. Once it reports no errors: systemctl restart smbd nmbd. Skipping testparm and just restarting blind is how a single typo turns into an outage for every share on the server, not just the one you were editing.
Step 7: Connect From a Windows or macOS Client
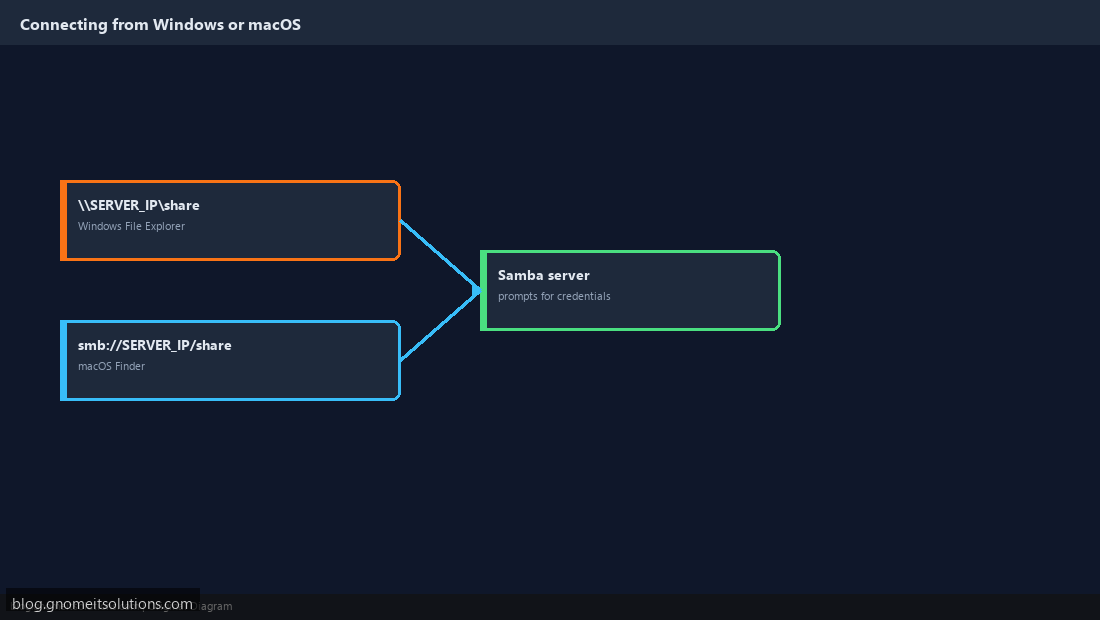
From Windows: File Explorer → address bar → \\SERVER_IP\share, enter the Samba username/password when prompted. From macOS: Finder → Go → Connect to Server → smb://SERVER_IP/share. If the share doesn’t appear in network browsing but connects fine by direct address, that’s usually an nmbd/NetBIOS discovery issue, not a share configuration problem — connecting directly by IP or hostname sidesteps it entirely.
Step 8: Secure the Share
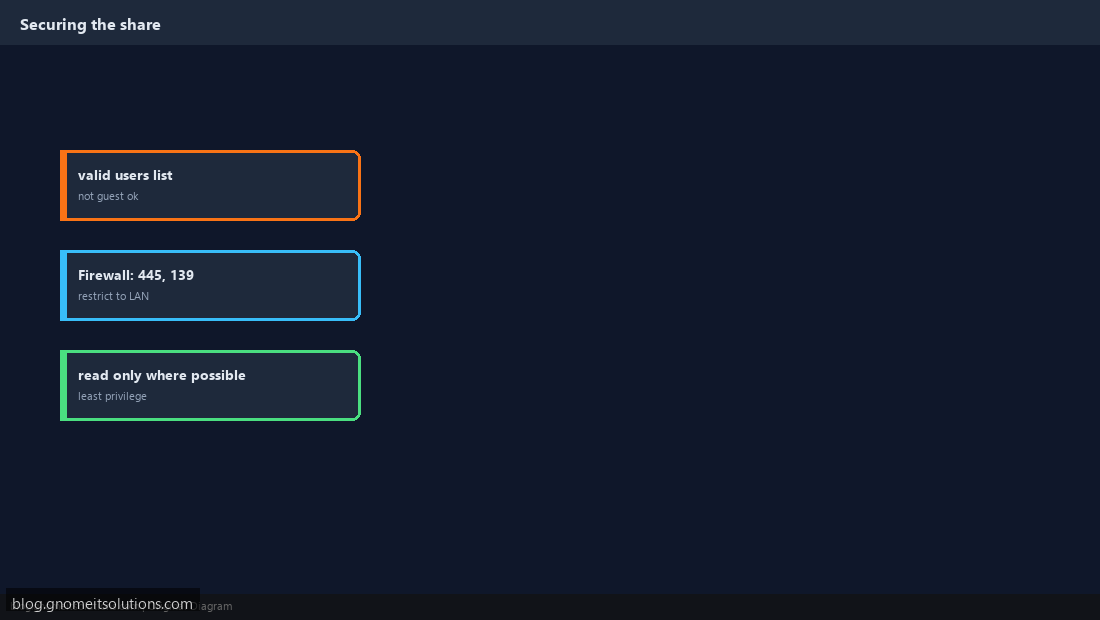
Never leave guest ok = yes on a share with real data — always scope access with valid users to a specific user or group. Restrict the firewall to ports 445 (SMB) and 139 (NetBIOS session) from your LAN only, never expose Samba directly to the internet. Set read only = yes on any share that doesn’t genuinely need write access — least privilege here is exactly as important as it is for the NFS exports covered in our companion guide.
Command reference
# Install and create share directory
apt install samba
mkdir -p /srv/samba/share
chown -R nobody:nogroup /srv/samba/share

# smb.conf addition
[share]
   path = /srv/samba/share
   valid users = @sambashare
   read only = no
   browsable = yes

# User and restart
smbpasswd -a sambauser
testparm
systemctl restart smbd nmbd
Related tutorials
Terminal screenshots are original illustrations created for Gnome IT Solutions (blog.gnomeitsolutions.com).