Our Proxmox NFS storage guide covered connecting to an existing NFS server — this guide builds that server from scratch on plain Linux. NFS (Network File System) lets multiple Linux/Unix clients mount the same directory over the network as if it were local disk, which is the simplest way to share files between servers without setting up a full storage cluster.
This guide installs the NFS server, exports a directory with the right options, opens the firewall ports NFS actually needs (there are three, not one), and mounts it from a client.
Step 1: Know When NFS Is the Right Tool
NFS is built for Linux/Unix-to-Linux/Unix file sharing — if your clients are Windows or macOS, our companion Samba guide is the correct tool instead, since Windows Explorer and macOS Finder don’t speak NFS natively. If you need block-level storage rather than a shared directory (a VM disk, a database volume), our iSCSI guide is the better fit. NFS sits specifically in the file-sharing lane for same-OS-family clients.

Step 2: Install the NFS Server Package
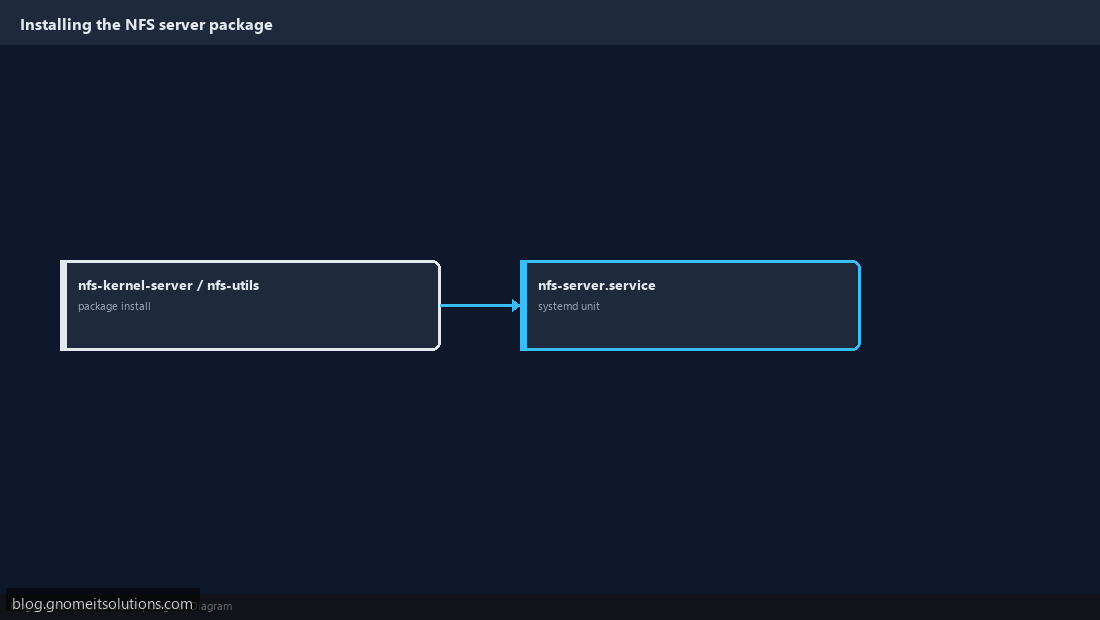
On Debian/Ubuntu: apt install nfs-kernel-server. On AlmaLinux/RHEL: dnf install nfs-utils. Both pull in the kernel NFS server module and the nfs-server systemd unit — confirm the package installed correctly with systemctl status nfs-server (it won’t be running yet until you actually export something).
Step 3: Create and Prepare the Shared Directory
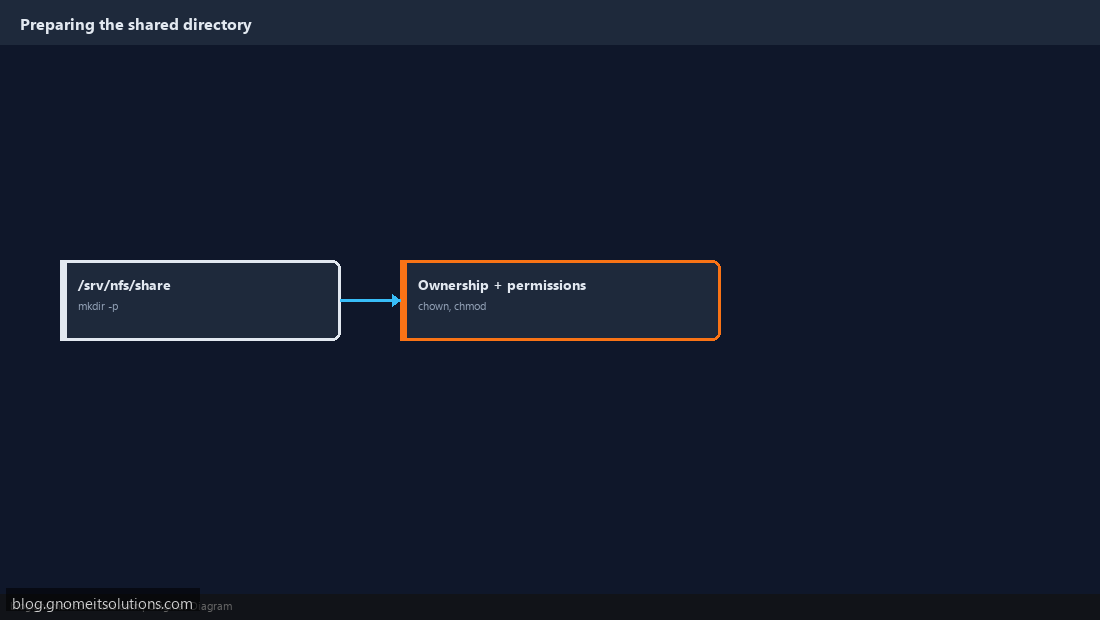
Create the directory you intend to share, e.g. mkdir -p /srv/nfs/share — using /srv rather than a random path keeps shared data in the conventional location other admins will expect. Set ownership and permissions to match who should actually be able to write to it: chown nobody:nogroup /srv/nfs/share is a common starting point for a share that any authenticated client can write to.
Step 4: Configure /etc/exports
Add a line to /etc/exports: /srv/nfs/share 192.168.1.0/24(rw,sync,no_subtree_check,no_root_squash). Each part matters: the network/host restricts who can mount it at all, rw vs ro sets write access, sync confirms writes to disk before acknowledging them (safer than async, which is faster but risks data loss on a crash), and no_root_squash lets the client’s root user act as root on the share — leave this as the default root_squash unless you specifically need it, since it’s a real privilege escalation path if the network isn’t trusted.

Step 5: Apply the Exports and Start the Service
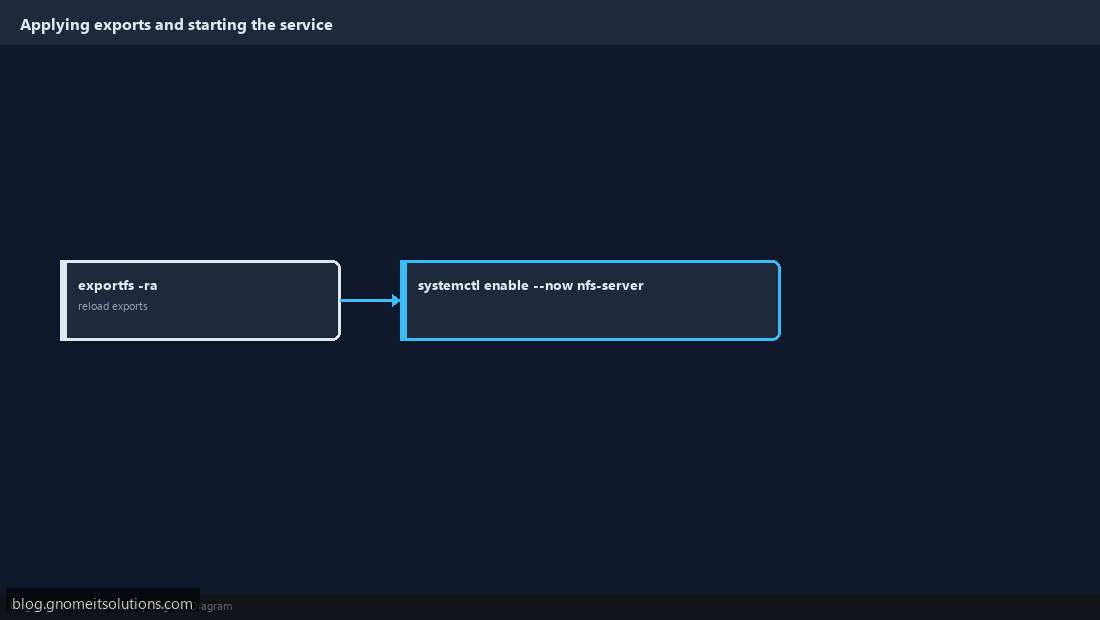
After editing /etc/exports, run exportfs -ra to reload the export table without needing a full service restart — -r re-exports everything, -a applies to all entries. Then systemctl enable --now nfs-server to start it and ensure it comes up on boot. Confirm with exportfs -v, which lists every currently active export and its options.
Step 6: Open the Firewall Ports NFS Actually Needs
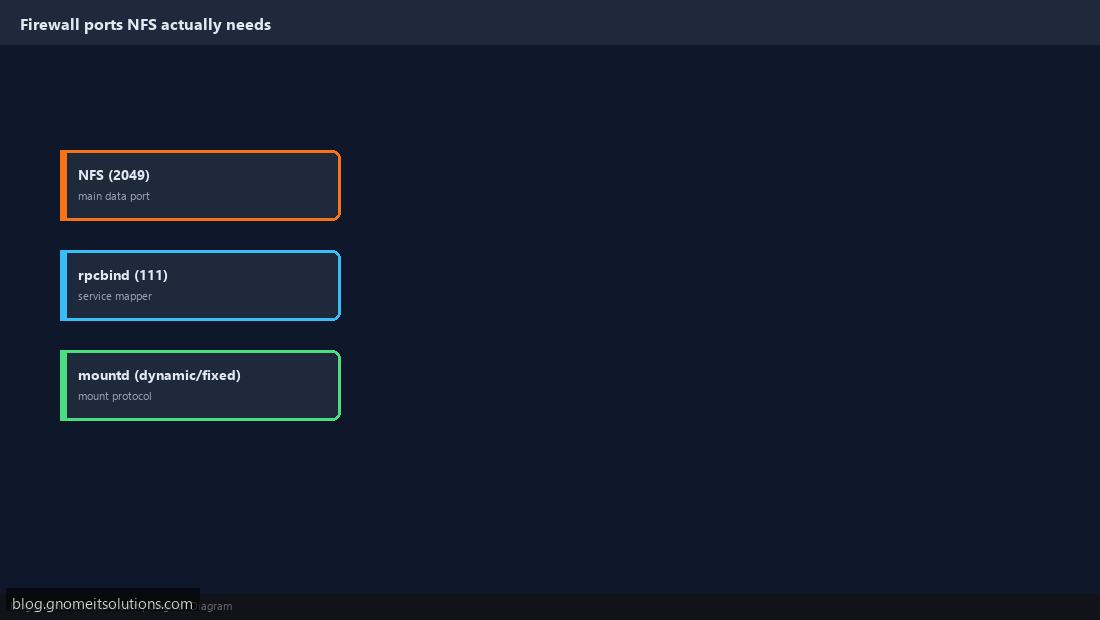
NFS isn’t a single port — it needs 2049 (the main NFS data port), 111 (rpcbind, which maps other NFS-related services to their ports), and the mountd port (dynamic by default, or fixed if you set MOUNTD_PORT in the NFS server config — fixing it makes firewall rules simpler to write). Forgetting rpcbind is the most common reason a client can reach the server but still fails to mount.
Step 7: Mount the Share From a Client
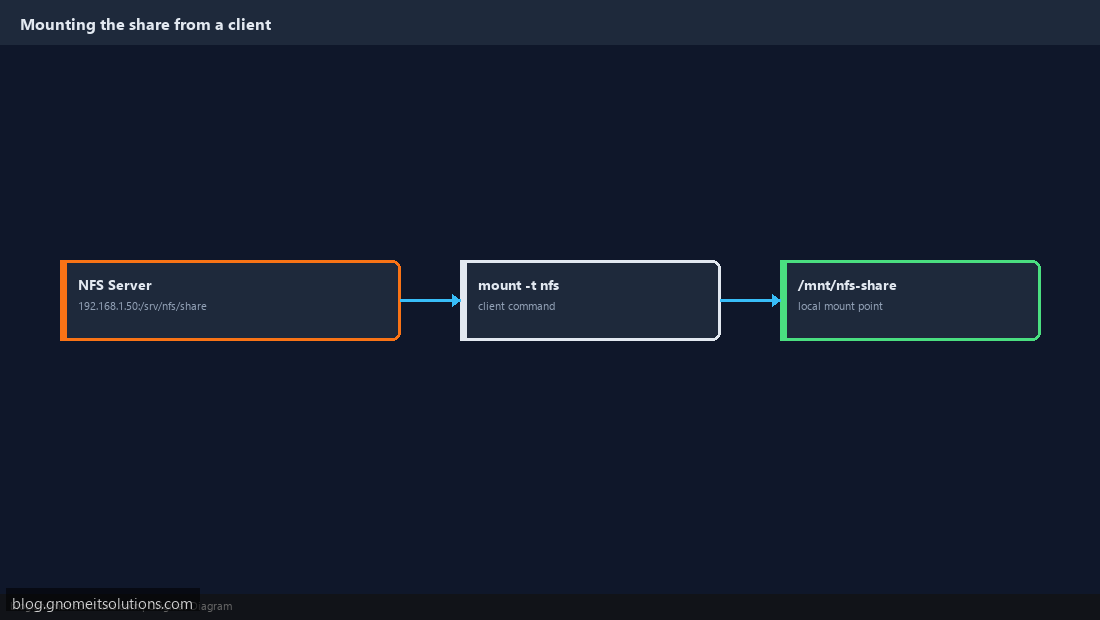
On the client, install nfs-common (Debian/Ubuntu) or confirm nfs-utils is present (RHEL-family), then mkdir -p /mnt/nfs-share and mount -t nfs 192.168.1.50:/srv/nfs/share /mnt/nfs-share. Confirm with df -h /mnt/nfs-share that it’s actually mounted and showing the server’s reported size, not a local filesystem.
Step 8: Persist the Mount and Fix Permission Issues
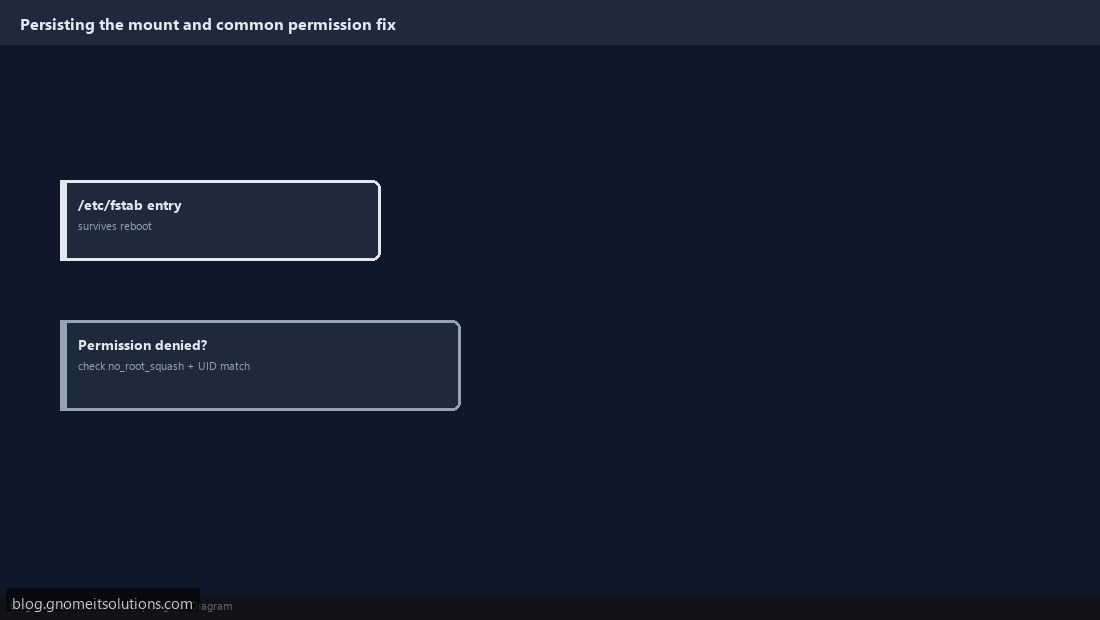
Add a line to the client’s /etc/fstab: 192.168.1.50:/srv/nfs/share /mnt/nfs-share nfs defaults 0 0, then test with mount -a before rebooting. If writes fail with “Permission denied” despite correct Linux permissions on the share, the usual cause is a UID/GID mismatch between client and server (NFS by default maps by numeric UID, not username) combined with root_squash mapping root to nobody — align UIDs across systems or adjust the export’s squash settings deliberately, don’t just disable permission checks entirely.
Command reference
# Server
apt install nfs-kernel-server
mkdir -p /srv/nfs/share
echo '/srv/nfs/share 192.168.1.0/24(rw,sync,no_subtree_check)' >> /etc/exports
exportfs -ra
systemctl enable --now nfs-server

# Client
mount -t nfs 192.168.1.50:/srv/nfs/share /mnt/nfs-share
echo '192.168.1.50:/srv/nfs/share /mnt/nfs-share nfs defaults 0 0' >> /etc/fstab
Related tutorials
Terminal screenshots are original illustrations created for Gnome IT Solutions (blog.gnomeitsolutions.com).