Not every server needs Ceph or a hardware RAID card — mdadm gives you reliable software RAID on plain Linux, using disks you already have. It’s the same technology backing many NAS appliances, and it’s a good fit for a single server that needs disk redundancy without the cost or complexity of dedicated RAID hardware.
This guide creates a RAID1 (mirrored) array from two disks, persists the configuration so it survives a reboot, sets up monitoring, and walks through simulating and recovering from a disk failure — the scenario RAID actually exists for.
Step 1: Choose a RAID Level
RAID1 (mirroring) needs 2 disks, tolerates 1 failure, and gives you the usable capacity of one disk — simplest and safest for a small server. RAID5 needs 3+ disks, tolerates 1 failure, and gives you N-1 disks of usable capacity — better space efficiency but slower rebuilds and higher failure risk during rebuild on large disks. RAID10 needs 4+ disks and combines mirroring and striping for both redundancy and performance. This guide uses RAID1.
Step 2: Prepare the Disks
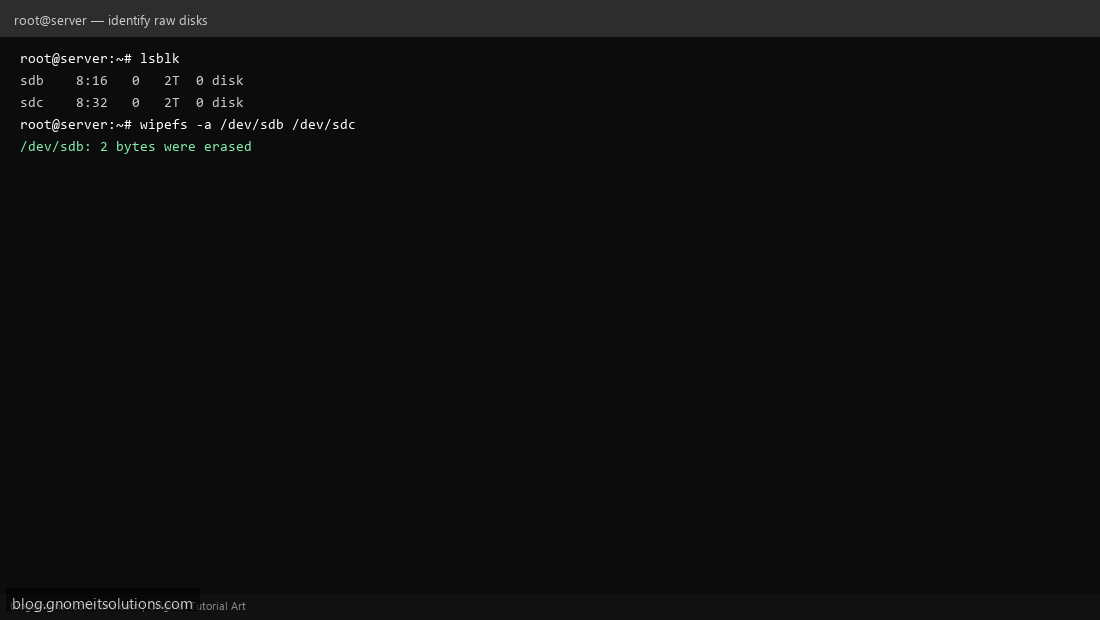
Identify your unused disks with lsblk — confirm you have the right device names before proceeding, since the next step is destructive. Wipe any existing filesystem signatures: wipefs -a /dev/sdb /dev/sdc. Never run this on a disk with data you need.
Step 3: Create the RAID Array
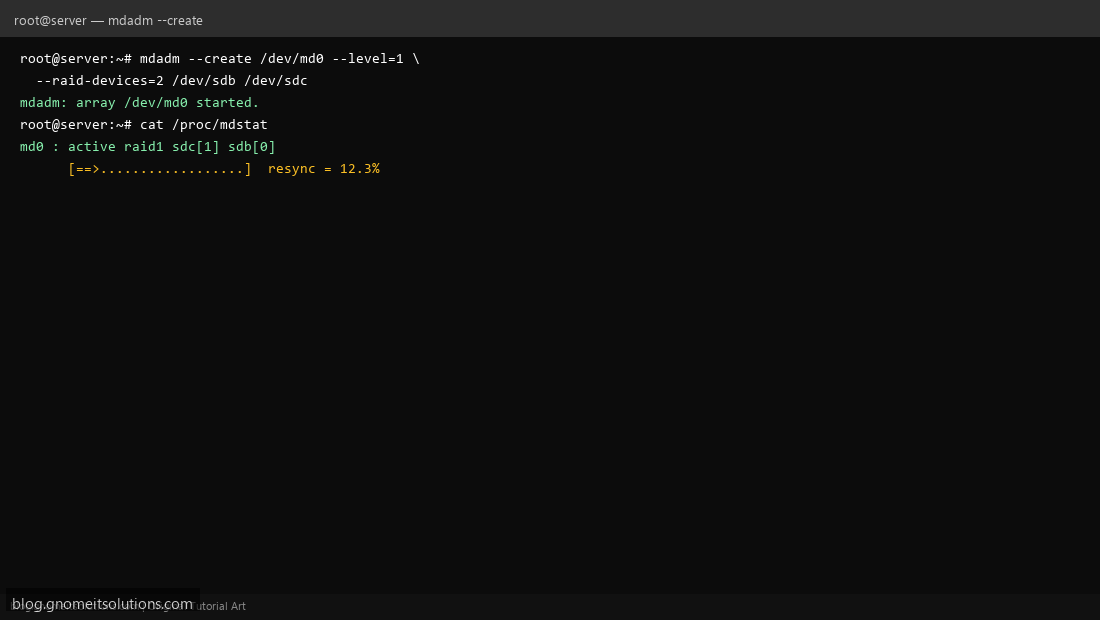
Install mdadm if needed (apt install mdadm), then create the array: mdadm --create /dev/md0 --level=1 --raid-devices=2 /dev/sdb /dev/sdc. Watch the initial sync progress with cat /proc/mdstat — the array is usable immediately, but stays in a degraded-performance resync state until the mirror fully catches up.
Step 4: Format, Mount, and Persist the Configuration
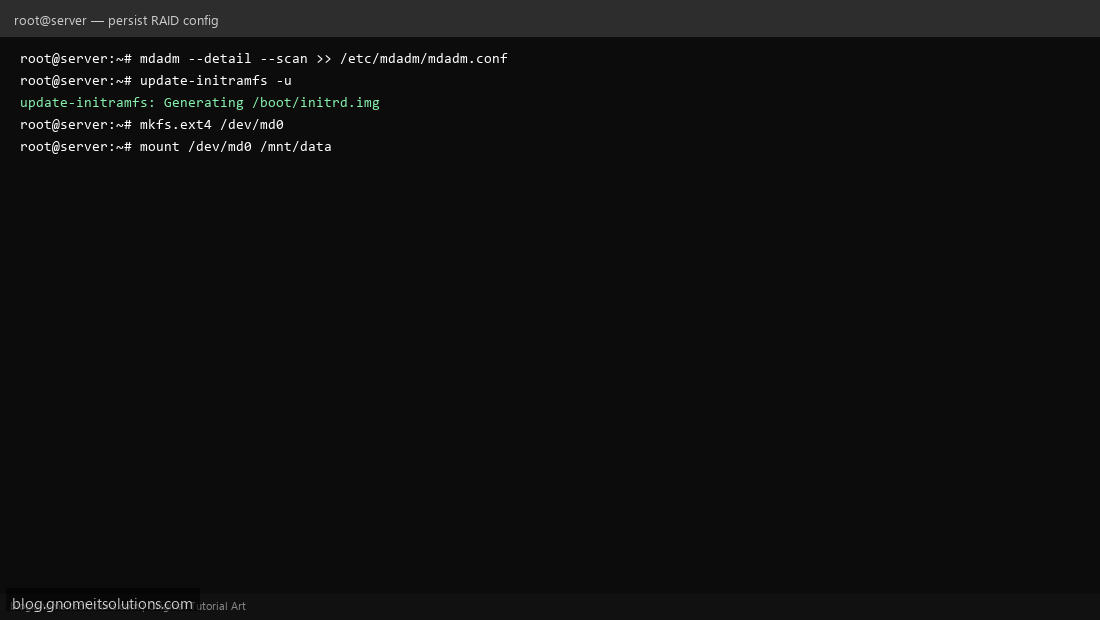
Create a filesystem on the array (mkfs.ext4 /dev/md0) and mount it. Then make the array survive a reboot: append its definition to /etc/mdadm/mdadm.conf with mdadm --detail --scan >> /etc/mdadm/mdadm.conf, and rebuild the initramfs (update-initramfs -u) so the kernel can assemble /dev/md0 at boot time. Add an entry to /etc/fstab to mount it automatically too.
Step 5: Monitor Array Health
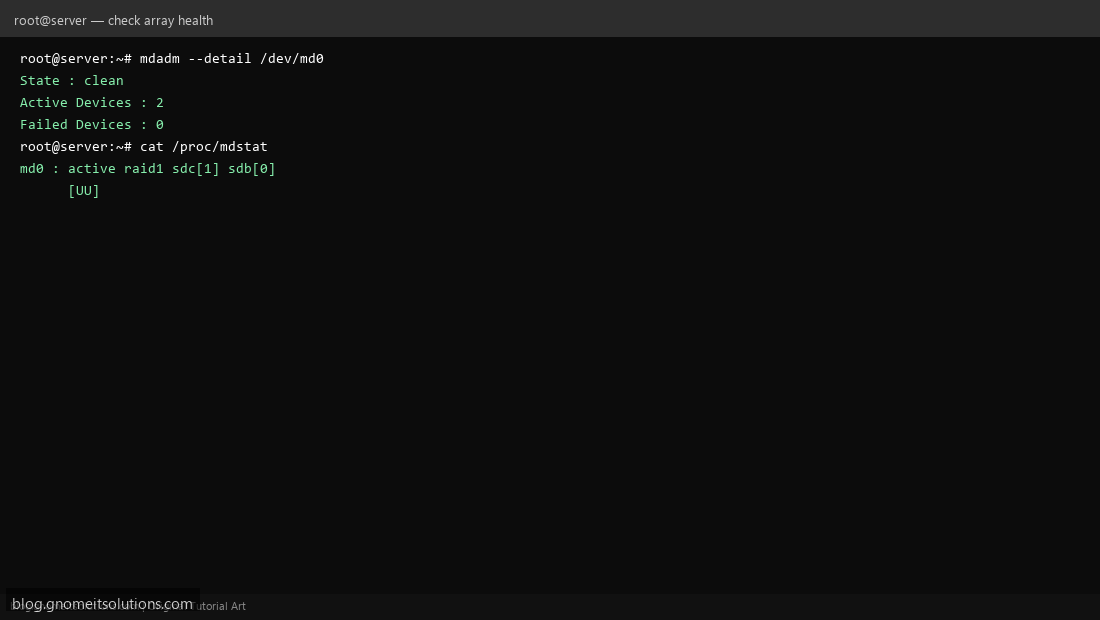
mdadm --detail /dev/md0 shows the array State (should be clean), active device count, and failed device count. cat /proc/mdstat gives a quick one-line view — [UU] means both mirror members are Up; a [U_] means one has dropped out and the array is running degraded.
Step 6: Simulate and Recover From a Disk Failure
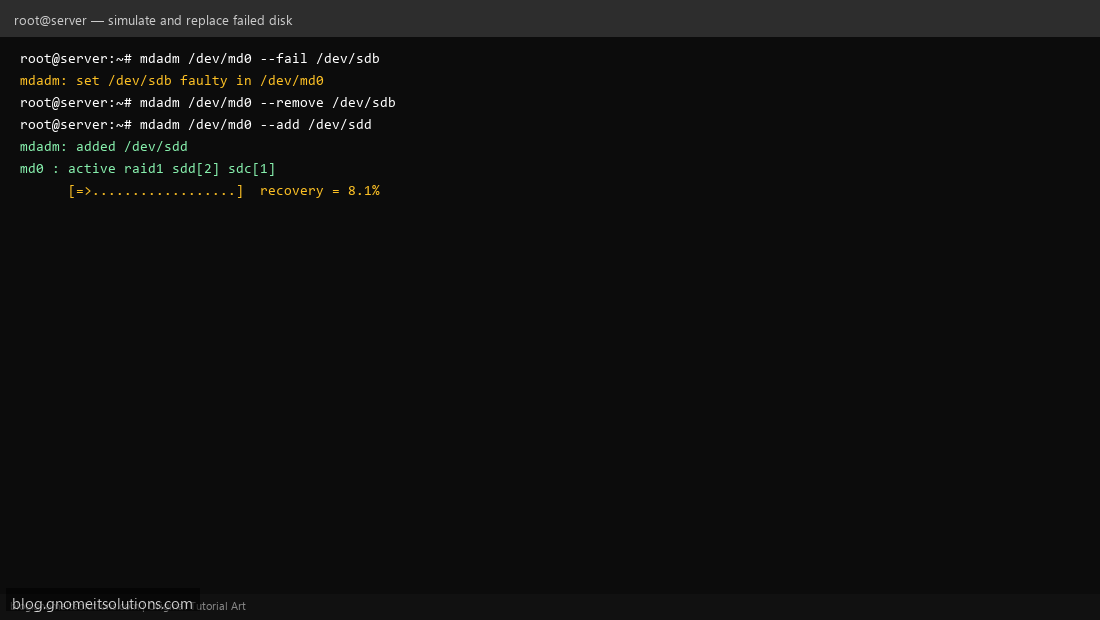
Force a failure to practice the recovery procedure before you need it for real: mdadm /dev/md0 --fail /dev/sdb, then --remove /dev/sdb. Add a replacement disk: mdadm /dev/md0 --add /dev/sdd — mdadm immediately starts rebuilding the mirror onto the new disk, visible as a recovery percentage in /proc/mdstat. The array stays online and serving data the entire time.
Step 7: Set Up Email Alerts for Real Failures
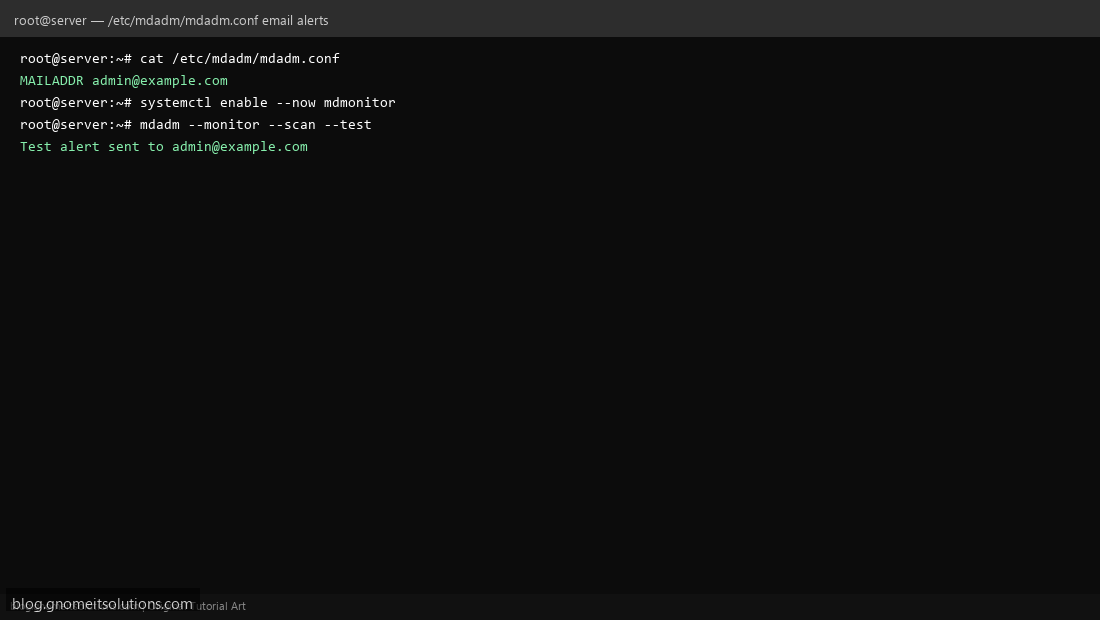
You don’t want to discover a failed disk by manually checking /proc/mdstat. Set MAILADDR [email protected] in /etc/mdadm/mdadm.conf, enable the monitor daemon (systemctl enable --now mdmonitor), and test it with mdadm --monitor --scan --test — you should receive a test alert email confirming the pipeline works before you actually need it.
Command reference
# Create a RAID1 array
mdadm --create /dev/md0 --level=1 --raid-devices=2 /dev/sdb /dev/sdc

# Check status
cat /proc/mdstat
mdadm --detail /dev/md0

# Replace a failed disk
mdadm /dev/md0 --fail /dev/sdb --remove /dev/sdb
mdadm /dev/md0 --add /dev/sdd
What RAID does not protect against
- Accidental deletion or ransomware — RAID mirrors the mistake just as faithfully as good data; you still need real backups, see our backup shell script guide
- Multiple simultaneous disk failures beyond what the RAID level tolerates
- Filesystem or controller-level corruption that writes bad data to all mirrors identically
Related tutorials
- Extend LVM Logical Volume on Linux
- Linux Backup Verification Shell Script
- ZFS Storage Pool on Proxmox
Terminal screenshots are original illustrations created for Gnome IT Solutions (blog.gnomeitsolutions.com).