Building ViciDial from source rather than a prebuilt ISO gives you control over the exact Asterisk
version, kernel, and package set — useful when you’re deploying onto an existing hardened server or a
cloud image rather than dedicated call-center hardware.
This guide builds Asterisk 18 and the ViciDial/astguiclient stack from scratch on a minimal AlmaLinux 9
install.
Step 1: Prepare the Base OS
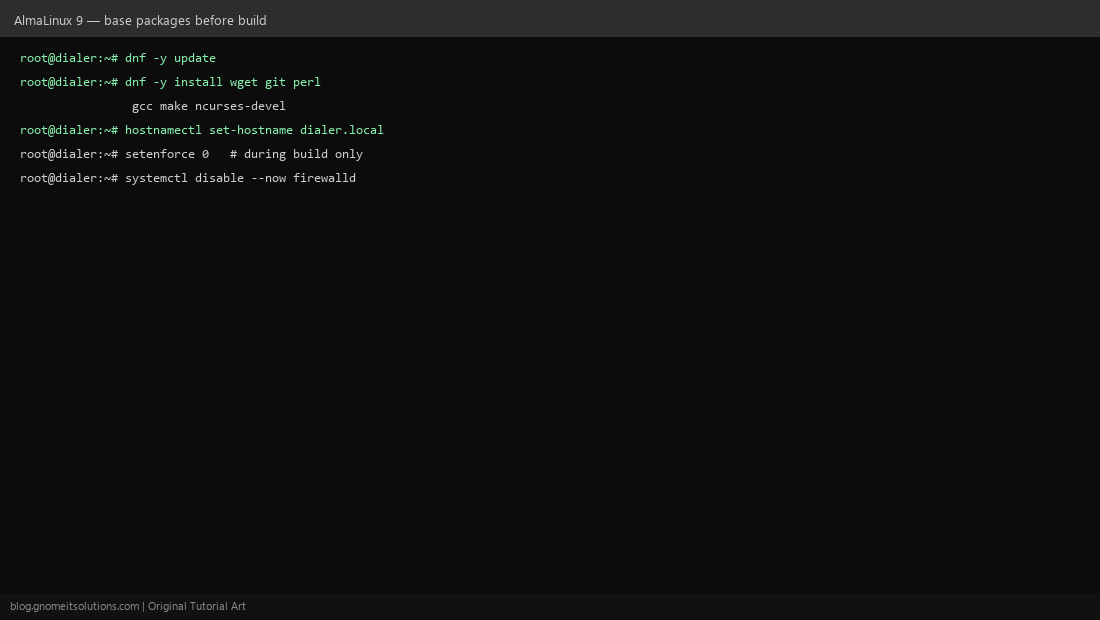
Start from a minimal AlmaLinux 9 install. Update packages and install the build toolchain: dnf -y update && dnf -y install wget git perl gcc make ncurses-devel. Set a proper hostname and disable the firewall/SELinux enforcing mode during the build (re-enable and configure them properly once the stack is running).
Step 2: Download and Compile Asterisk 18
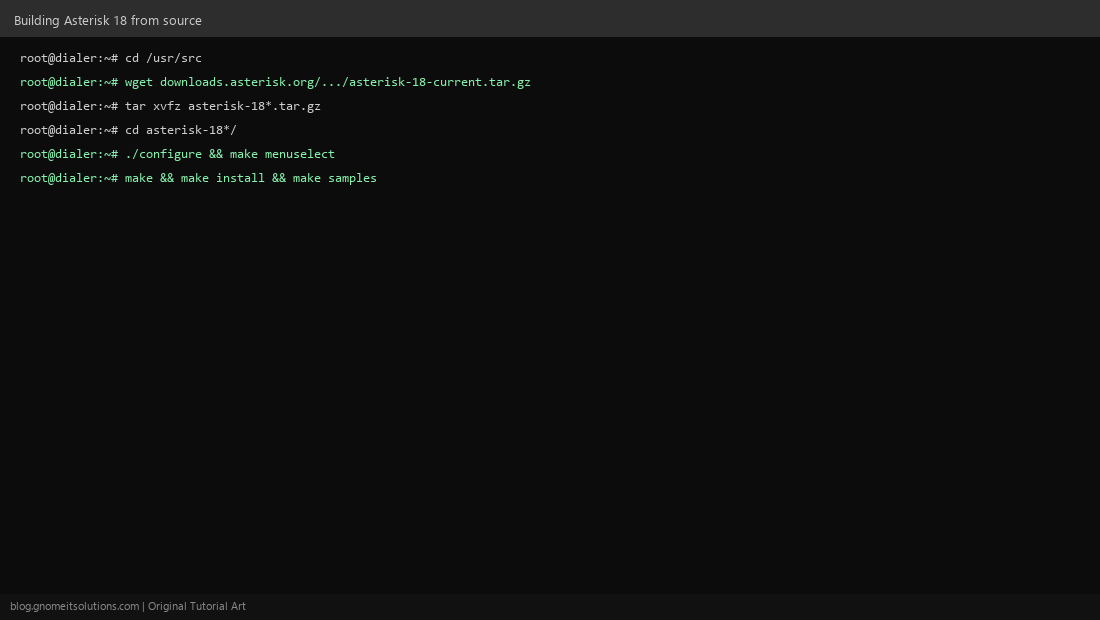
Download the Asterisk 18 source tarball to /usr/src, extract it, and run ./configure followed by make menuselect to confirm codec and module selection (make sure app_meetme/conferencing and SIP/PJSIP channel drivers are selected). Then make && make install && make samples.
Step 3: Install MariaDB and the astguiclient Stack
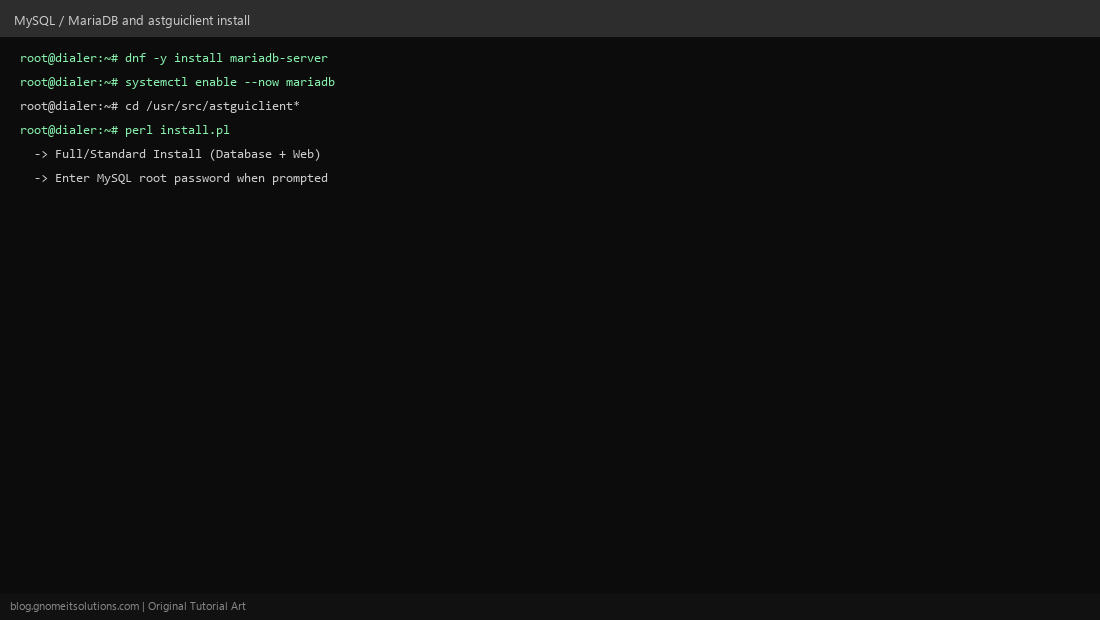
Install and enable MariaDB: dnf -y install mariadb-server && systemctl enable --now mariadb. Download the astguiclient source (the package that provides ViciDial’s Perl backend and web files), extract it, and run perl install.pl choosing the full/standard install so it sets up the database schema and web root.
Step 4: Configure Apache/PHP and the Cron User
The installer sets up the ViciDial web files under your web server’s document root and creates the MySQL cron database user the backend scripts rely on. Confirm PHP is installed and the web server can reach MySQL — most first-boot issues trace back to a missing PHP module or a wrong DB password in astguiclient.conf.
Step 5: Start Services and Verify
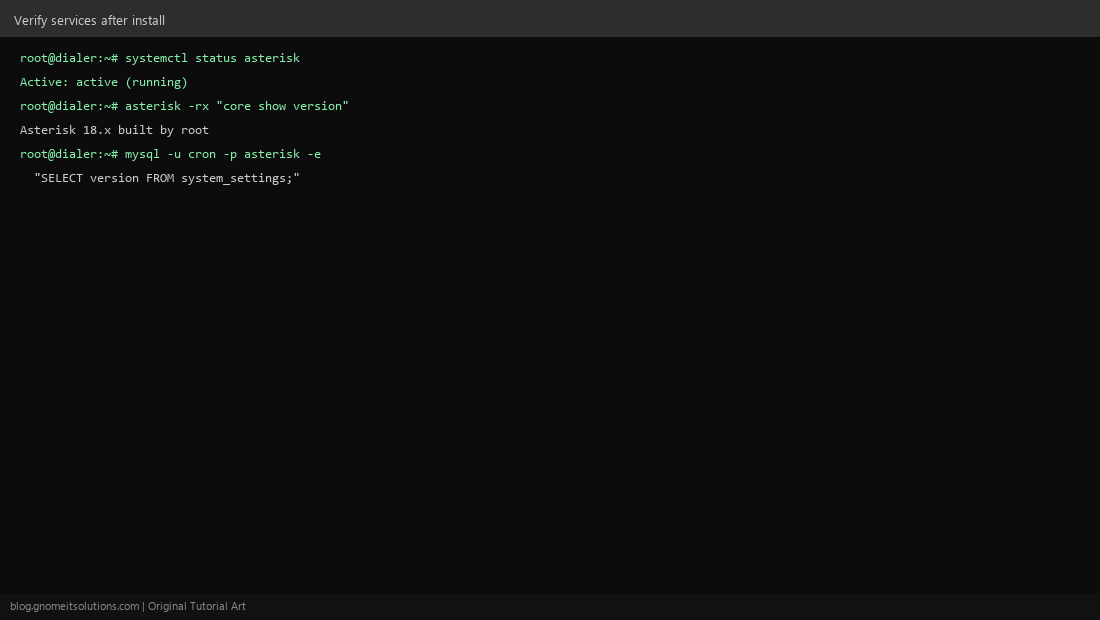
Start Asterisk and confirm it’s running: systemctl status asterisk and asterisk -rx "core show version". Confirm the database schema loaded by querying system_settings in the asterisk database. Then log into the ViciDial admin web UI to confirm the full stack is reachable end to end.
Post-install hardening
- Re-enable SELinux (or configure proper policies) and the firewall before going to production
- Change all default MySQL passwords set during the astguiclient installer
- Restrict Asterisk’s SIP/RTP ports and admin web UI to trusted networks only
- Set up scheduled backups — see our MySQL table repair guide for recovery steps if a table ever corrupts
Related tutorials
Image credits: All illustrations are original terminal/config mockups created for
Gnome IT Solutions — not screenshots from any third-party site. Tutorial text © Gnome IT Solutions.