
A freshly loaded lead list, covered in our
campaign creation
guide, dials cleanly on day one. By week two, the same list is a mix of leads reached on the first try,
leads that have been called eight times with no answer, and leads that were disposed weeks ago but never
actually left the active pool. Call-attempt cadence — how many times a lead gets redialed
and how much time passes between attempts — is the setting that determines whether that list stays
productive or slowly turns into wasted dialer capacity spent re-hammering numbers that were never going to
answer.
This guide covers ViciDial’s list recycling fields that control attempt limits and spacing, how to build
a cadence that increases contact rate without violating reasonable-frequency norms, and the list hygiene
habits — removing dead numbers, retiring stale leads, re-importing rather than endlessly recycling — that
keep a list productive over its full life in a campaign.
Step 1: Understand the Fields That Control Redial Behavior
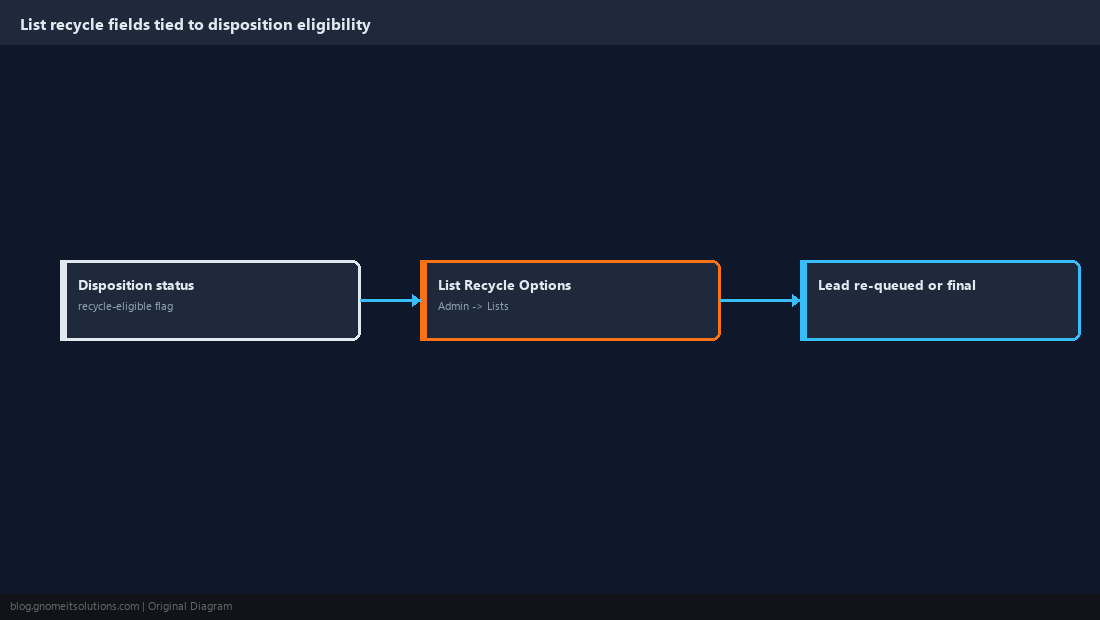
ViciDial’s list recycling behavior for no-answer and busy outcomes is controlled by a combination of the list’s Reset every days settings under Admin → Lists → List Recycle Options and the per-status recycle settings that determine which dispositions make a lead eligible to be redialed at all. A lead’s status after a call determines whether it stays eligible: a final status like a completed sale or a hard no should never be re-queued, while a no-answer or busy status typically should be, up to whatever attempt limit the campaign defines. Before touching any spacing or attempt-count numbers, confirm the disposition set from our custom dispositions guide has the recycle-eligible flags set correctly on each status, since a cadence built on top of a wrongly-flagged status set will either re-dial leads that should be done or stop dialing ones that should still be attempted.
Step 2: Set a Maximum Attempt Count Per Lead
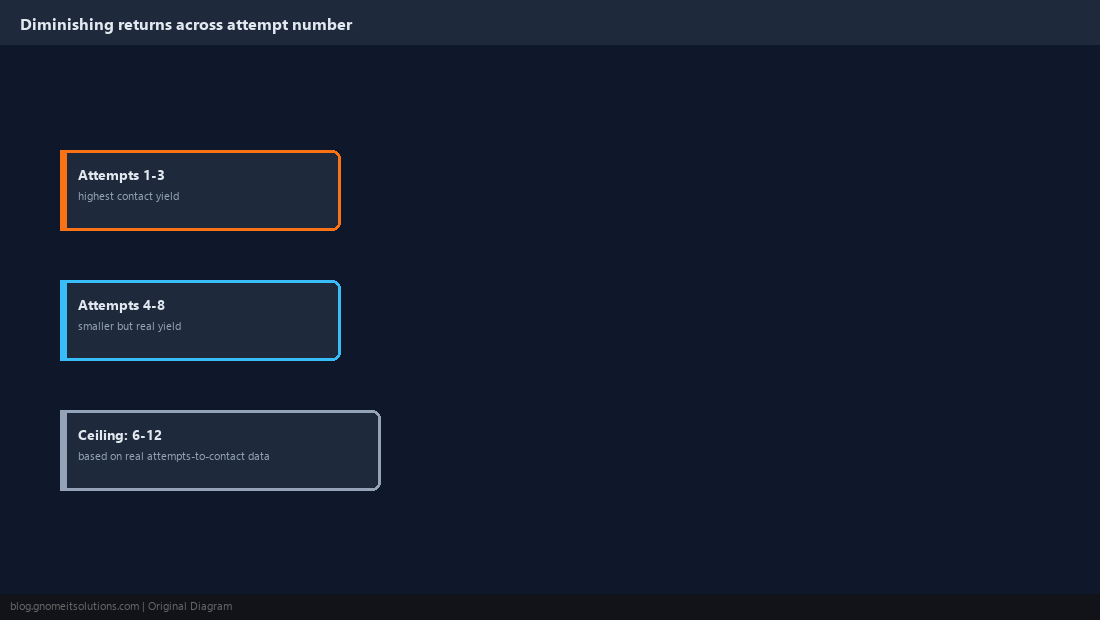
Configure a hard ceiling on total attempts per lead — commonly somewhere between 6 and 12 depending on the vertical and lead cost — so a number that genuinely never answers eventually stops consuming dialer capacity and gets moved to a final no-contact status instead of staying in rotation indefinitely. Leads that are expensive to acquire justify a higher ceiling since the cost of one more attempt is small relative to the cost of giving up on the lead too early; cheap, high-volume lists can run a lower ceiling since the marginal value of the ninth attempt on any single lead is usually low. Track average attempts-to-contact for a representative sample of your own leads before picking a number — guessing a ceiling without that data usually either wastes capacity on dead numbers or cuts off leads that would have converted on attempt six or seven.
Step 3: Space Attempts Instead of Redialing Back to Back
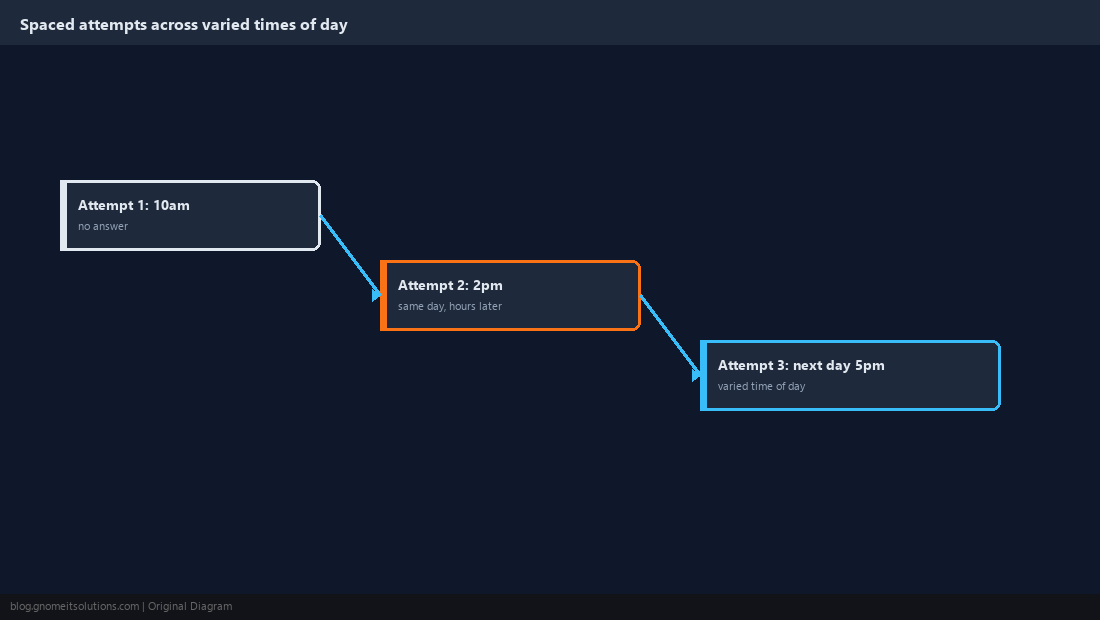
A no-answer redialed again within minutes rarely produces a different outcome, so configure spacing between attempts on the same lead — commonly a matter of hours within the same day for a first or second retry, extending to a full day or more between later attempts. This is enforced through the list’s recycle timing fields combined with dial-window scheduling; a lead that goes unanswered in the morning should generally not be eligible again until later the same day or the next day’s dial window, not the next pacing cycle a few minutes later. Vary the time of day across attempts where the campaign structure allows it — a lead who never answers a 10am call might answer at 5pm, and always retrying at the same hour of day systematically misses people who are simply unavailable at that specific time.
Step 4: Separate Cadence Rules by Disposition Type
Not every non-final disposition deserves the same cadence — a busy signal often warrants a retry within the hour since the line was simply in use, while a true no-answer benefits more from the longer, varied-time-of-day spacing from Step 3. Where the campaign structure supports it, configure different recycle timing per disposition rather than one blanket rule for every non-final status, since collapsing busy and no-answer into identical treatment either redials busy leads too slowly or redials true no-answers too aggressively. Review this split periodically against real outcome data — if busy-then-recontacted leads convert at a meaningfully different rate than no-answer-then-recontacted leads, that’s a signal the cadence split is working as intended and worth refining further rather than a coincidence to ignore.

Step 5: Purge or Suppress Numbers That Are Confirmed Dead
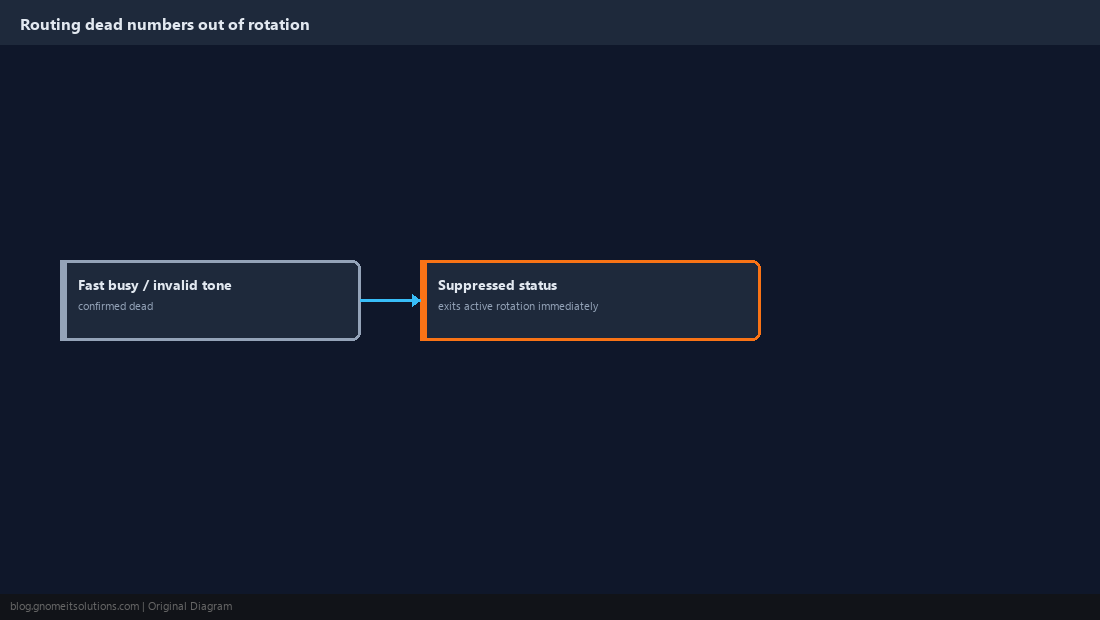
A disconnected number, a fax line, or a number that returns a fast-busy carrier intercept tone should never continue accumulating attempts toward the max-attempt ceiling from Step 2 — flag these with a distinct disposition and either remove them from the active list or move them to a permanently suppressed status the moment the carrier signal confirms the number is not viable. Where AMD or the dial engine can distinguish a fast busy/invalid-number tone from a normal busy signal, route it straight to that suppression status rather than letting it consume slots in the regular no-answer/busy recycle rotation, since continuing to redial a confirmed-dead number wastes dialer capacity with zero chance of ever converting.
Step 6: Re-Verify Aging Leads Before Continuing to Dial Them
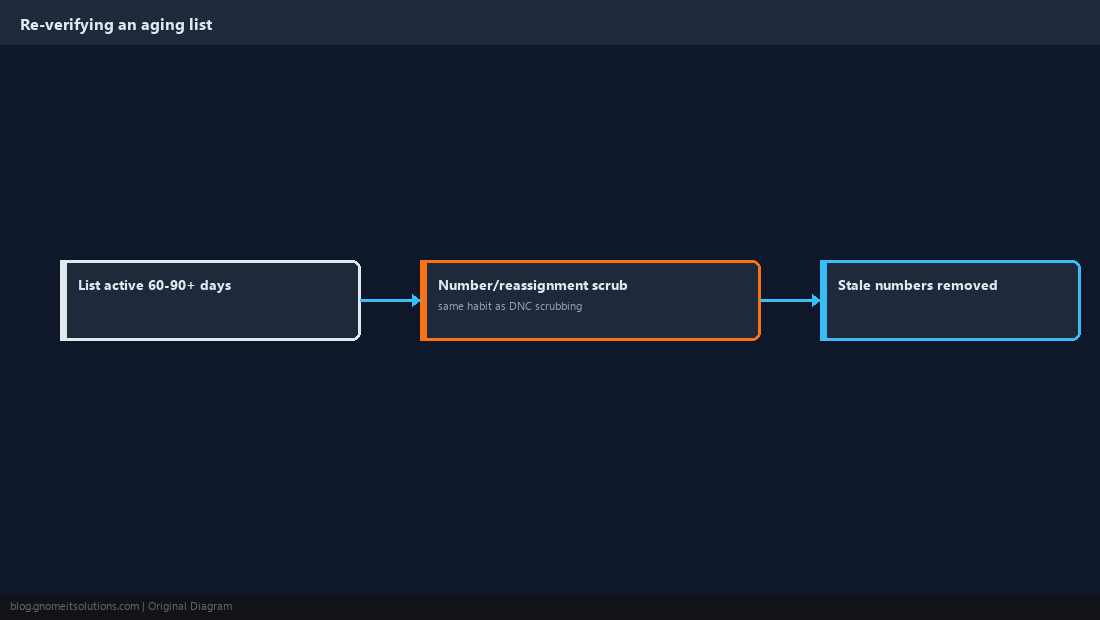
A lead list still active after 60-90 days accumulates a growing share of numbers that have changed hands, been ported, or gone permanently unreachable for reasons no disposition ever captured. For a list running that long, periodically re-scrub it against whatever number-verification or reassigned-number data source you already use for DNC compliance, since a reassigned-number check catches numbers that carry real regulatory risk if dialed as if they still belong to the original lead — this is distinct from simple DNC scrubbing but uses the same operational habit of pulling a list through a verification pass rather than dialing it indefinitely without review.
Step 7: Retire Exhausted Leads Instead of Endlessly Recycling Them
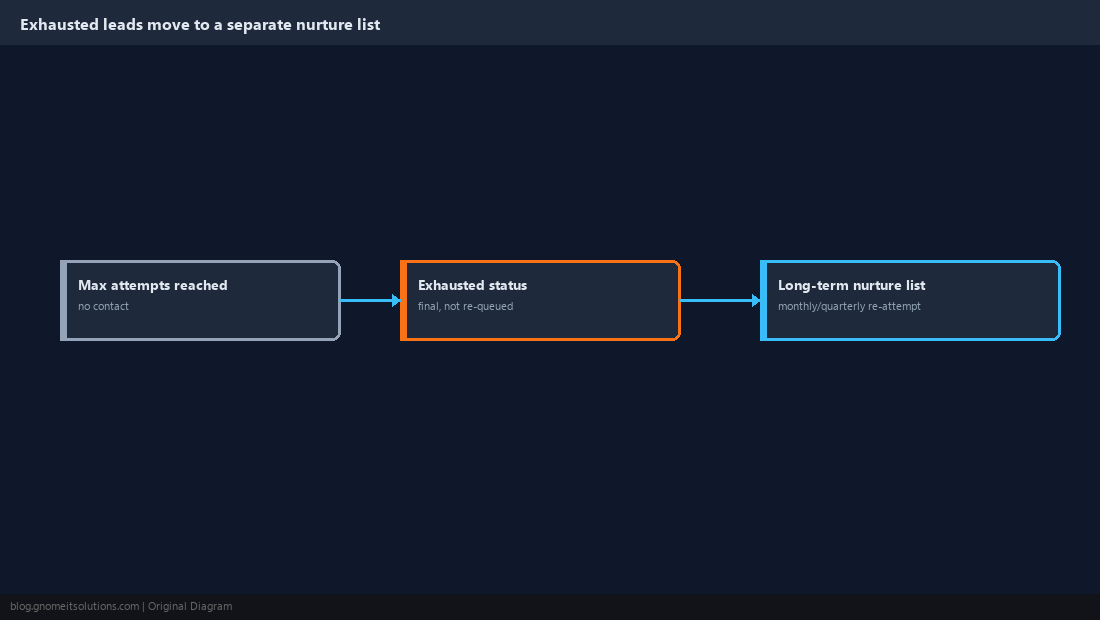
Once a lead hits the max-attempt ceiling from Step 2 with no contact, move it to a clearly final “exhausted” status rather than leaving it in a state where a configuration change elsewhere accidentally pulls it back into rotation. Export exhausted leads on a schedule for a separate, much lower-frequency long-term nurture list — a monthly or quarterly re-attempt campaign — rather than either discarding them entirely or letting them silently re-enter the primary campaign’s regular cadence, since a lead that didn’t answer nine calls in two weeks is a different population than a fresh lead and deserves a deliberately different treatment, not the default cadence repeated forever.
Step 8: Monitor Contact Rate by Attempt Number to Validate the Cadence
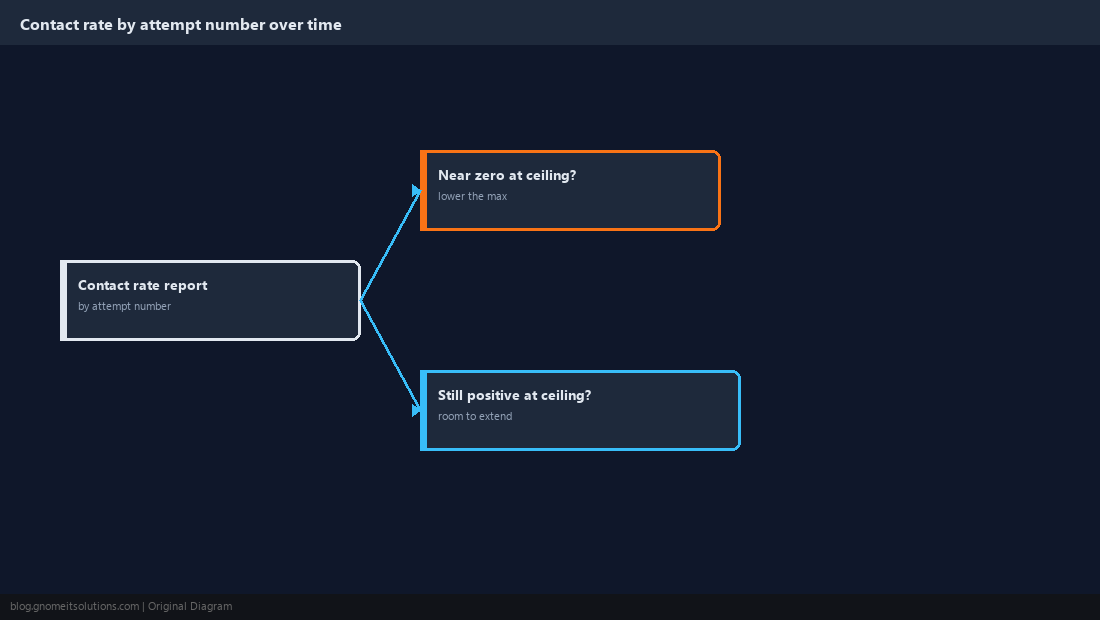
Pull a report of contact rate broken out by attempt number — what share of contacts happened on attempt 1 versus attempt 4 versus attempt 8 — on a recurring basis to confirm the cadence built in this guide is actually producing the diminishing-but-real returns it’s designed around, rather than assuming the configuration is correct once and never revisiting it. If contact rate at higher attempt numbers is near zero, the max-attempt ceiling from Step 2 is probably set too high for this particular list or vertical; if it’s still meaningfully positive at the current ceiling, there may be room to extend it. Treat this report as the feedback loop that keeps cadence tuned to actual lead behavior instead of a number picked once and left alone indefinitely.
Cadence Design Checklist
Max attempts       6-12 per lead depending on lead cost and vertical
Spacing            hours between early attempts, a day+ for later ones
Vary time of day   don't retry at the same hour every time
Busy vs no-answer  different recycle timing per disposition where possible
Dead numbers       suppress immediately, don't count toward the ceiling
Re-verify          scrub lists active past 60-90 days
Exhausted leads    move to a separate long-term nurture cadence
Monitor            contact rate by attempt number, reviewed regularly
Related tutorials
Image credits: All illustrations are original terminal/config mockups created for
Gnome IT Solutions — not screenshots from any third-party site. Tutorial text © Gnome IT Solutions.