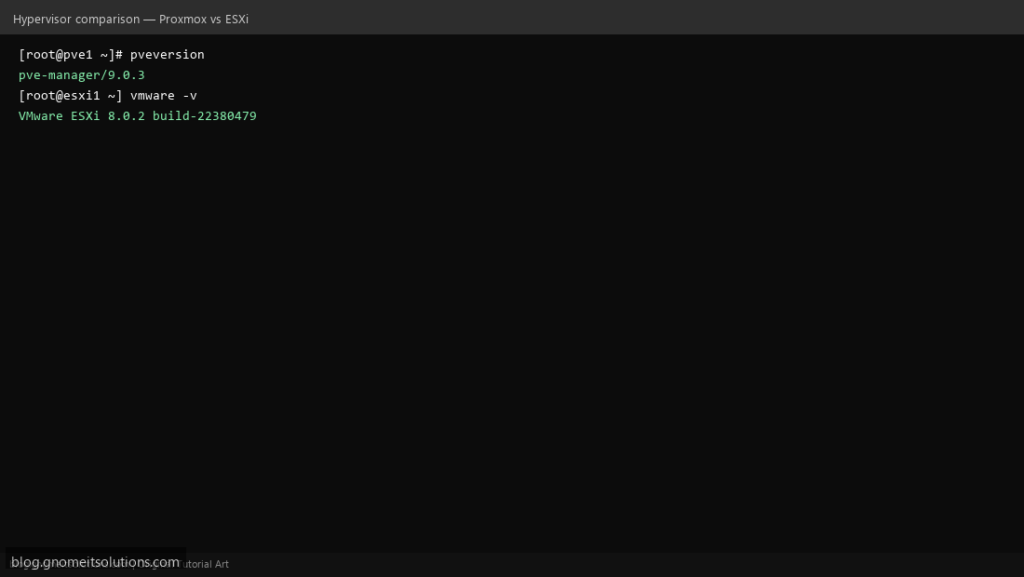
Two enterprise hypervisors compared and installed from scratch: Proxmox VE (open-source KVM + LXC) and VMware ESXi (commercial vSphere hypervisor). This guide walks through bare-metal installation, web UI access, first VM creation, and a feature comparison.
Step 1: Proxmox VE — Boot USB and Graphical Installer
Flash Proxmox VE 9.x ISO to USB. Boot server, select Install Proxmox VE (Graphical), choose disk (ext4 or ZFS), set root password, hostname, and static management IP on vmbr0.
Step 2: Proxmox — First Web UI Login on Port 8006
Open https://192.168.1.50:8006, log in as root. Verify with pveversion -v and systemctl status pveproxy. Run apt update && apt full-upgrade -y after install.
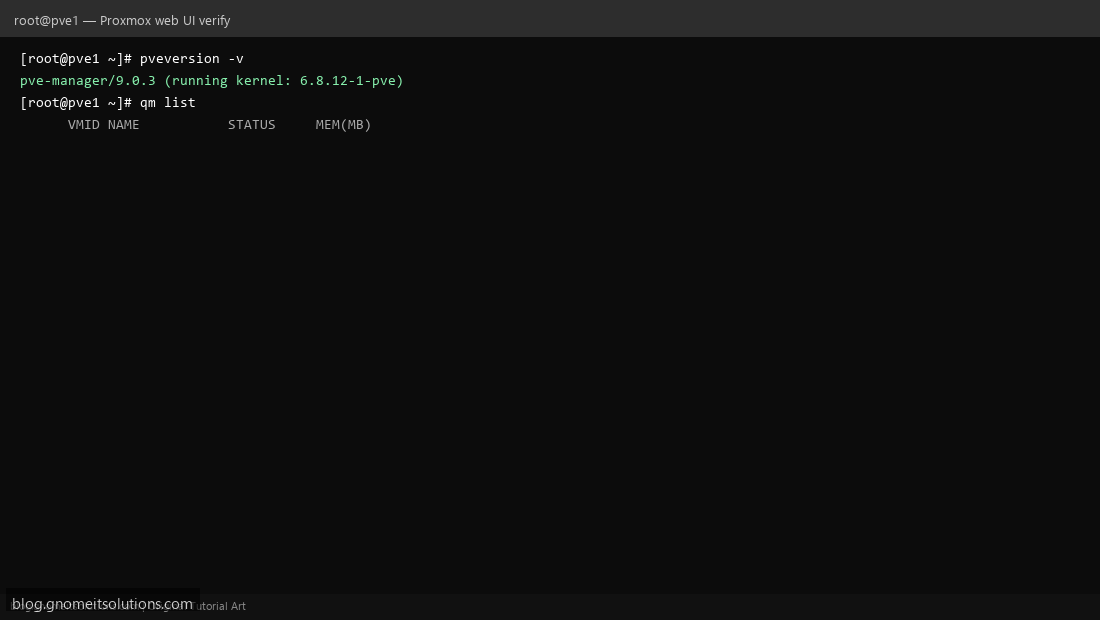
Step 3: Create First VM in Proxmox
Datacenter → Create VM: set ID 100, attach ISO, 2 cores, 2 GB RAM, 32 GB disk on local-lvm, network vmbr0. CLI: qm create 100 --name ubuntu-web --memory 2048.
Step 4: VMware ESXi — ISO Install and DCUI Network
Boot ESXi 8.x installer, select local disk, set root password. After reboot use DCUI (F2) to configure static management IP, gateway, DNS, and hostname. Enable SSH if needed.
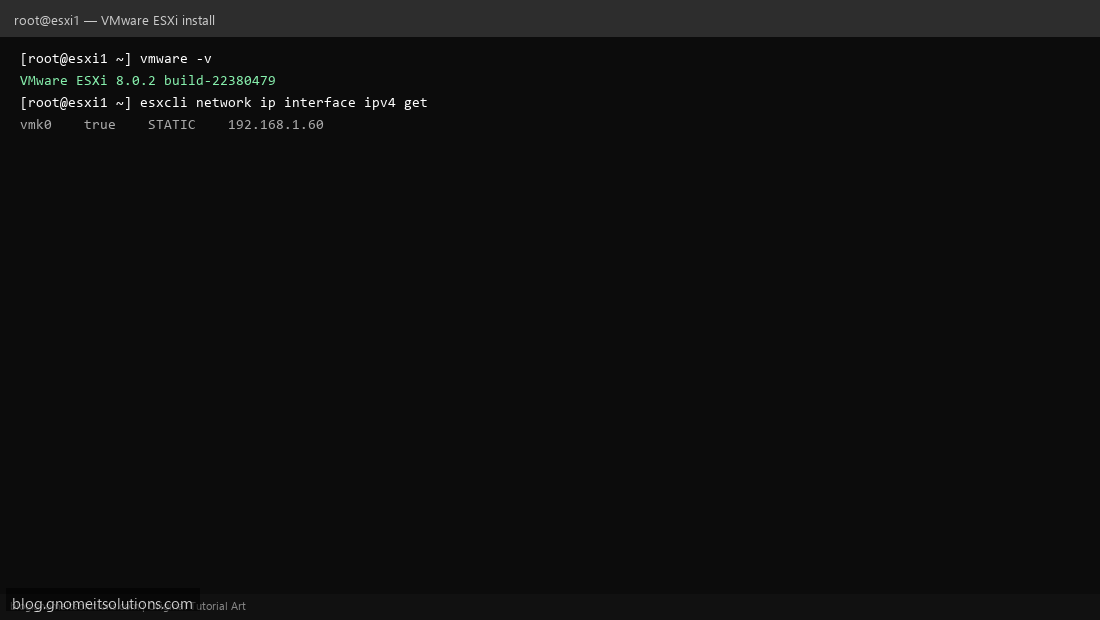
Step 5: ESXi Host Client and First VM
Browse to https://192.168.1.60/ui, log in as root. Check vmware -v and esxcli system version get. Create VM from Host Client: upload ISO, 2 vCPU, thin disk on VMFS datastore.
Step 6: Proxmox vs VMware — When to Choose Which
Proxmox: open-source, LXC containers, ZFS/Ceph, no per-socket license — ideal for homelab and MSPs. VMware: enterprise support, vMotion with vCenter, existing vSphere stacks.
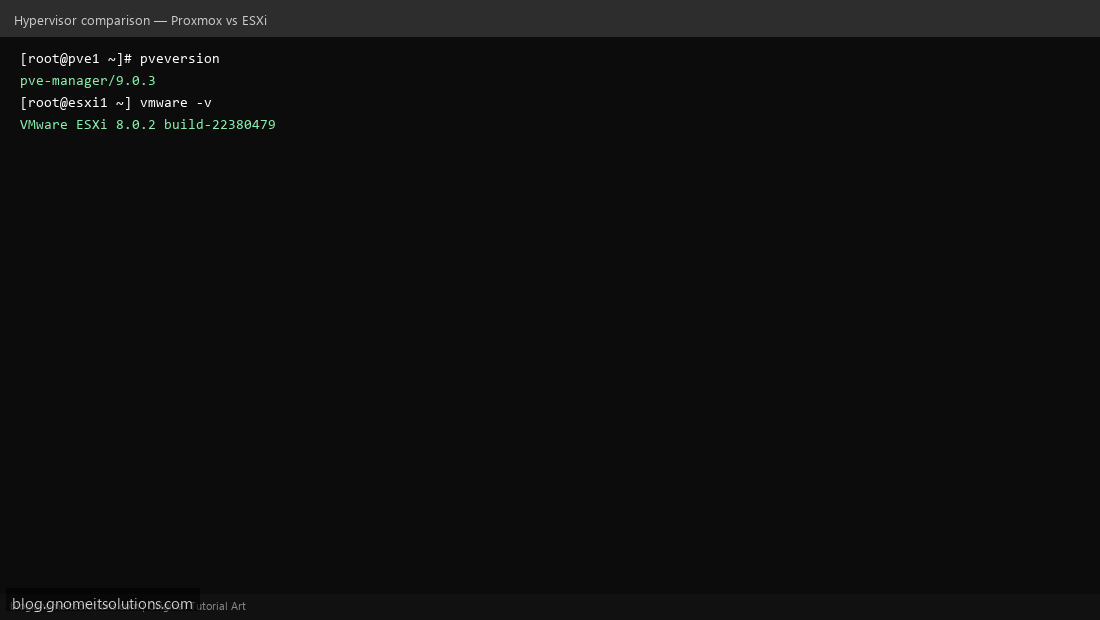
Proxmox verification
pveversion -v
pvesm status
qm list
pct list
journalctl -u pveproxy --since today | tail -20
ESXi verification
vmware -v
esxcli system version get
esxcli network ip interface ipv4 get
esxcli vm process list
grep -i error /var/log/hostd.log | tail -10
Comparison
| Feature | Proxmox VE | VMware ESXi |
|---|---|---|
| License | Open source + optional sub | Commercial |
| Web UI | :8006 | /ui Host Client |
| Containers | Native LXC | VMs only |
| Clustering | Built-in corosync | Needs vCenter |
| Backup | vzdump + PBS | Veeam / vSphere API |
Related tutorials
Terminal screenshots are original illustrations created for Gnome IT Solutions (blog.gnomeitsolutions.com).