Every guide on this blog eventually tells you to run a command with sudo — but who gets sudo, and exactly what they can do with it, is configured in one file: /etc/sudoers. A single typo in that file can lock every non-root user out of sudo entirely, which is exactly why you never edit it directly.
This guide covers the safe way to edit sudoers, granting both full and least-privilege access, automation-friendly NOPASSWD rules, and how to audit what sudo has actually been used for.
Step 1: Always Edit With visudo, Never a Text Editor
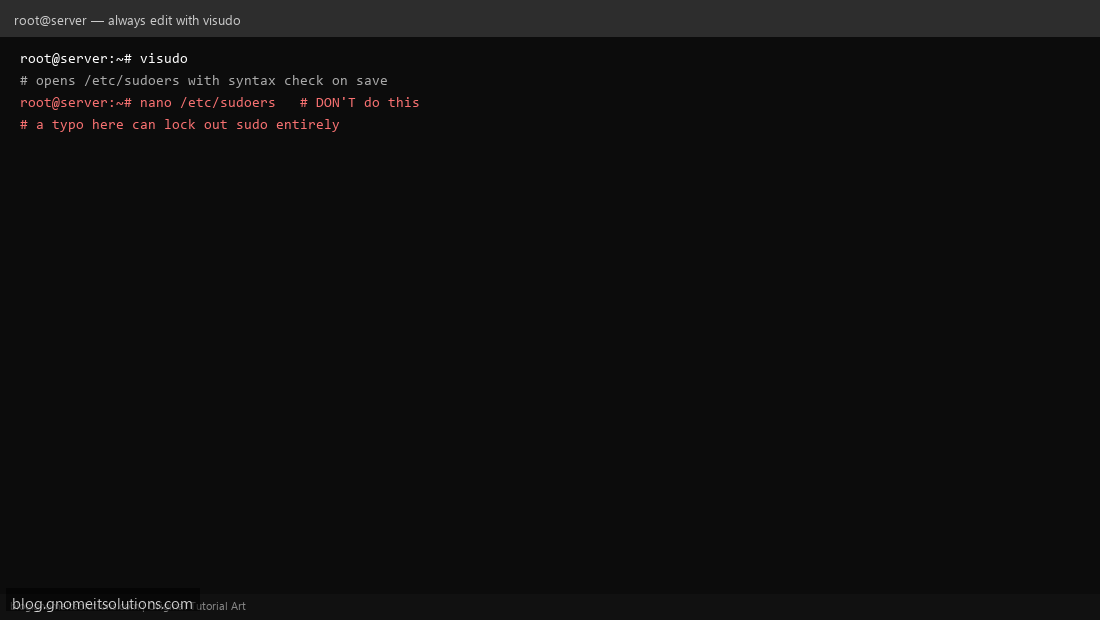
visudo opens /etc/sudoers in your default editor but syntax-checks the file before saving — if you introduce an error, it refuses to save and lets you fix it or discard the change. Editing /etc/sudoers directly with nano or vi has no such safety net: a bad save can leave the file unparseable and lock out sudo access for everyone, including root’s ability to fix it without a rescue boot.
Step 2: Understand Basic sudoers Syntax
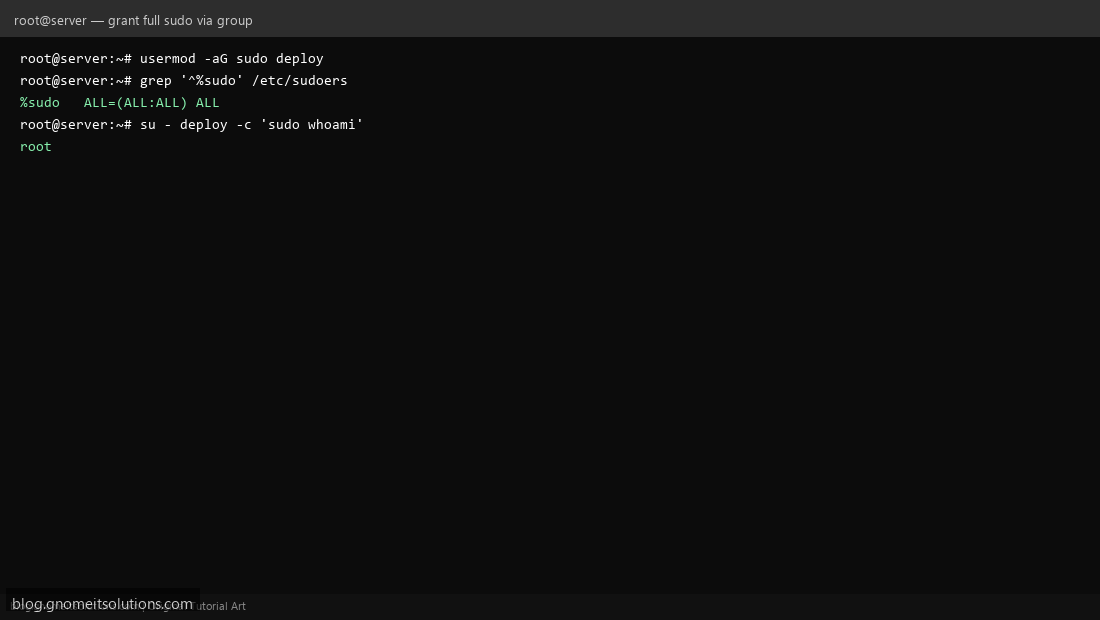
A sudoers rule follows the pattern user host=(runas) command. deploy ALL=(ALL:ALL) ALL means user deploy, on any host, can run any command as any user. Group rules use a % prefix: %sudo ALL=(ALL:ALL) ALL applies to everyone in the sudo group.
Step 3: Grant Full Sudo Access via Group Membership
The standard, safest way to give someone full sudo: add them to the distro’s sudo group (sudo on Debian/Ubuntu, wheel on RHEL/AlmaLinux) with usermod -aG sudo deploy. This relies on the pre-existing %sudo ALL=(ALL:ALL) ALL rule already in /etc/sudoers by default — no direct sudoers edit needed for this common case.
Step 4: Grant Limited, Command-Only Access
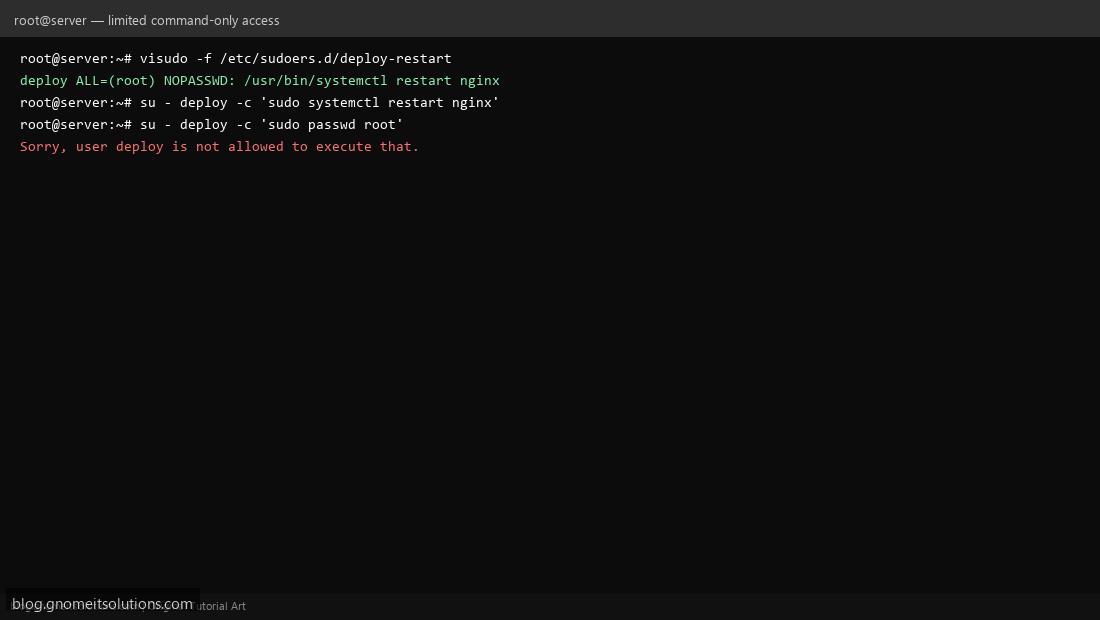
Full sudo is overkill for most automation accounts. Instead, grant just what’s needed: deploy ALL=(root) NOPASSWD: /usr/bin/systemctl restart nginx lets deploy restart nginx — and nothing else — without a password prompt. Any other command via sudo is refused, keeping the account’s blast radius small if it’s ever compromised.
Step 5: Use NOPASSWD Carefully
NOPASSWD is necessary for unattended scripts (a deploy hook, a monitoring agent) but should always be paired with a specific command path, never NOPASSWD: ALL — that combination effectively gives anyone who compromises that account root access with no password barrier at all. Scope it as tightly as the automation actually requires.
Step 6: Organize Rules With sudoers.d
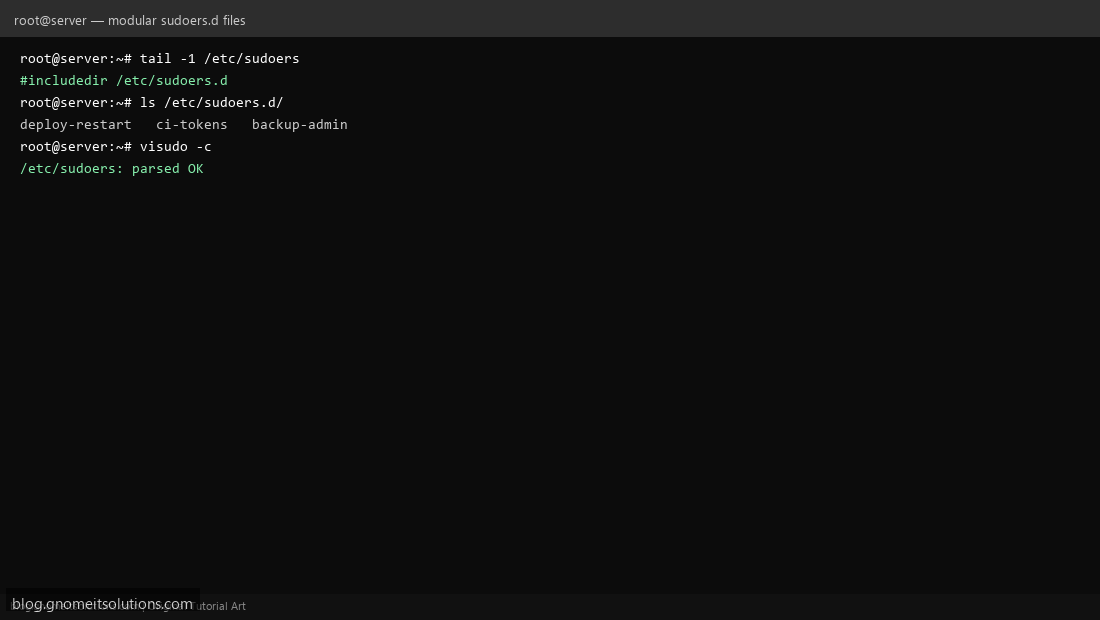
Rather than growing one giant /etc/sudoers file, drop per-purpose rule files into /etc/sudoers.d/ — confirm the main file has #includedir /etc/sudoers.d (standard on most distros), then create focused files like /etc/sudoers.d/deploy-restart with visudo -f /etc/sudoers.d/deploy-restart. This keeps changes isolated, easy to review in git, and easy to remove cleanly later.
Step 7: Validate Without Locking Yourself Out
Before trusting any sudoers change, run visudo -c to check syntax across the main file and all included files. Keep a second root/admin shell open while testing a new rule in a fresh terminal — if something’s wrong, you still have your original session to fix it, rather than being locked out entirely.
Step 8: Audit Sudo Usage
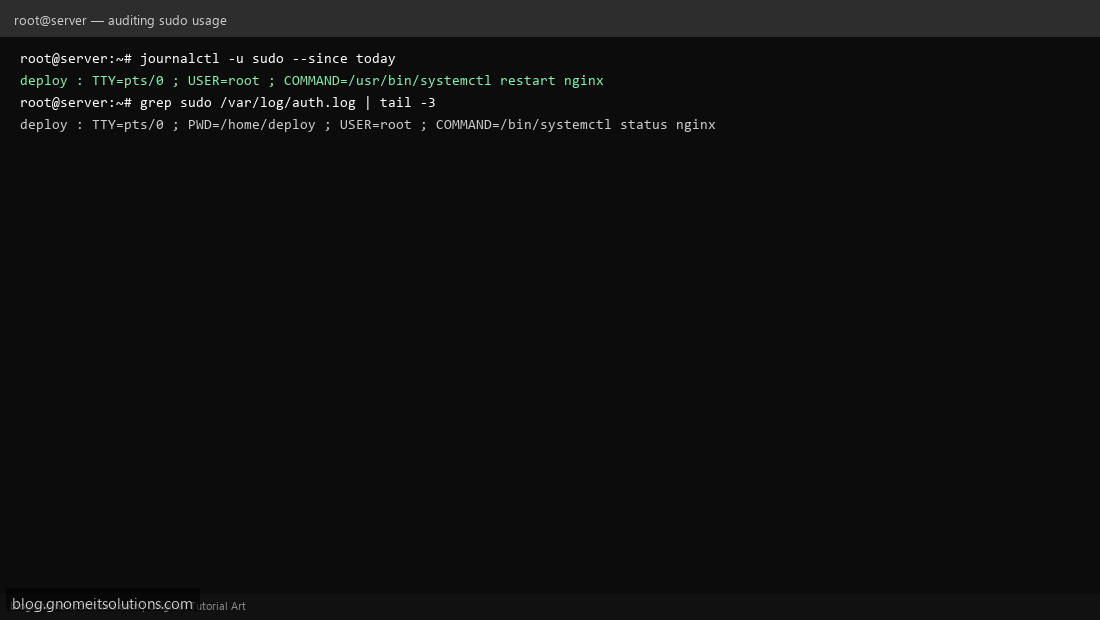
Every sudo invocation is logged. On systemd distros: journalctl -u sudo --since today. On others, check /var/log/auth.log (Debian/Ubuntu) or /var/log/secure (RHEL/AlmaLinux) with grep sudo. Each entry shows who ran what, as which user, and from which TTY — essential for security review after any incident, and for our own failed-login reporting style scripts if you want it automated and emailed.
Example sudoers.d rule file
# /etc/sudoers.d/deploy-restart
deploy ALL=(root) NOPASSWD: /usr/bin/systemctl restart nginx
deploy ALL=(root) NOPASSWD: /usr/bin/systemctl reload nginx
Common mistakes to avoid
- Editing
/etc/sudoersdirectly instead of viavisudo - Using
NOPASSWD: ALLfor convenience — it removes the last barrier if the account is ever compromised - Granting sudo to a service account when a narrow
sudoers.drule for the one command it actually needs would do - Forgetting to run
visudo -cafter manually editing files under/etc/sudoers.d/with a plain editor (onlyvisudo -fsyntax-checks on save)
Related tutorials
- SSH Key Authentication on Linux
- Failed SSH Login Report Shell Script
- Linux User Management: useradd, usermod & userdel
Terminal screenshots are original illustrations created for Gnome IT Solutions (blog.gnomeitsolutions.com).