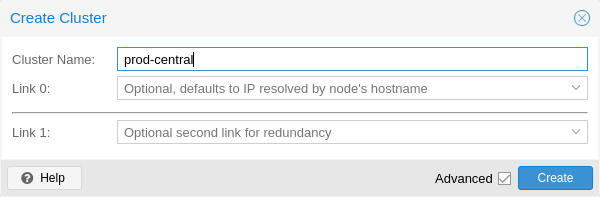
A Proxmox cluster joins several nodes into one management domain: a single web UI, shared configuration, and the ability to migrate guests between nodes. Underneath,
corosync tracks which nodes are alive and whether the cluster has quorum, and the Proxmox cluster filesystem replicates
/etc/pve to every node.
This guide covers the prerequisites that prevent most cluster problems, the corosync network, creating and joining, quorum and two-node clusters, and day-two operations.
Once it works, continue with live migration and high availability.
Quick answer: pvecm create mycluster on the first node, pvecm add <first-node-ip> on each new node (which must have no guests).
What a Cluster Shares
The cluster filesystem (pmxcfs) keeps /etc/pve identical on every node, so VM configs, storage definitions and firewall rules are cluster-wide. Corosync decides membership and quorum; without quorum, /etc/pve becomes read-only to prevent split-brain.
  pve1 <--corosync--> pve2 <--corosync--> pve3
    \______ /etc/pve replicated by pmxcfs ______/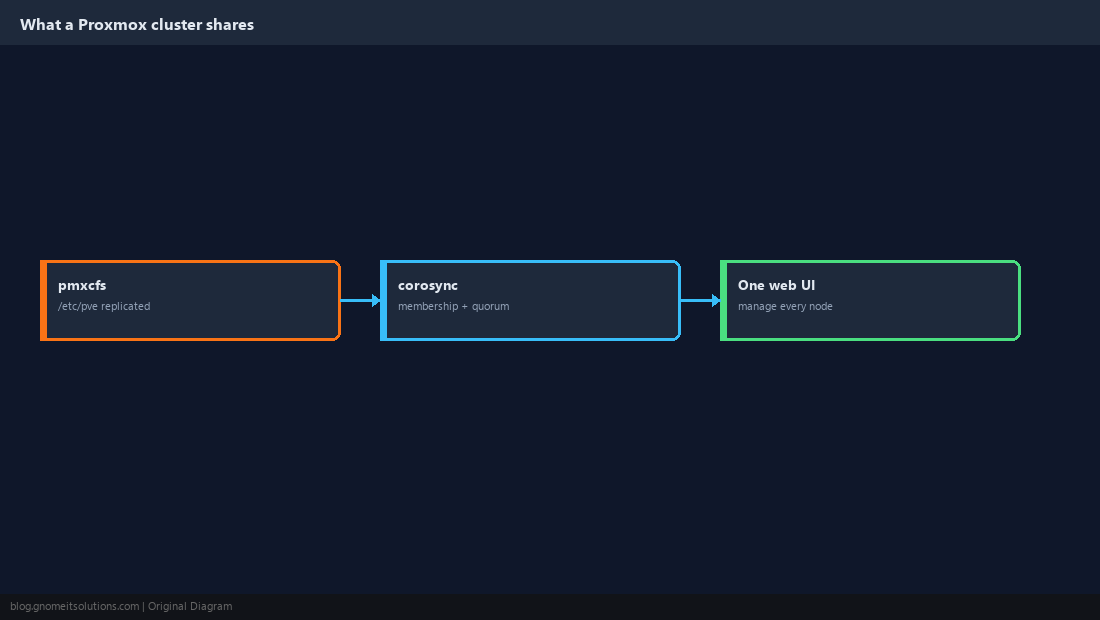
Get the Prerequisites Right
Each node needs a unique hostname and a static IP that resolves correctly, all nodes should run the same Proxmox version, and clocks must be in sync. Time sync is not optional: corosync and Ceph misbehave when clocks drift (see the chrony guide).
hostname -f
getent hosts $(hostname)
pveversion
chronyc tracking | grep -E 'System time|Leap'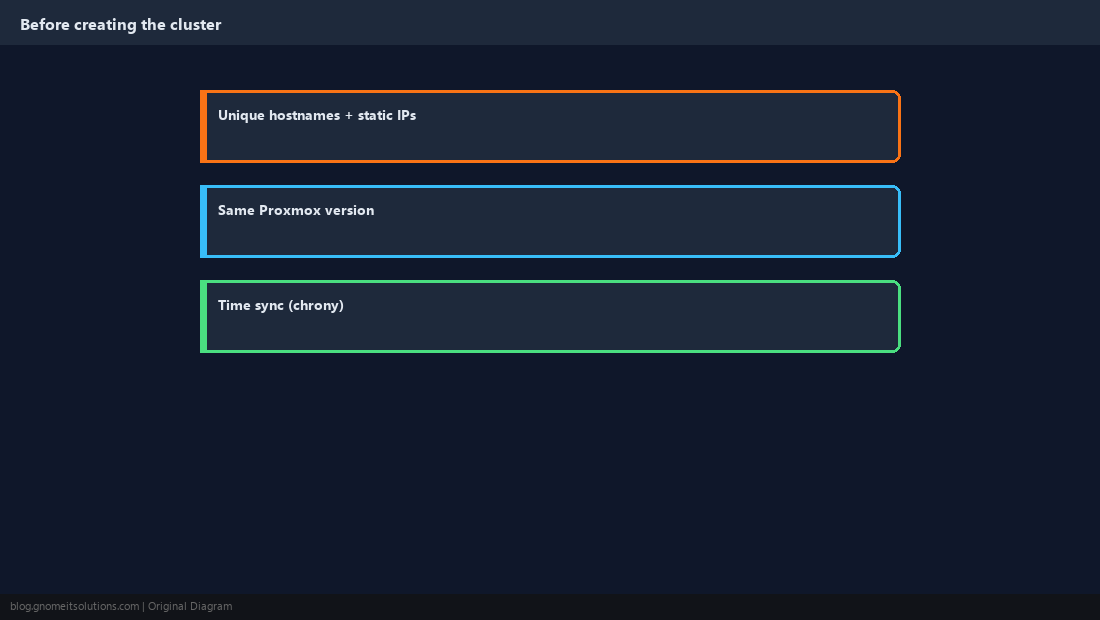
Plan the Corosync Network
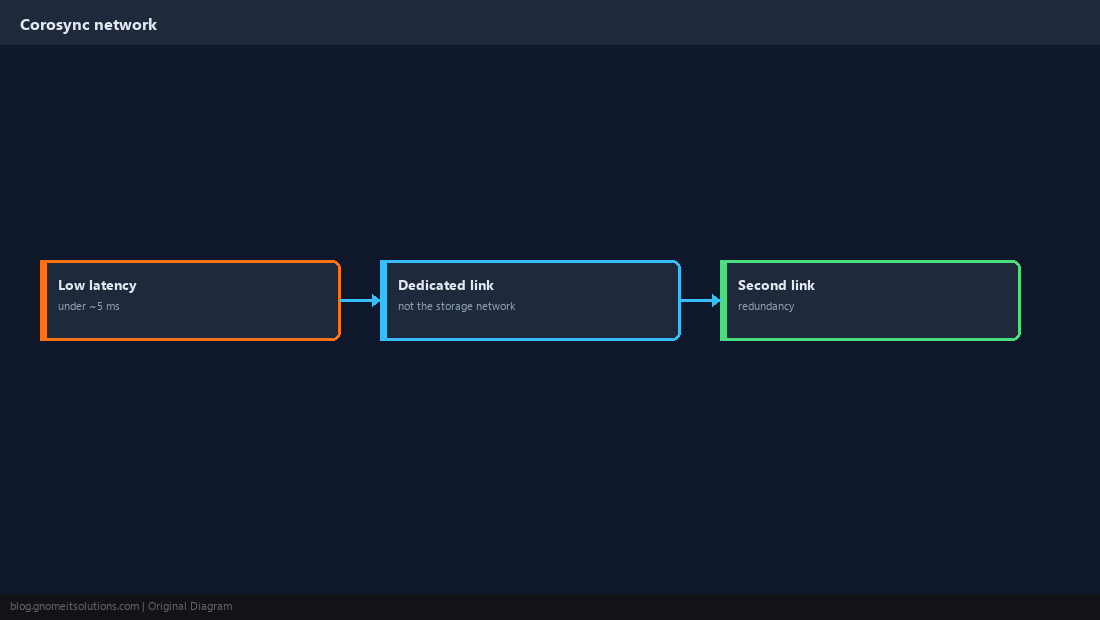
Corosync needs low, stable latency (a few milliseconds at most), not bandwidth. Give it a dedicated network or VLAN, separate from storage and migration traffic that can saturate a link, and add a second link for redundancy.
Create the Cluster on the First Node
Use Datacenter → Cluster → Create Cluster, or the shell. Specify the corosync link address explicitly.
pvecm create mycluster --link0 10.10.40.11 --link1 192.168.1.11
pvecm status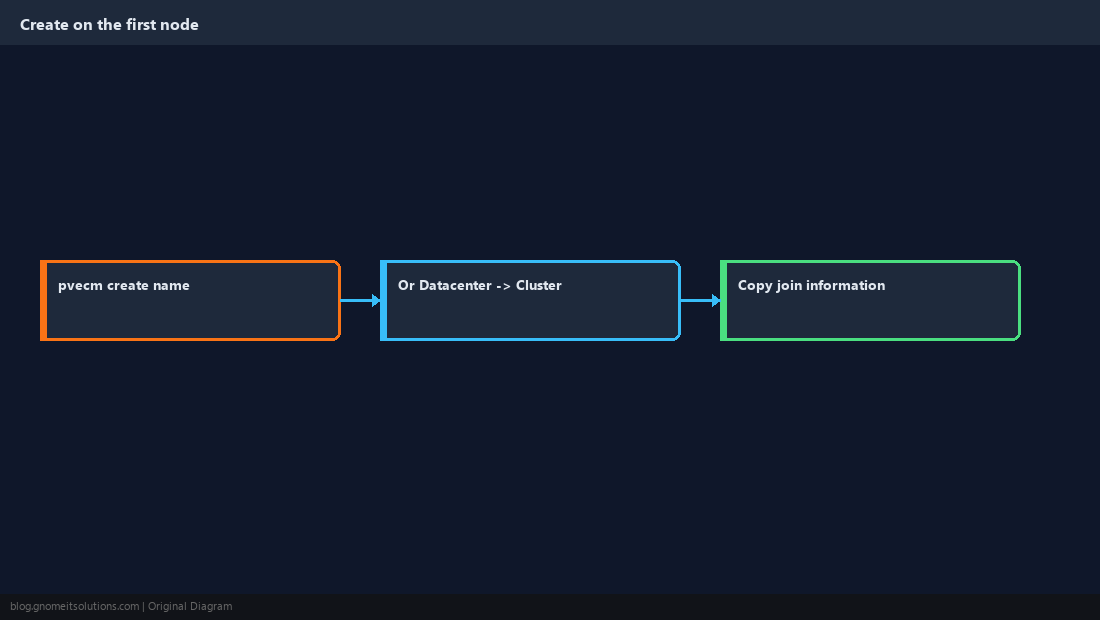
Join Additional Nodes
The joining node must have no VMs or containers, because its /etc/pve is replaced by the cluster’s. Join from the new node, pointing at an existing member.
pvecm add 10.10.40.11 --link0 10.10.40.12 --link1 192.168.1.12
pvecm nodes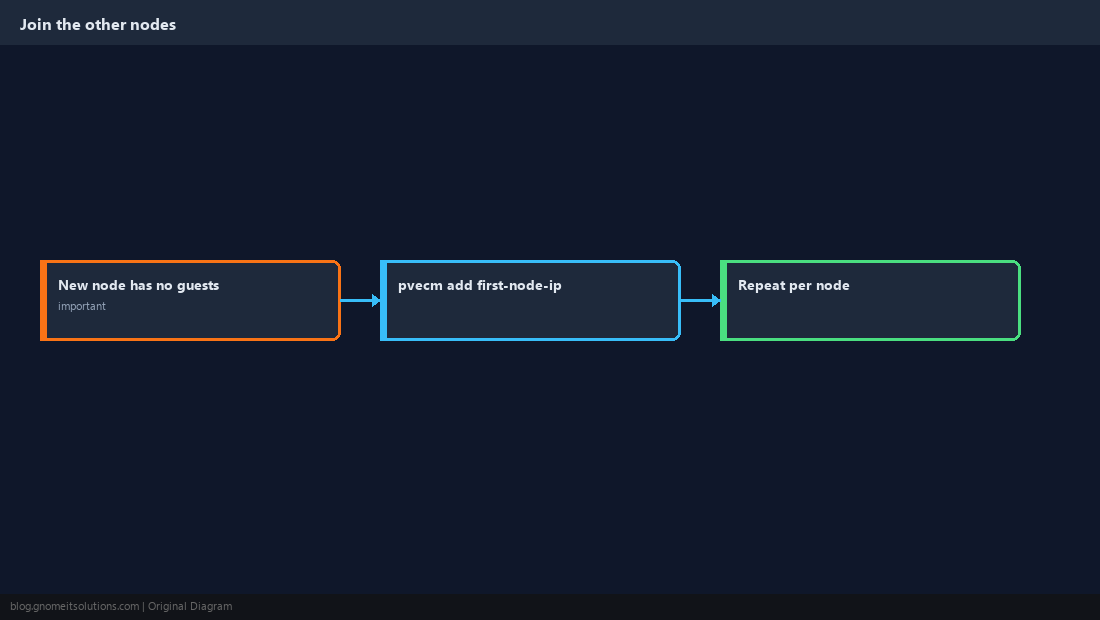
Understand Quorum
Each node has one vote and the cluster needs a majority to make changes. Three nodes tolerate one failure; four nodes still only tolerate one. With two nodes, losing either one loses quorum.
pvecm status | grep -A6 Votequorum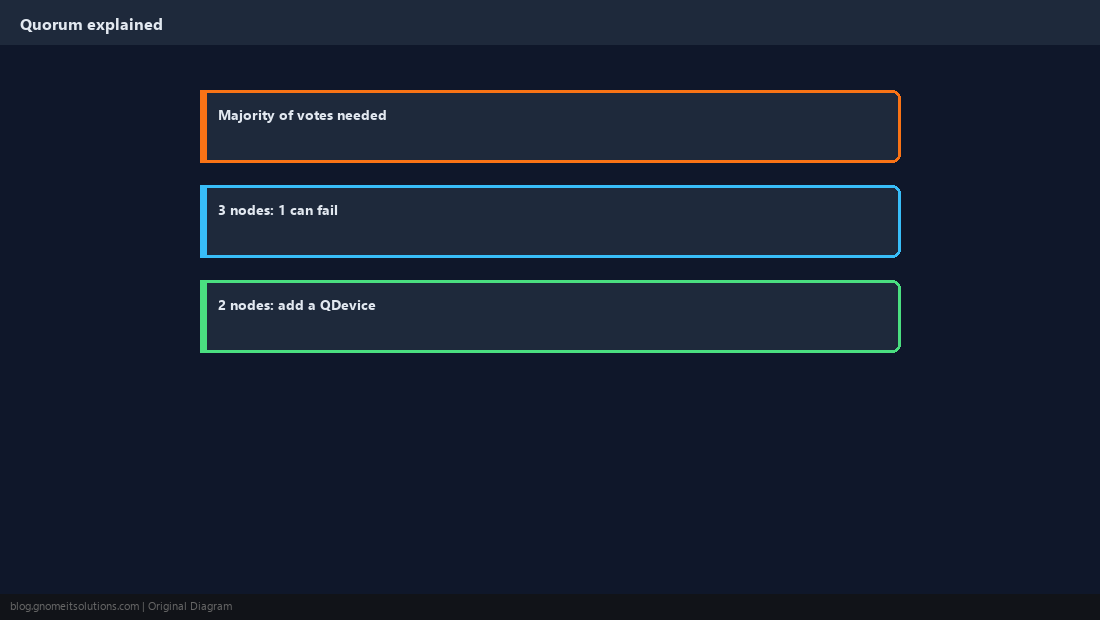
Add a QDevice to a Two-Node Cluster
A QDevice is a small external host (a Raspberry Pi or tiny VM elsewhere) that provides a third vote, so a two-node cluster keeps quorum when one node is down.
apt install -y corosync-qnetdapt install -y corosync-qdevice
pvecm qdevice setup 192.168.1.50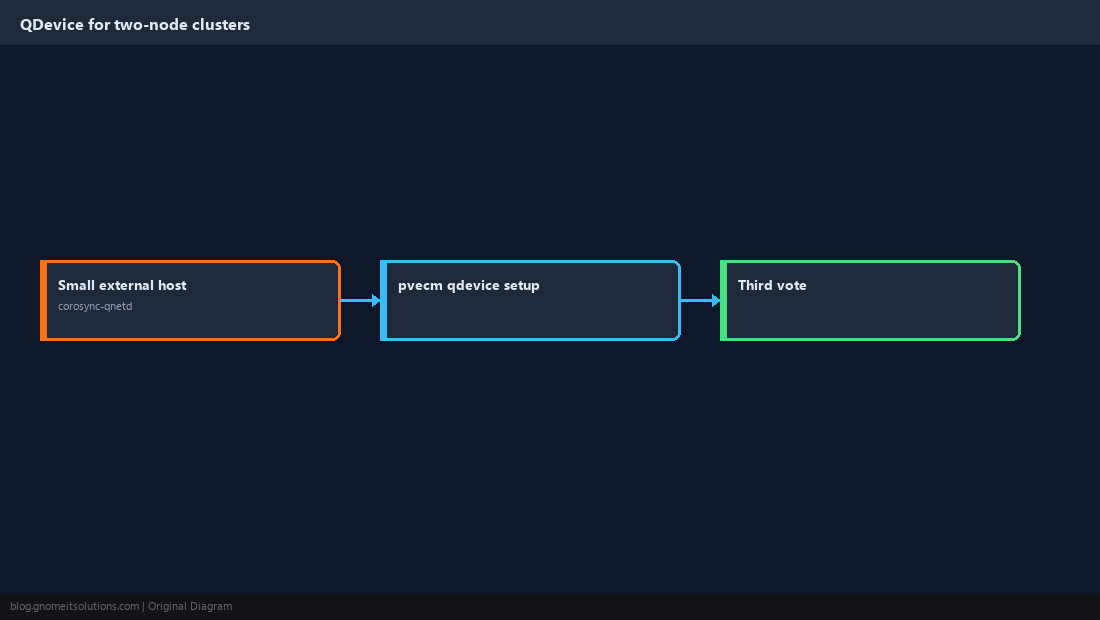
Day-Two Operations
Check health regularly. To remove a node that has permanently failed, power it off for good and delete it from a remaining member; it must never come back online with its old identity.
pvecm status
pvecm nodes
# only after the node is permanently off:
pvecm delnode pve3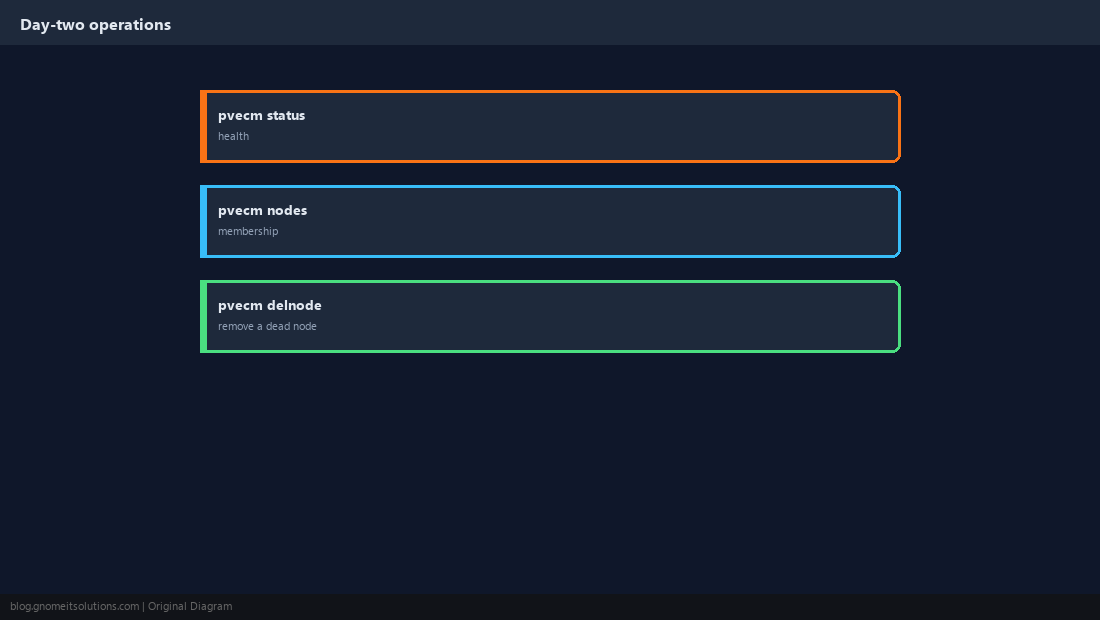
How many nodes do I need for a Proxmox cluster?
Two work, but need a QDevice to keep quorum when one node is down. Three is the practical minimum for high availability without extra hardware.
Can I join a node that already has VMs?
No. The joining node’s /etc/pve is replaced by the cluster’s. Back up and remove its guests first, then restore them after joining.
What happens when a Proxmox cluster loses quorum?
/etc/pve becomes read-only on the nodes without quorum, so you cannot start, create or change guests until quorum returns. Running guests keep running.
Does corosync need a fast network?
It needs low, consistent latency rather than bandwidth. A dedicated network or VLAN, separate from storage and migration traffic, is strongly recommended.
How do I remove a dead node from a Proxmox cluster?
Make sure it is permanently powered off, then run pvecm delnode nodename from a remaining member.
Cheat Sheet
- Unique hostnames, same version, time sync; dedicated corosync link (+ second link)
pvecm create/pvecm add(empty node); QDevice for two nodes
Related tutorials
Diagrams are original illustrations by Gnome IT Solutions. Tutorial text © Gnome IT Solutions.