Clock drift causes failures that are genuinely confusing to debug: TLS certificate errors (certificates have exact validity windows),
Kerberos rejecting requests outside a tight time skew, cluster quorum software such as corosync — the technology behind Proxmox clustering —
behaving erratically, and log timestamps that do not line up across servers during an incident.
chrony is the modern NTP client and server that current Linux distributions ship by default, replacing the older ntpd.
This guide checks and fixes time sync on a single server, explains what the output actually means, and then builds a local time server so machines on an isolated
network or a Proxmox HA cluster can stay in sync without internet access.
Quick answer: run timedatectl then chronyc tracking. If the offset is milliseconds, you are fine. If not, jump to the
troubleshooting table.
Related guides: chrony not syncing? troubleshooting, set up a LAN NTP server, and timedatectl, hwclock and timezone commands.
Step 1: Why Accurate Time Matters Enough to Check
Time errors rarely announce themselves as “clock is wrong.” They show up as expired-certificate warnings, Kerberos failures, cluster nodes disagreeing, and unreadable log correlation. Check the clock first whenever a failure looks bizarre.
timedatectl
date -uSystem clock synchronized: yes. no means nothing is disciplining the clock right now.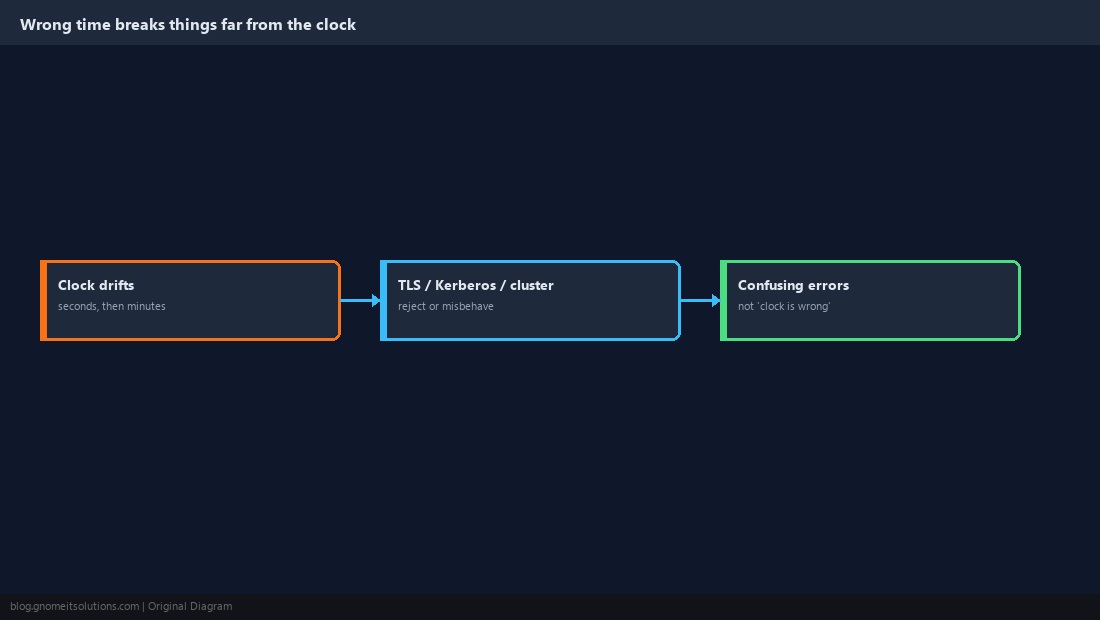
Step 2: Know Which Time Daemon You Have
Linux has three common options. chrony is the recommended choice for servers and VMs. systemd-timesyncd is a minimal SNTP client that ships with some Ubuntu/Debian installs. ntpd is the legacy daemon. Run exactly one.
systemctl is-active chronyd chrony systemd-timesyncd ntpd 2>/dev/null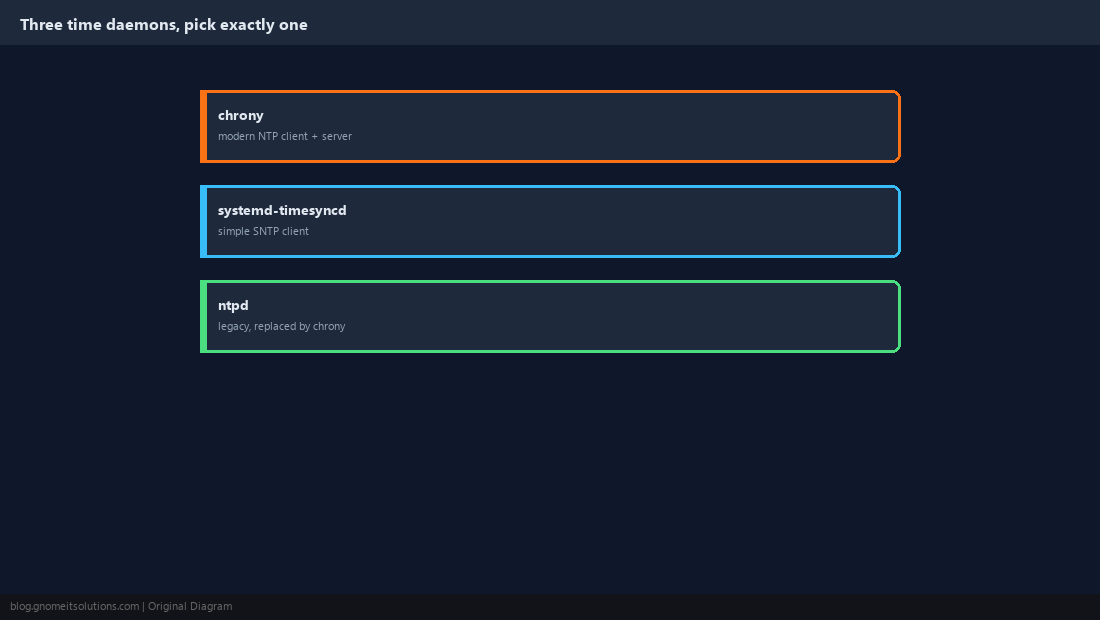
Step 3: Install and Enable chrony
Install chrony, disable the other daemons so they do not fight over the clock, then enable the service. The unit is chronyd on RHEL-family and chrony on Debian/Ubuntu.
sudo apt install -y chrony
sudo systemctl disable --now systemd-timesyncd
sudo systemctl enable --now chronysudo dnf install -y chrony
sudo systemctl enable --now chronyd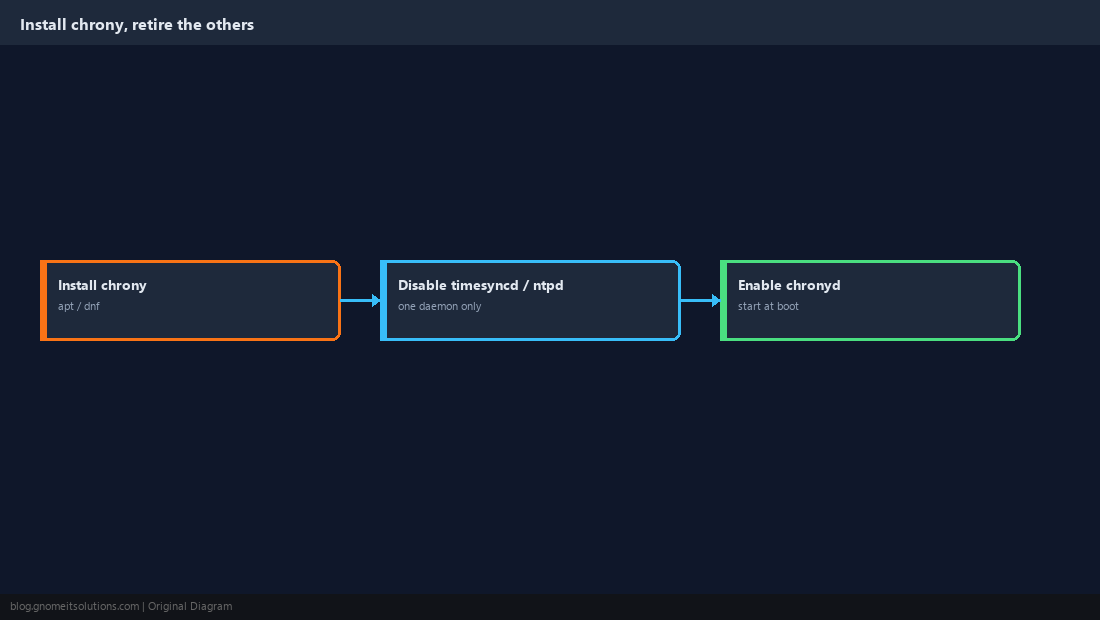
Step 4: Understand chrony.conf
The default file works for most servers. Knowing what each line does lets you change it safely. The file lives at /etc/chrony/chrony.conf (Debian/Ubuntu) or /etc/chrony.conf (RHEL-family).
# /etc/chrony/chrony.conf  (RHEL-family: /etc/chrony.conf)
pool 2.pool.ntp.org iburst        # several servers from the public pool
# server time.cloudflare.com iburst nts   # optional: authenticated NTP (chrony 4.0+)

makestep 1.0 3      # step the clock if off by >1s during the first 3 updates
rtcsync             # let the kernel keep the hardware clock in sync
driftfile /var/lib/chrony/chrony.drift   # remembers the clock's natural drift
# allow 192.168.1.0/24 # only on a server that should serve time to clientsiburst sends a quick burst of requests at start-up so the first sync takes seconds instead of minutes.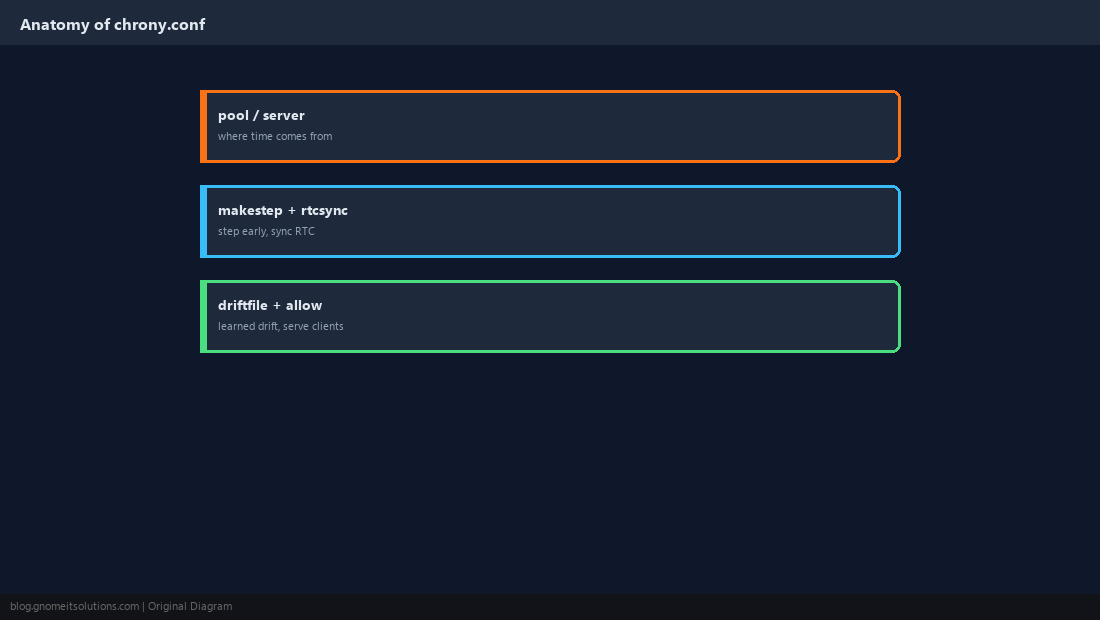
Step 5: Choose Your Time Sources
Public pool entries are fine for internet-connected servers. Add specific servers for regional preference, and use NTS-capable servers (chrony 4.0 or newer) when you want the time source authenticated. Prefer three or more sources so chrony can detect a bad one.
sudo systemctl restart chrony    # chronyd on RHEL-family
chronyc sources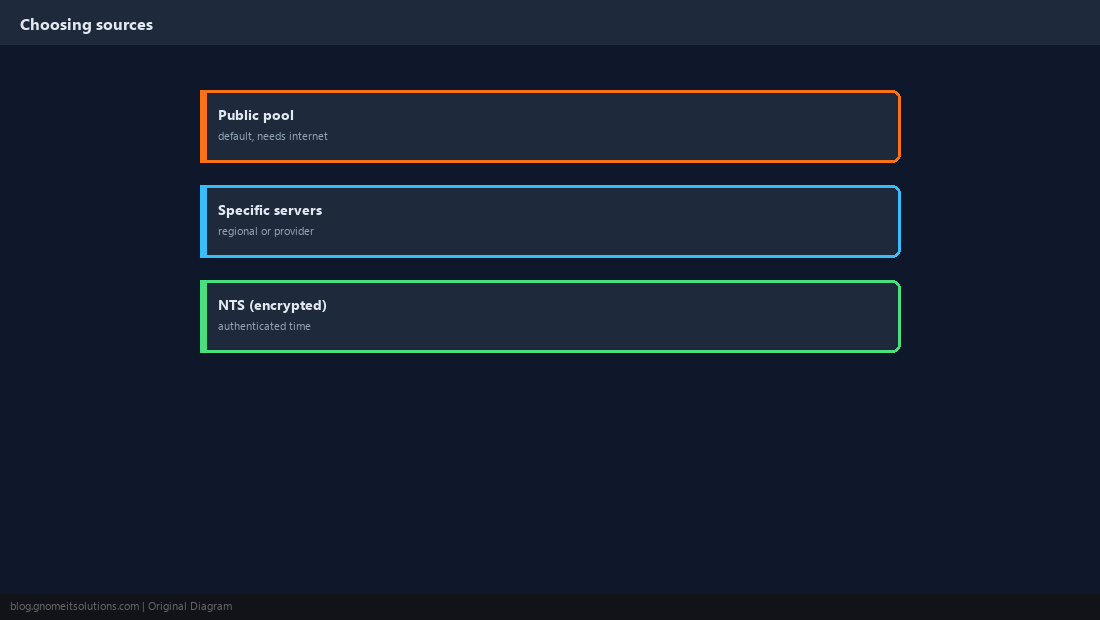
Step 6: Force an Initial Sync and Read chronyc tracking
After setup, or on a server whose clock is far off, chronyc makestep steps the clock immediately. In normal operation chrony corrects gradually on purpose, because sudden time jumps can upset running applications. Then read the tracking output.
sudo chronyc makestep
chronyc trackingReference ID : A29FC801 (time.example.net)
Stratum : 3
System time : 0.000012893 seconds slow of NTP time
Last offset : -0.000008101 seconds
RMS offset : 0.000021450 seconds
Frequency : 12.304 ppm slow
Skew : 0.185 ppm
Root delay : 0.021438 seconds
Leap status : Normal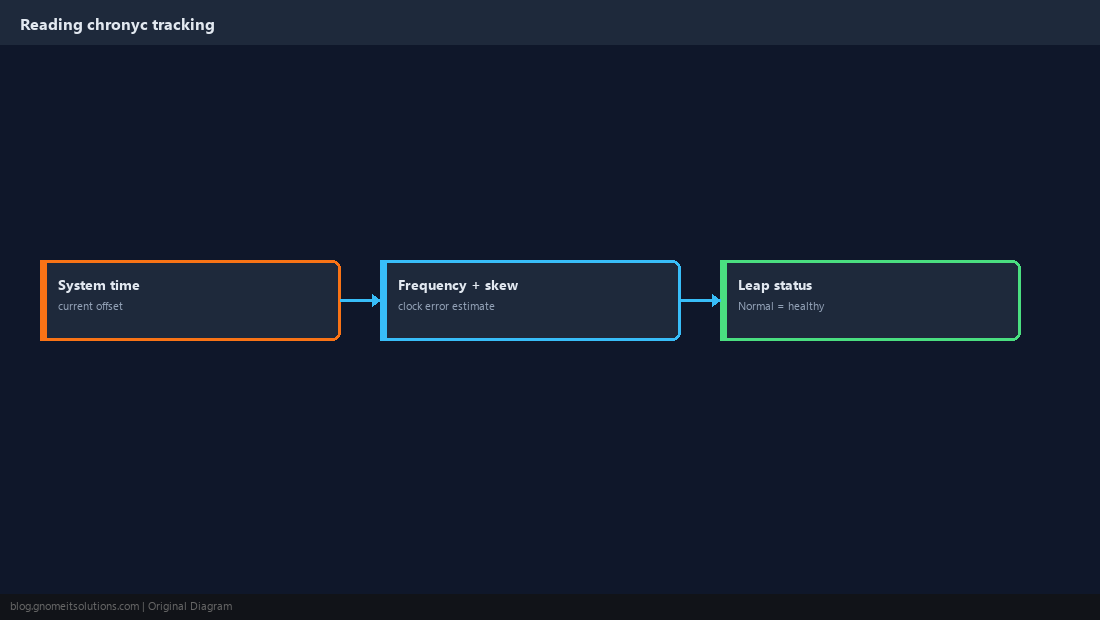
Step 7: Verify Sources and Open UDP 123
chronyc sources lists every source. ^* is the source in use, ^+ is a good alternate, ^? is unreachable or unmeasured, ^x is a source chrony believes is wrong. Reach is an octal history of the last eight polls: 377 means all succeeded. NTP uses UDP port 123, so it must be allowed outbound (and inbound on a time server).
MS Name/IP address         Stratum Poll Reach LastRx Last sample
===============================================================================
^* time.example.net              2   6   377    34   -12us[  -20us] +/-  11ms
^+ ntp2.example.org              2   6   377    35   +31us[  +23us] +/-  15ms
^? 10.0.0.99 0 6 0 - +0ns[ +0ns] +/- 0nssudo ufw allow 123/udp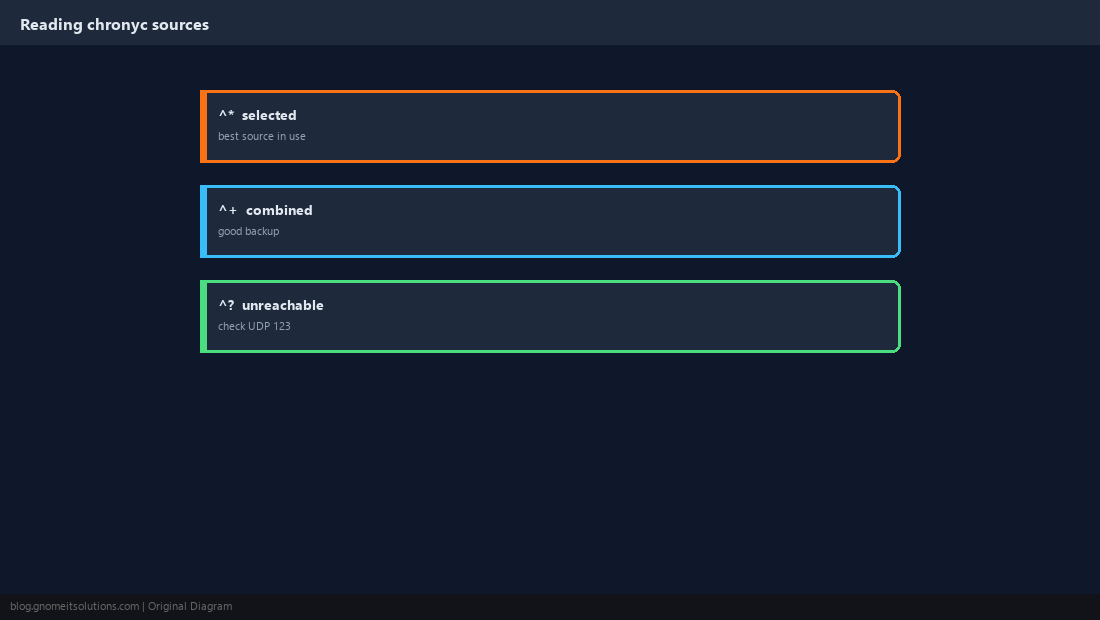
Step 8: Run a Local chrony Server for a Cluster or Isolated Network
Designate one host that syncs from the internet (or a GPS/hardware clock) and serves time internally. On isolated networks, local stratum 10 lets it keep serving a consistent time even if its upstream is briefly lost. Point every other node at it.
pool 2.pool.ntp.org iburst
allow 192.168.1.0/24
local stratum 10server 192.168.1.10 iburst
makestep 1.0 3
rtcsyncsudo chronyc clients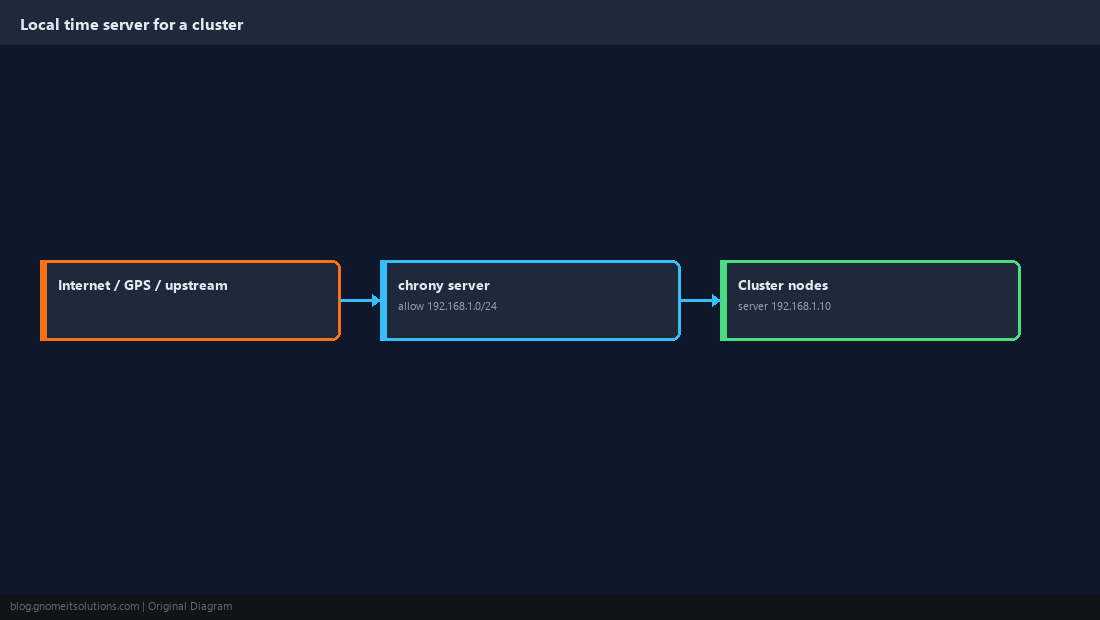
Troubleshooting chrony
| Symptom | Likely cause | What to do |
|---|---|---|
Not synchronised in chronyc tracking |
No reachable source | Check chronyc sources; allow outbound UDP 123 |
| Offset of whole seconds | Big initial drift or VM resume | sudo chronyc makestep, then re-check |
Source stuck on ^?, Reach 0 |
Firewall or wrong address | Test with chronyc sources -v; verify DNS and routing |
| Clock keeps jumping | Two daemons running | Disable systemd-timesyncd / ntpd; keep only chronyd |
| Clients cannot sync from your server | Missing allow or firewall |
Add allow <subnet>; open UDP 123 on the server |
| Time correct but timezone wrong | Timezone is separate from sync | sudo timedatectl set-timezone Region/City |
Time Sync on Virtual Machines and Proxmox
Virtual machines can pause, migrate and resume, which makes their clocks jump. Run chrony inside each guest rather than trusting the host alone, and keep the
hypervisors themselves synchronised. Time-sensitive clusters (Ceph, corosync) will tell you loudly when nodes disagree; see our
Proxmox cluster guide and HA cluster guide.
Frequently Asked Questions
Is chrony better than ntpd?
For most servers, yes. chrony synchronises faster after boot, copes better with unstable networks and virtual machines, and is the default in current RHEL-family and many Debian/Ubuntu installs. ntpd is legacy for new deployments.
How do I check whether my Linux server is time-synced?
Run timedatectl and look for System clock synchronized: yes, then chronyc tracking for the actual offset. A System time offset of a few milliseconds is healthy.
What does the ^* symbol in chronyc sources mean?
^* marks the source chrony is currently synchronised to. ^+ marks acceptable sources combined with it, and ^? means the source is unreachable or has not been measured yet.
Why is chrony not syncing?
The usual causes are outbound UDP port 123 blocked by a firewall, another time daemon (systemd-timesyncd or ntpd) still running, no reachable sources, or a very large initial offset that needs chronyc makestep.
Should I use makestep in production?
Use it once after setup or when a server has drifted badly. The makestep 1.0 3 line in chrony.conf already lets chrony step the clock during the first three updates after start; afterwards chrony corrects gradually so applications do not see sudden time jumps.
Do I need a local NTP server for a Proxmox cluster?
Not strictly, but on isolated networks it keeps every node tightly synchronised to the others even when the internet is unreachable, which matters for corosync-based clustering.
Command Reference
timedatectl— quick sync statuschronyc tracking— offset and clock qualitychronyc sources -v— sources with legendchronyc sourcestats— per-source statisticssudo chronyc makestep— step the clock nowsudo chronyc clients— clients of your time server
Related tutorials
- chrony Not Syncing? Troubleshooting Time Sync
- Set Up an NTP Server on Linux with chrony
- timedatectl, hwclock and Timezone Commands
- Proxmox HA Cluster Setup
- Proxmox Cluster Setup: Multi-Node Configuration
- SSL Certificate Expiry Checker Shell Script
- journalctl: Reading Linux System Logs
- Prometheus and Grafana Monitoring Stack
Diagrams are original illustrations by Gnome IT Solutions. Tutorial text © Gnome IT Solutions.