Letting every machine reach out to the public internet for time works, but an internal NTP server is better: one host syncs upstream, everything else syncs
from it. Machines stay tightly aligned with each other, firewalls only need one outbound rule, and isolated networks keep good time even without internet.
This guide builds on the main chrony guide. If clients refuse to sync, use the
chrony troubleshooting checklist.
Plan the Topology
Pick one stable host as the internal time server. Everything else points at it. For redundancy, run two and list both on clients.
public pool / GPS --> [ chrony server 192.168.1.10 ] --> servers, PCs, devices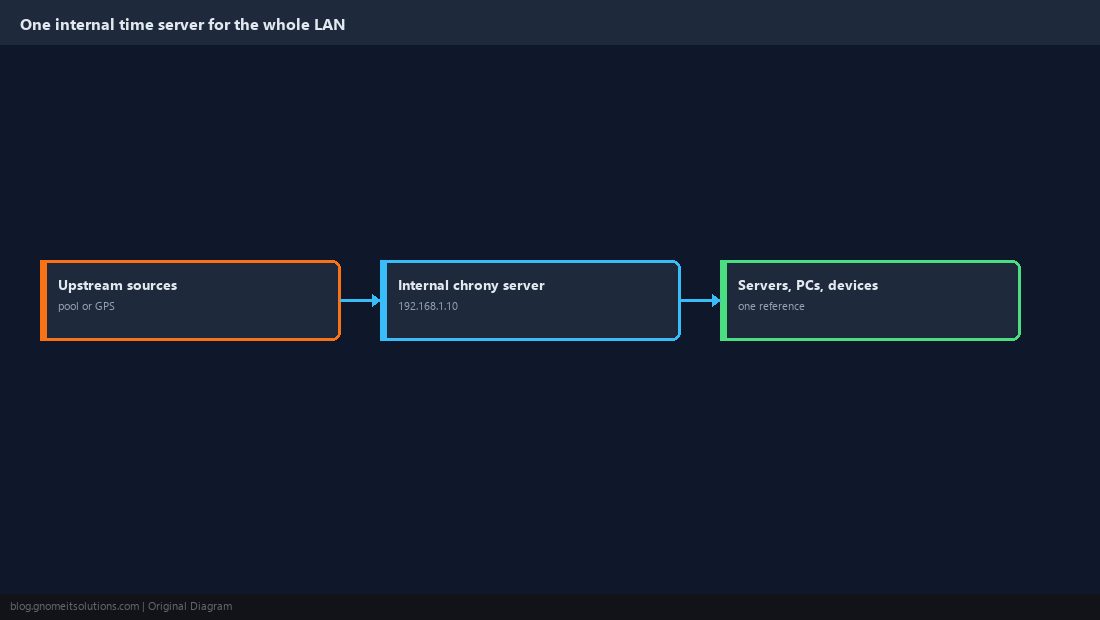
Prepare the Server
Give it a static address (clients need a stable target), install chrony, and confirm the server itself is synchronised before you let others depend on it.
sudo apt install -y chrony      # or: sudo dnf install -y chrony
chronyc tracking | grep -E 'Stratum|Leap'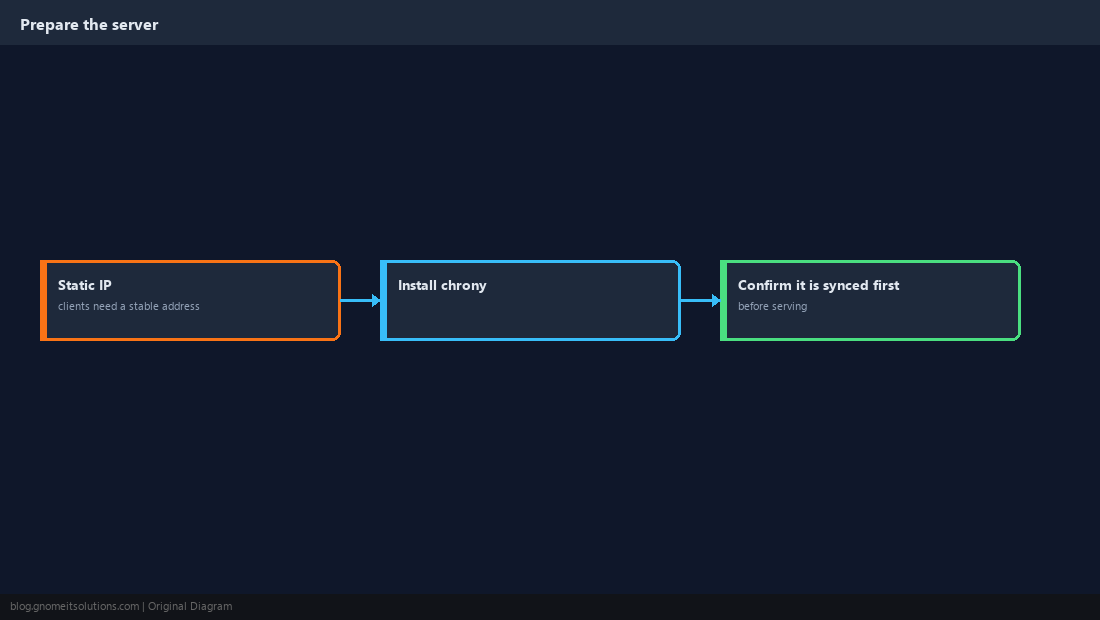
Configure chrony to Serve Time
allow lists the networks permitted to query. local stratum 10 lets the server keep answering with a consistent time if its upstream disappears, which suits isolated networks.
pool 2.pool.ntp.org iburst
allow 192.168.1.0/24
local stratum 10sudo systemctl restart chrony
sudo ss -ulpn | grep 123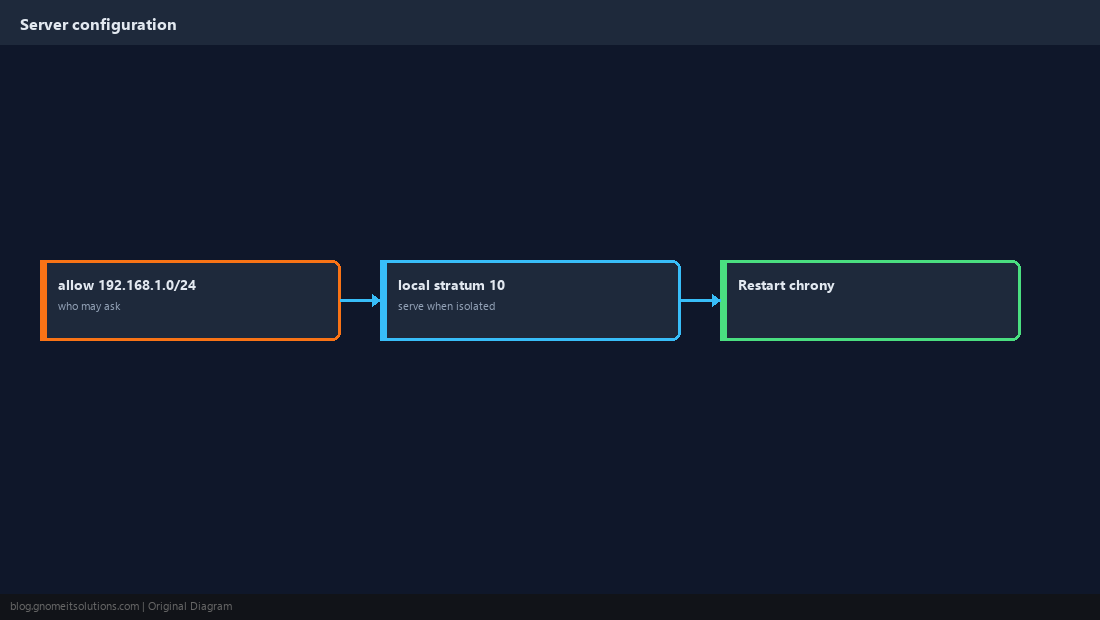
Open the Firewall to the LAN Only
Allow NTP from your subnet, not from the world.
sudo firewall-cmd --permanent --add-service=ntp
sudo firewall-cmd --reloadsudo ufw allow from 192.168.1.0/24 to any port 123 proto udp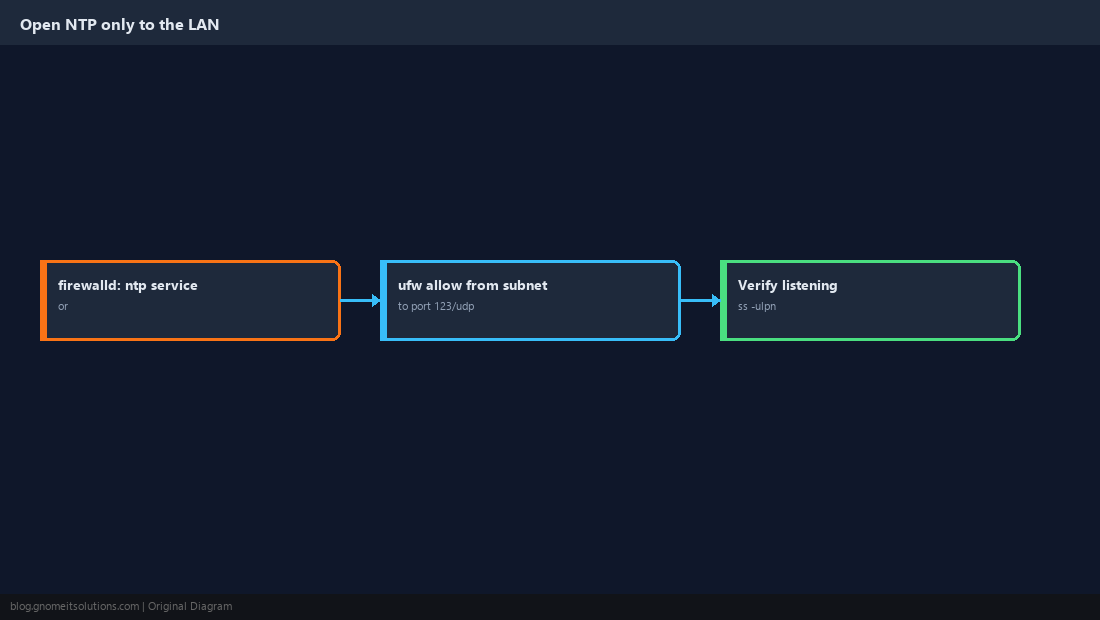
Point Linux Clients at the Server
One line replaces the public pool on each client.
server 192.168.1.10 iburst
makestep 1.0 3
rtcsyncsudo systemctl restart chrony
chronyc sources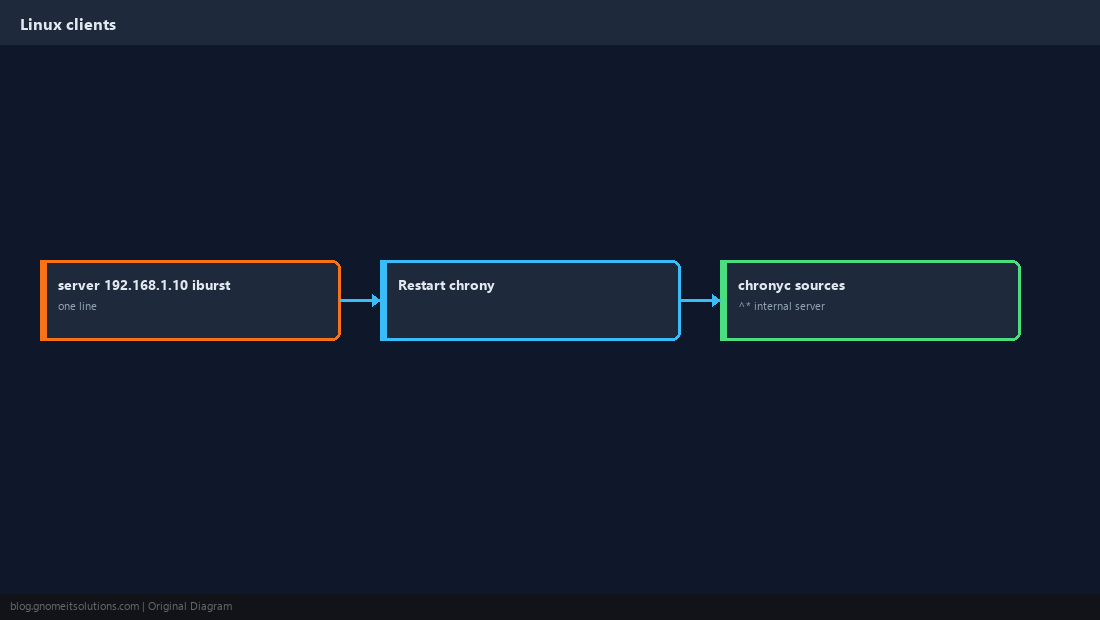
Point Windows Clients at the Server
Windows uses w32tm. Run these in an elevated prompt (domain-joined machines normally follow the domain controller instead).
w32tm /config /manualpeerlist:"192.168.1.10" /syncfromflags:manual /reliable:no /update
net stop w32time && net start w32time
w32tm /resync
w32tm /query /status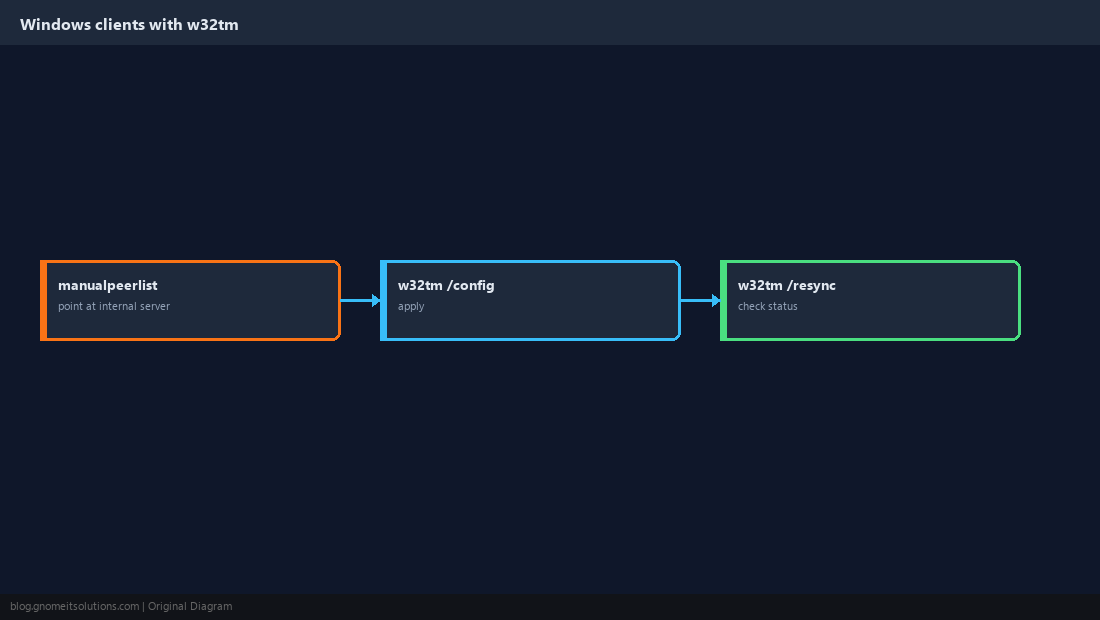
Distribute the Server with DHCP
DHCP option 42 tells clients which NTP servers to use, which also covers devices with no configuration screen. How to set it depends on your DHCP server; the option number is the same everywhere.
option ntp-servers 192.168.1.10;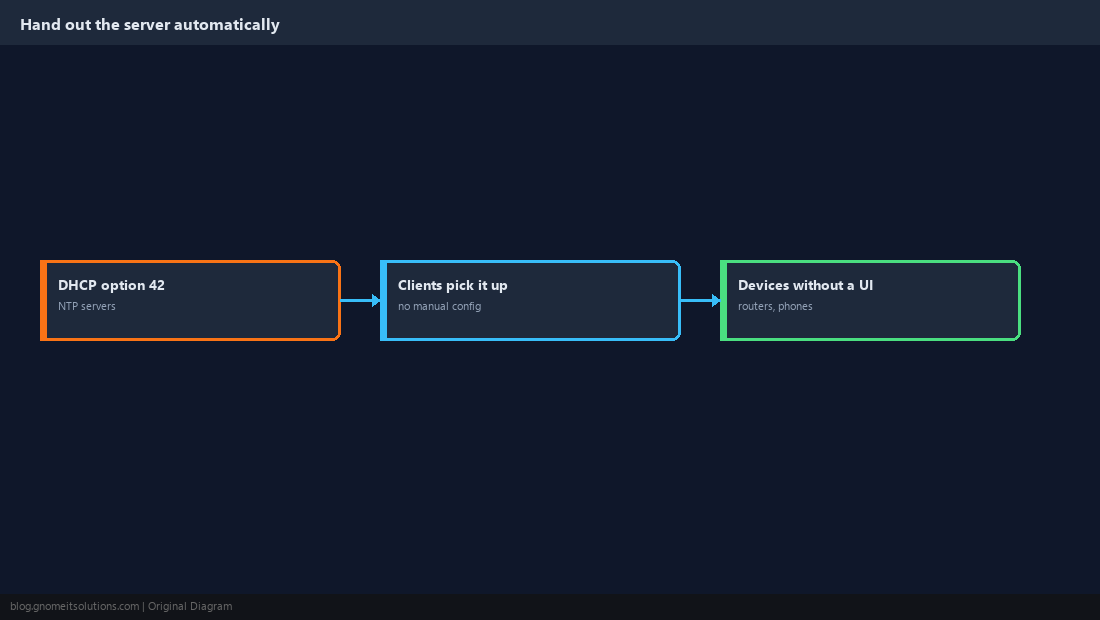
Verify From Both Ends
On the server, list who is using it. On a client, confirm it is synced to the internal address.
sudo chronyc clients
sudo chronyc serverstatschronyc sources
chronyc ntpdata 192.168.1.10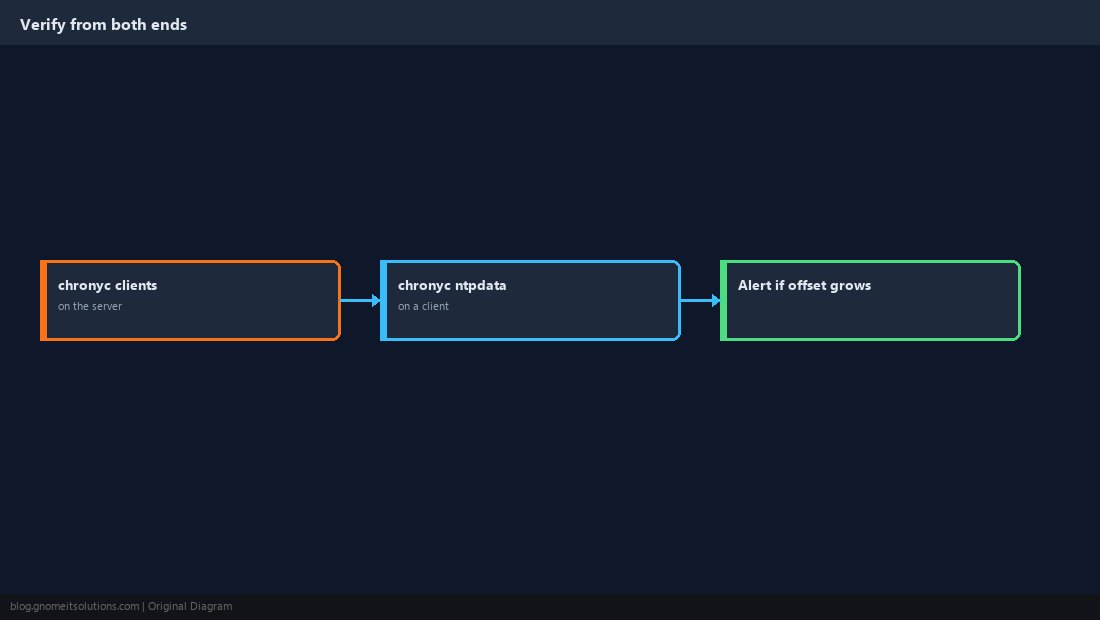
Quick Reference
allowyour subnet;local stratum 10for isolated networks; UDP 123 from the LAN only- Clients: one
serverline; Windows:w32tm; DHCP option 42 for the rest
Related tutorials
- Chrony and NTP Time Sync on Linux Servers
- chrony Not Syncing? Troubleshooting
- UFW Firewall Basics
- Proxmox Cluster Setup
Diagrams are original illustrations by Gnome IT Solutions. Tutorial text © Gnome IT Solutions.