Monday, August 10GNOME IT SOLUTIONS LLC

Tag: proxmox ve

How to Convert a Proxmox VM to a Template (and Deploy Clones)

How to Convert a Proxmox VM to a Template (and Deploy Clones)

Proxmox
Convert a configured VM into a reusable template and deploy clones quickly. This guide covers template conversion and cloning with official Proxmox GUI screenshots. Prepare Source VM Complete OS installation and configurationShut down the VM before convertingRemove machine-specific data if needed Step 1: Clone VM (Full Clone from Template) After converting to template, use Full Clone to deploy new VMs. Full clone from template Step 2: Cloud-Init Template Configuration Configure cloud-init settings for automated template deployments. Cloud-Init configuration Step 3: Cloud-Init Hardware Settings Set cloud-init drive and hardware options for template VMs. Cloud-Init hardware Convert VM to Template (GUI) Shut down the VM Right-click VM → Convert to template Right-click template → Cl...
Install and Configure QEMU Guest Agent on Proxmox VMs

Install and Configure QEMU Guest Agent on Proxmox VMs

Proxmox
The QEMU Guest Agent enables clean shutdowns, IP reporting, and better backups. This guide uses the official Proxmox VM creation screens. Step 1: Enable Qemu Guest Agent During VM Creation On the System tab when creating or editing a VM, enable Qemu Guest Agent. Create VM — System tab with Guest Agent Step 2: Review VM Summary After Agent Is Running Once installed inside the guest, the Summary tab displays the VM IP address. VM Summary — guest IP visible Step 3: Verify Login and Management Access Access Proxmox web UI to confirm VM status and management options. Proxmox web management interface Install Guest Agent Inside Linux VM apt update && apt install qemu-guest-agent -y systemctl enable --now qemu-guest-agent systemctl status qemu-guest-agent Add Agent to Existing VM Shut down VM ...
How to Restore a Proxmox VM from Backup (NAS / Local Storage)

How to Restore a Proxmox VM from Backup (NAS / Local Storage)

Proxmox
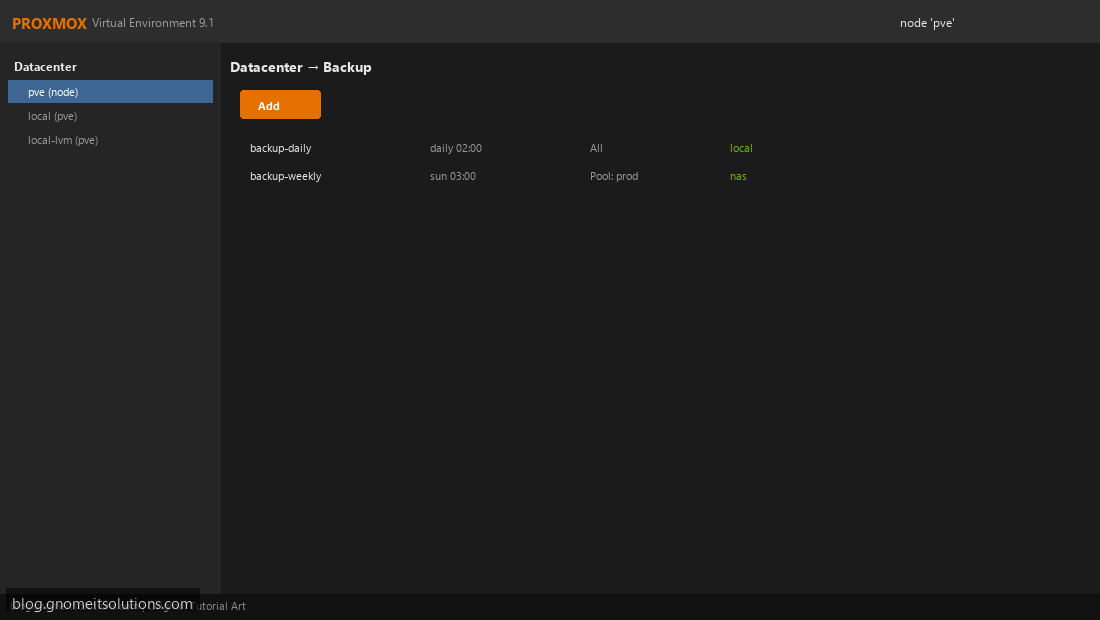
Learn how to restore a Proxmox backup from NAS or local storage using the official Proxmox backup interface. Prerequisites Valid vzdump backup on configured storageFree space on target storage poolSys.Modify permission on Proxmox Step 1: Open Backup Storage Go to Datacenter → Storage or node storage. Select backup storage (NAS, local, PBS). Storage with backup files Step 2: View Scheduled Backup Jobs Review existing backup jobs that created your vzdump files. Backup job overview Step 3: Configure Backup Job Settings Understand backup job options (mode, retention, storage) used for your restore files. Backup job configuration Restore a Backup (GUI) Select backup storage → Backups content Select vzdump file → click Restore Choose target VM ID and storage → confirm CLI Restore qmr...
How to Create an LXC Container in Proxmox VE: Step-by-Step Guide

How to Create an LXC Container in Proxmox VE: Step-by-Step Guide

Proxmox
Learn how to create an LXC container in Proxmox using the official web interface wizard. Containers are lightweight and ideal for web servers, DNS, and monitoring. Prerequisites Proxmox VE running on port 8006LXC template downloaded (e.g. ubuntu-22.04-standard)Storage space and vmbr0 network bridge Step 1: Open Create CT Wizard — General Tab Select your node, click Create CT. Set CT ID, hostname, and root password. Create CT — General settings Step 2: Select OS Template On the Template tab, choose storage and template (e.g. ubuntu-22.04-standard). Create CT — Template tab Step 3: Configure Root Disk Set root disk size and storage pool on the Disks tab. Create CT — Root disk Step 4: Set CPU and Memory Assign CPU cores and memory for the container. Create CT — Memory Step 5: Configure N...
Proxmox VM Snapshots: How to Create, Restore, and Rollback

Proxmox VM Snapshots: How to Create, Restore, and Rollback

Proxmox
Proxmox snapshots capture VM state for quick rollback. This Proxmox snapshot tutorial covers the GUI workflow and CLI commands. When to Use Snapshots Before OS or package updatesBefore risky configuration changesDuring lab testing (not long-term on production) Step 1: Select Your Virtual Machine In the Proxmox tree, click your VM. Use the Snapshots tab (next to Summary, Console, Hardware). Select VM in Proxmox GUI Step 2: Review VM Hardware Before Snapshot Confirm disk and network settings in the Hardware tab before taking a snapshot. VM Hardware configuration Step 3: Use Backup for Full Protection For disaster recovery, combine snapshots with scheduled backups configured in Datacenter → Backup. Scheduled backup jobs (recommended with snapshots) Take and Rollback Snapshots (GUI) VM ...
Create Virtual Machine in Proxmox: A Step-by-Step Guide

Create Virtual Machine in Proxmox: A Step-by-Step Guide

Proxmox
Proxmox Virtual Environment (Proxmox VE) is one of the most popular open-source platforms for running virtual machines and containers. If you are new to Proxmox, this guide shows you exactly how to create a virtual machine in Proxmox from start to finish. What You Will Learn How to access the Proxmox web interface How to launch the Create VM wizard How to attach an ISO and configure OS settings How to set CPU, memory, disk, and network options How to install the guest OS and verify the VM is running Prerequisites Before You Create a VM in Proxmox A Proxmox VE host (bare metal or nested lab environment) Admin access to the Proxmox web UI (port 8006) An ISO file uploaded to Proxmox storage (Ubuntu, Debian, AlmaLinux, etc.) Enough host resources (CPU, RAM, and disk spac...