WireGuard is a small, fast VPN built into the Linux kernel. Compared with older VPN stacks it
has a tiny configuration surface: each side has a key pair, and each peer is a few lines in one file. That
simplicity is why it has become the default choice for remote access to a private LAN or for linking two sites.
This guide builds a server that accepts remote clients and routes them to a private network, then covers the
firewall rules from our UFW guide or
nftables guide that keep it safe, and day-two tasks such as adding and revoking peers.
How the WireGuard Topology Fits Together
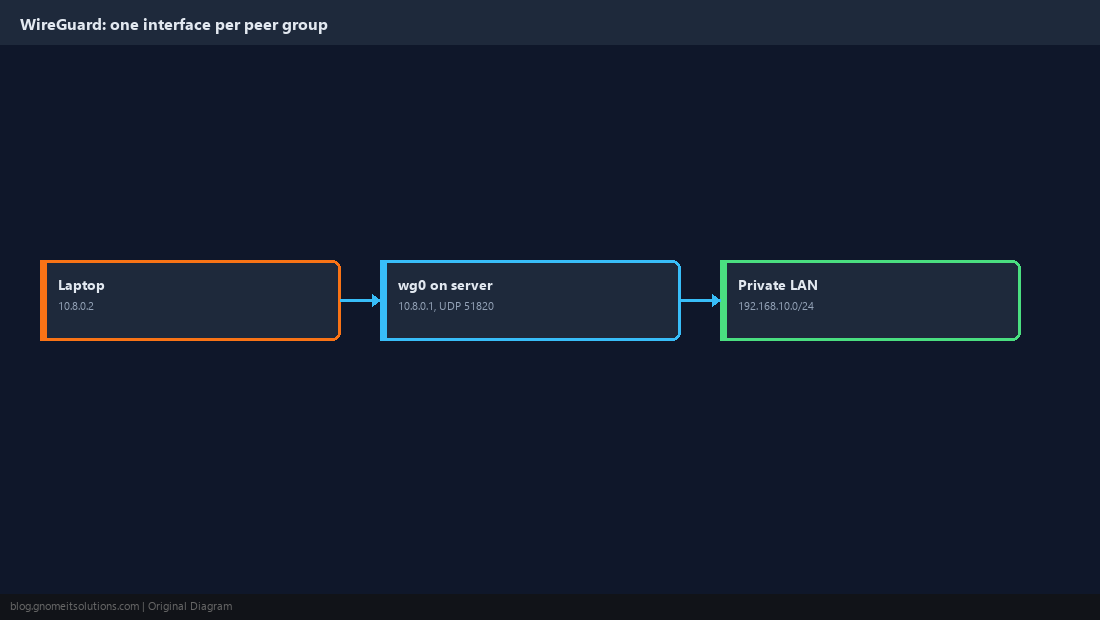
A WireGuard server is just a Linux host with a wg0 interface. Each client gets a tunnel address inside a private VPN subnet (here 10.8.0.0/24), and the server forwards traffic between that subnet and the LAN behind it. There is no client/server distinction in the protocol — the server is simply the peer with a stable public address and a listening UDP port.
  [Laptop 10.8.0.2] --UDP 51820--> [Server wg0 10.8.0.1] ----> [LAN 192.168.10.0/24]
  [Phone  10.8.0.3] --UDP 51820-->        |
                                      NAT / forwarding
Install WireGuard and Enable IP Forwarding
Current Debian, Ubuntu, AlmaLinux and Rocky releases ship WireGuard in the kernel; you only install the tools. The server must also forward packets, otherwise clients can reach the server but nothing behind it.
# Debian / Ubuntu
sudo apt install -y wireguard
# AlmaLinux / Rocky (EPEL)
sudo dnf install -y wireguard-toolsnet.ipv4.ip_forward = 1sudo sysctl --system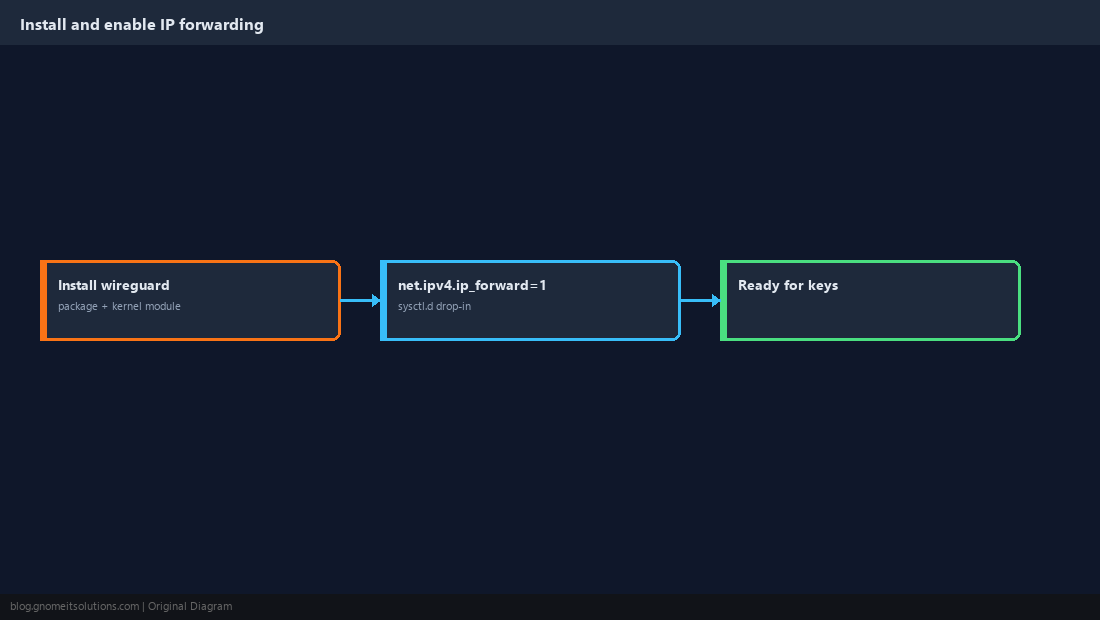
Generate the Server and Client Key Pairs
Each peer has a private key that never leaves its host and a public key you share with the other side. Set a restrictive umask so the private key file is not world-readable.
umask 077
wg genkey | sudo tee /etc/wireguard/server.key | wg pubkey | sudo tee /etc/wireguard/server.pubumask 077
wg genkey | tee client.key | wg pubkey > client.pub.pub files are shared.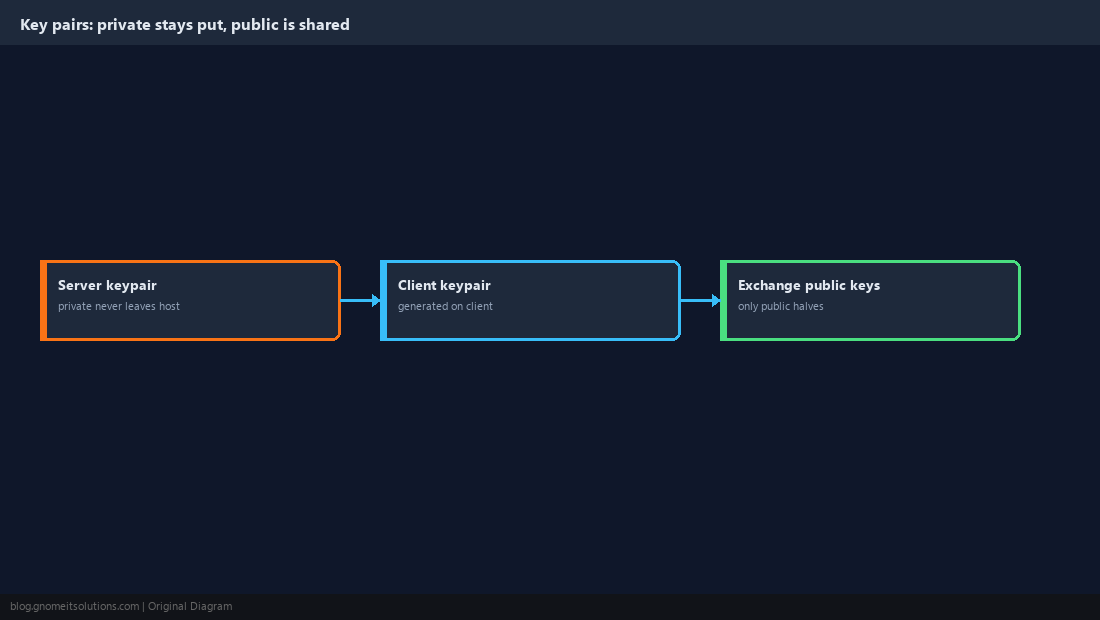
Write the Server Configuration
The [Interface] block describes the server itself; each [Peer] block admits one client and pins the tunnel address it may use. PostUp and PostDown add and remove the NAT rule so the config stays self-cleaning. Replace eth0 with your real uplink interface.
[Interface]
Address = 10.8.0.1/24
ListenPort = 51820
PrivateKey = <contents of server.key>
PostUp   = iptables -A FORWARD -i wg0 -j ACCEPT; iptables -t nat -A POSTROUTING -o eth0 -j MASQUERADE
PostDown = iptables -D FORWARD -i wg0 -j ACCEPT; iptables -t nat -D POSTROUTING -o eth0 -j MASQUERADE

[Peer]
# laptop
PublicKey = <contents of client.pub>
AllowedIPs = 10.8.0.2/32chmod 600 /etc/wireguard/wg0.conf — the file embeds the server private key.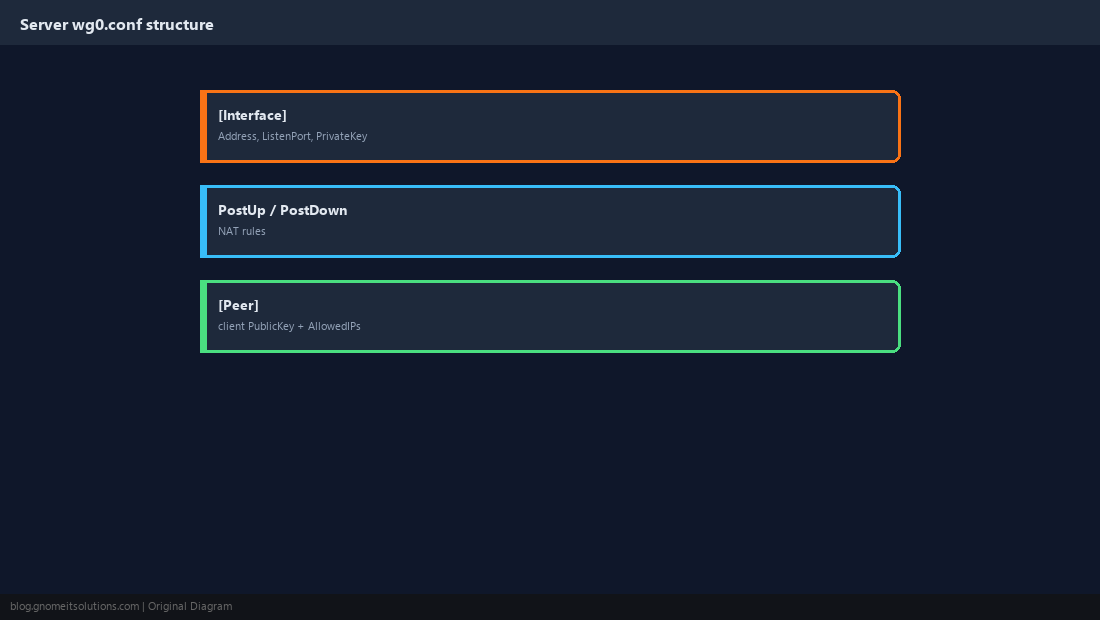
Open the Firewall for the WireGuard Port
WireGuard is silent to unauthenticated packets, so exposing one UDP port is low risk. Allow only that port from the internet and let the tunnel interface forward.
sudo ufw allow 51820/udp
sudo ufw route allow in on wg0 out on eth0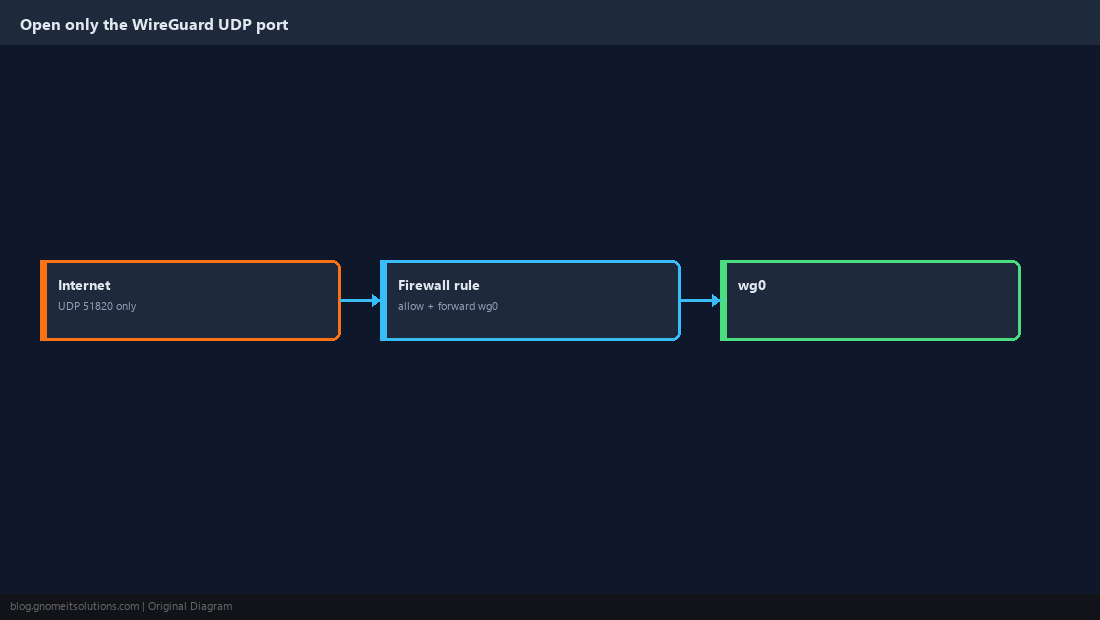
Create the Client Configuration
The client’s AllowedIPs decides what travels through the tunnel. 0.0.0.0/0 sends everything (full tunnel); listing only the VPN subnet and LAN gives a split tunnel that leaves normal browsing on the local connection. Add PersistentKeepalive when the client sits behind NAT.
[Interface]
Address = 10.8.0.2/24
PrivateKey = <contents of client.key>
DNS = 192.168.10.1

[Peer]
PublicKey = <contents of server.pub>
Endpoint = vpn.example.com:51820
AllowedIPs = 10.8.0.0/24, 192.168.10.0/24
PersistentKeepalive = 25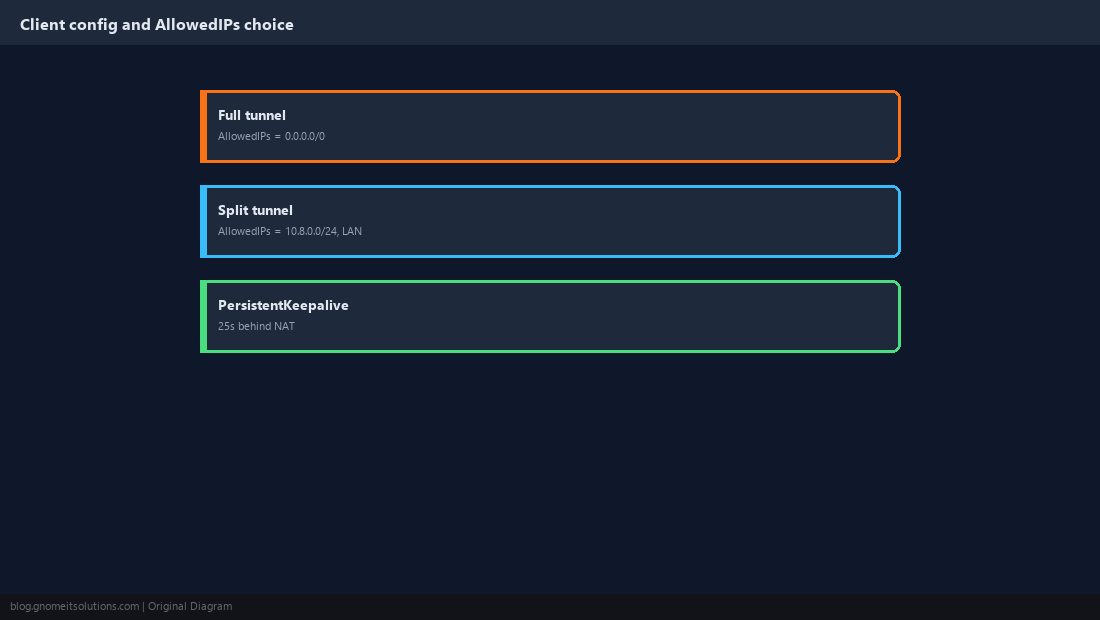
Bring the Tunnel Up and Verify the Handshake
Enable the interface on boot with the systemd template unit, then confirm a handshake actually occurred — an interface that is up but shows no handshake means keys, endpoint or firewall are wrong.
sudo systemctl enable --now wg-quick@wg0
sudo wg showsudo wg-quick up wg0
ping -c 3 10.8.0.1
ping -c 3 192.168.10.1latest handshake in wg show should be within the last two minutes while traffic flows.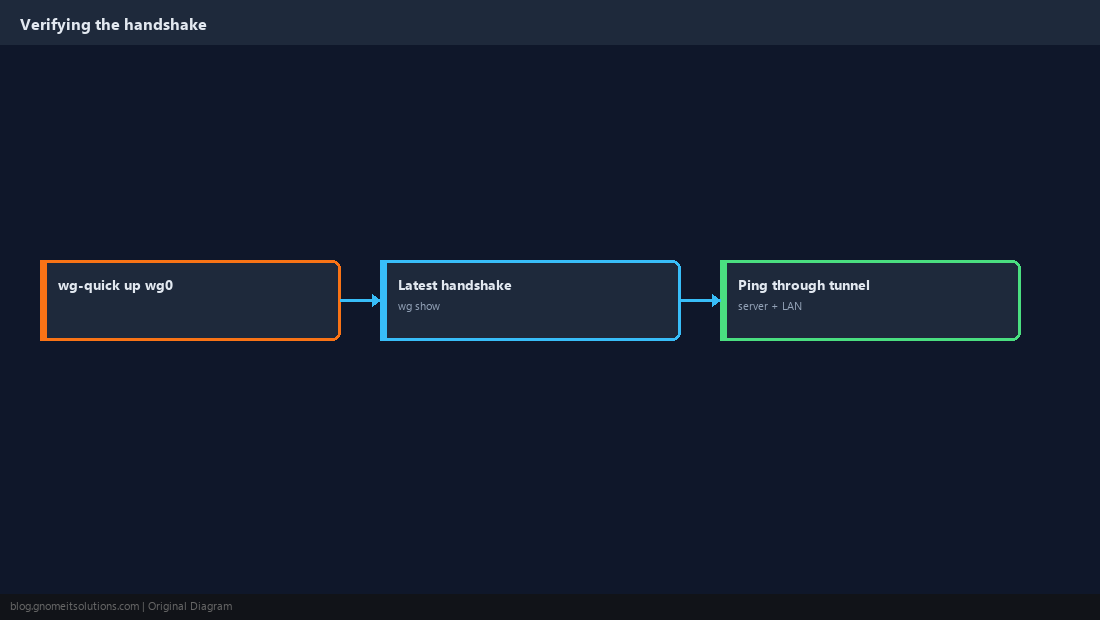
Add and Revoke Peers Without Downtime
Adding a client means a new [Peer] block with a unique tunnel address. Reload the running interface with wg syncconf so existing sessions are not dropped. To revoke, delete the block and sync again; the peer’s key is immediately useless.
sudo bash -c 'wg syncconf wg0 <(wg-quick strip wg0)'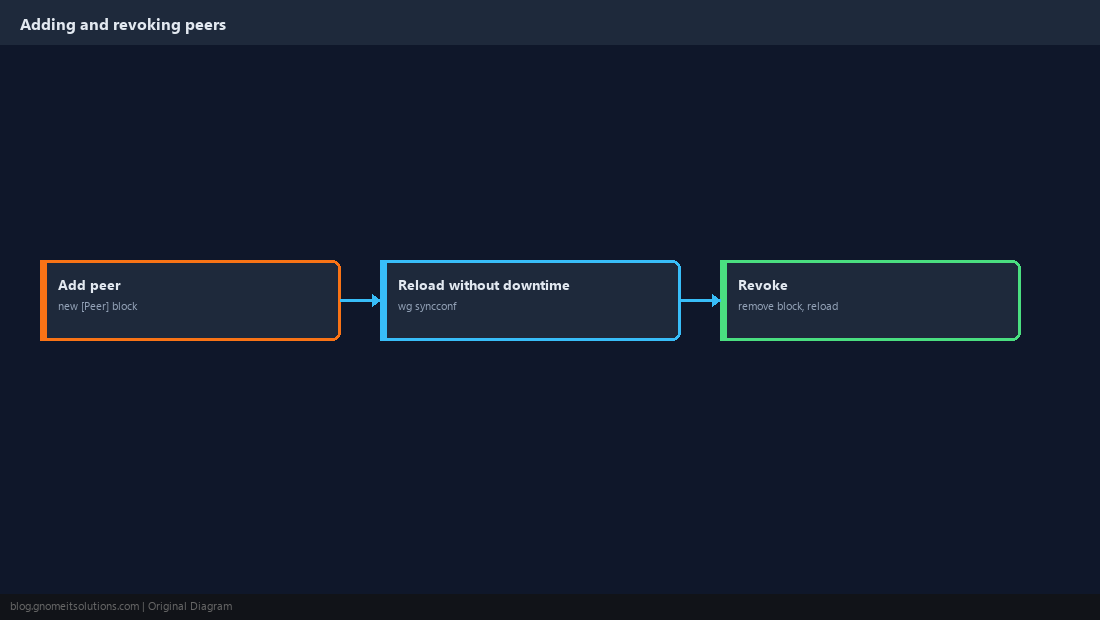
Quick Reference
- UDP
51820open; IP forwarding on; one/32per peer - Private keys mode
600; rotate a peer by replacing its key pair
Related tutorials
Diagrams are original illustrations by Gnome IT Solutions. Tutorial text © Gnome IT Solutions.