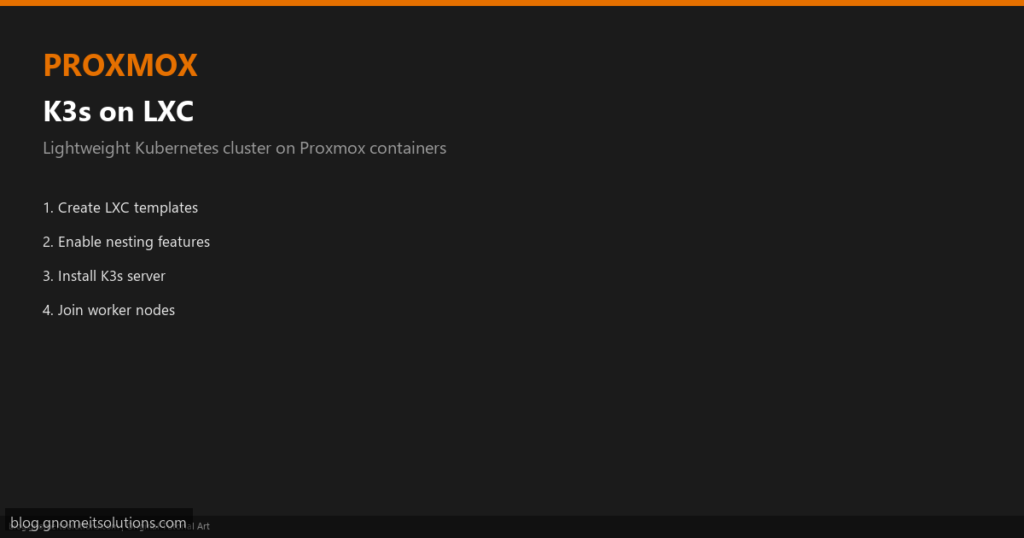
K3s is a lightweight Kubernetes distribution ideal for edge, homelab, and small production clusters.
Running K3s on Proxmox LXC keeps resource usage low compared to full VMs — one physical host can run
a control plane plus several workers for learning and CI/CD experiments.
This guide builds a 3-node K3s cluster: 1 server (control plane) + 2 agents (workers), all as Proxmox CTs on
vmbr0. For production-critical Kubernetes, consider K3s on VMs instead — this LXC path is optimized for
homelab and dev/staging.
Cluster plan
| CT ID | Hostname | Role | RAM | Cores |
|---|---|---|---|---|
| 201 | k3s-master | K3s server | 4 GB | 2 |
| 202 | k3s-worker-1 | K3s agent | 4 GB | 2 |
| 203 | k3s-worker-2 | K3s agent | 4 GB | 2 |
Step 1: Download LXC Template and Create Master CT
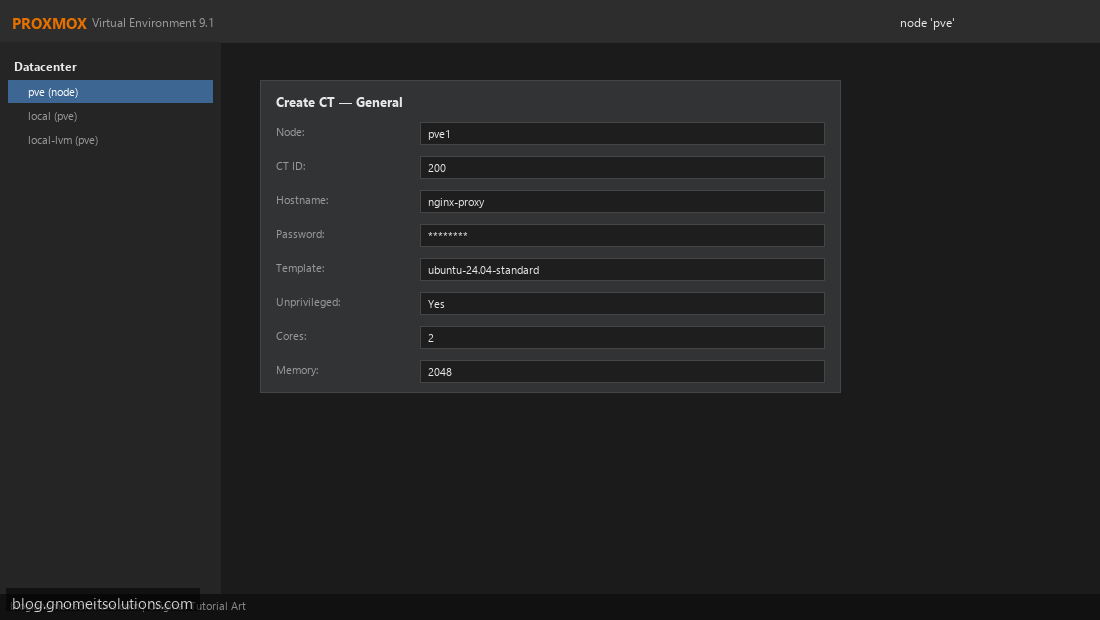
On Proxmox: local → CT Templates → download ubuntu-24.04-standard (or Debian 12). Create CT 201: 2 cores, 4 GB RAM, 32 GB disk, unprivileged or privileged (privileged simplifies K3s). Set root password and hostname k3s-master. Enable Start at boot.
Step 2: Enable Nesting and Required Features
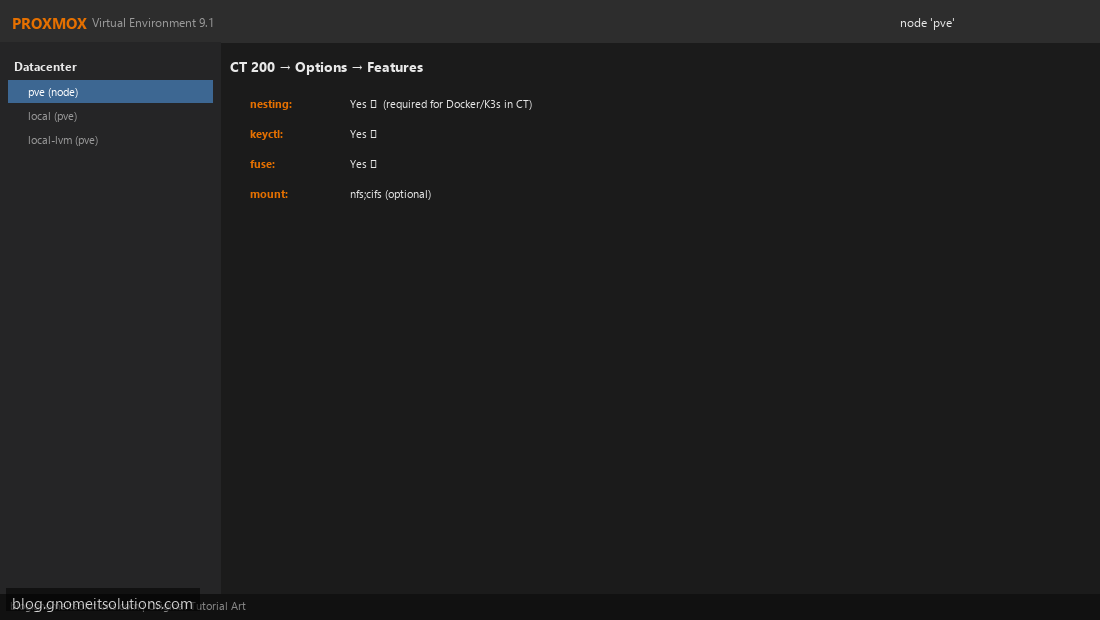
Before start: CT → Options → Features → enable nesting, keyctl, and fuse. K3s uses cgroups and iptables inside the CT — nesting is mandatory. Optional: add lxc.apparmor.profile: unconfined in CT config if AppArmor blocks kubelet (homelab workaround — understand security tradeoff).
Step 3: Configure Network on vmbr0
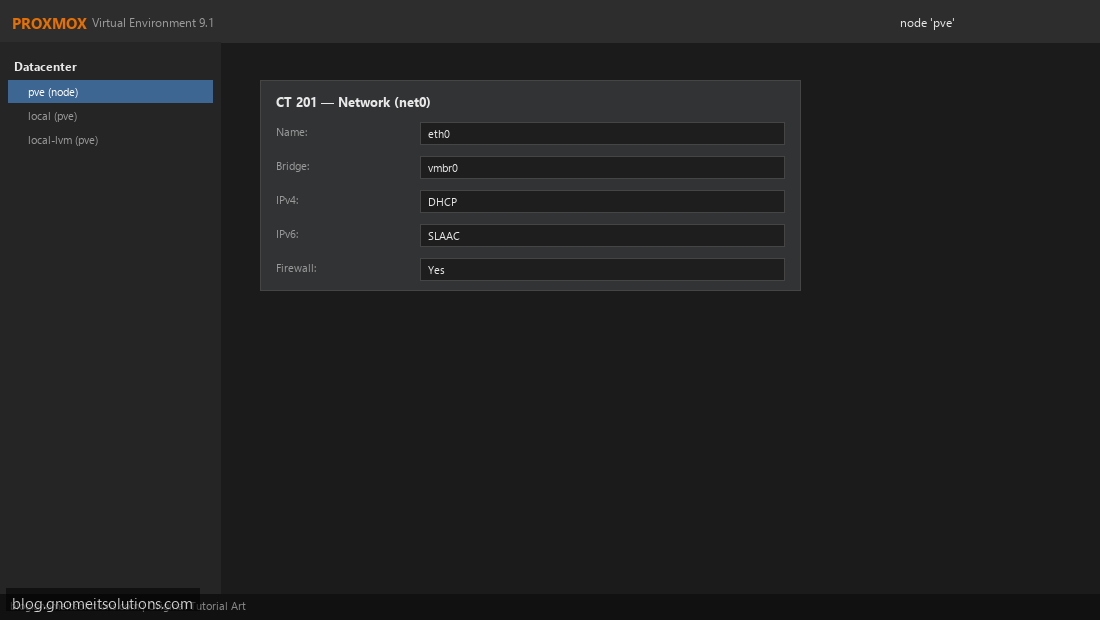
CT → Network → net0: bridge vmbr0, DHCP or static IP on your LAN. Ensure all K3s nodes can reach each other on TCP 6443 (API), 10250 (kubelet), and UDP 8472 (Flannel VXLAN). Document static IPs if using DHCP reservations on your router.
Step 4: Install K3s Server on Master
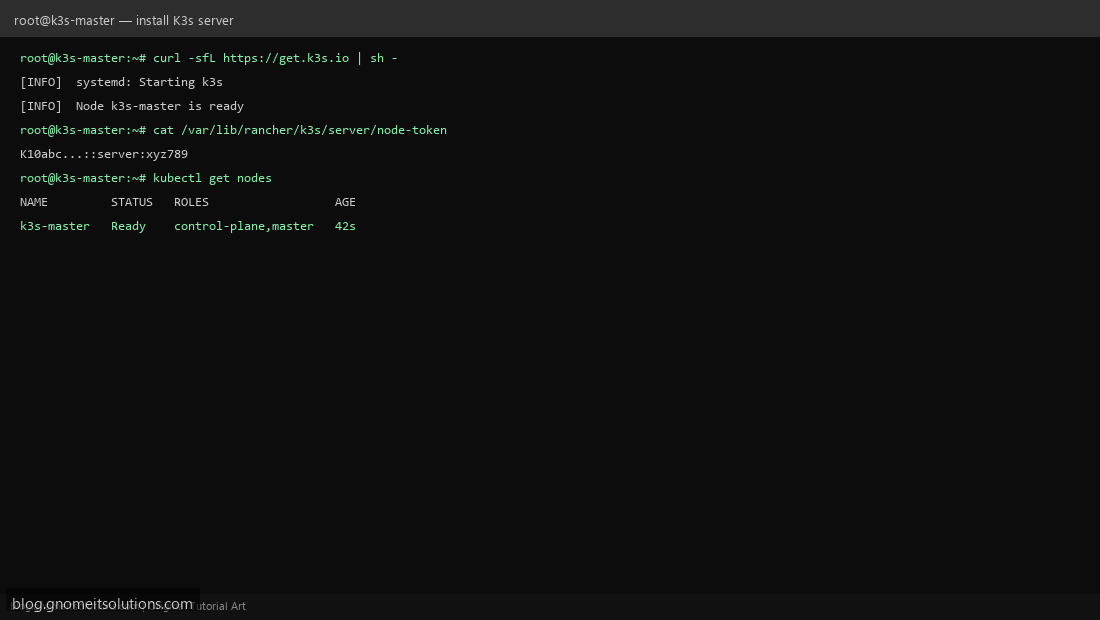
Start CT 201, SSH in as root. Install K3s: curl -sfL https://get.k3s.io | sh -. Verify: systemctl status k3s. Copy node token from /var/lib/rancher/k3s/server/node-token for worker join. Export kubeconfig: export KUBECONFIG=/etc/rancher/k3s/k3s.yaml.
Step 5: Clone Worker CTs and Join Agents
Duplicate CT 201 to create 202 and 203 (or create fresh CTs with same features). Change hostname and IP. On each worker run: curl -sfL https://get.k3s.io | K3S_URL=https://MASTER_IP:6443 K3S_TOKEN=TOKEN sh -. Replace MASTER_IP and TOKEN. Workers register as agents automatically.
Step 6: Verify Cluster Health
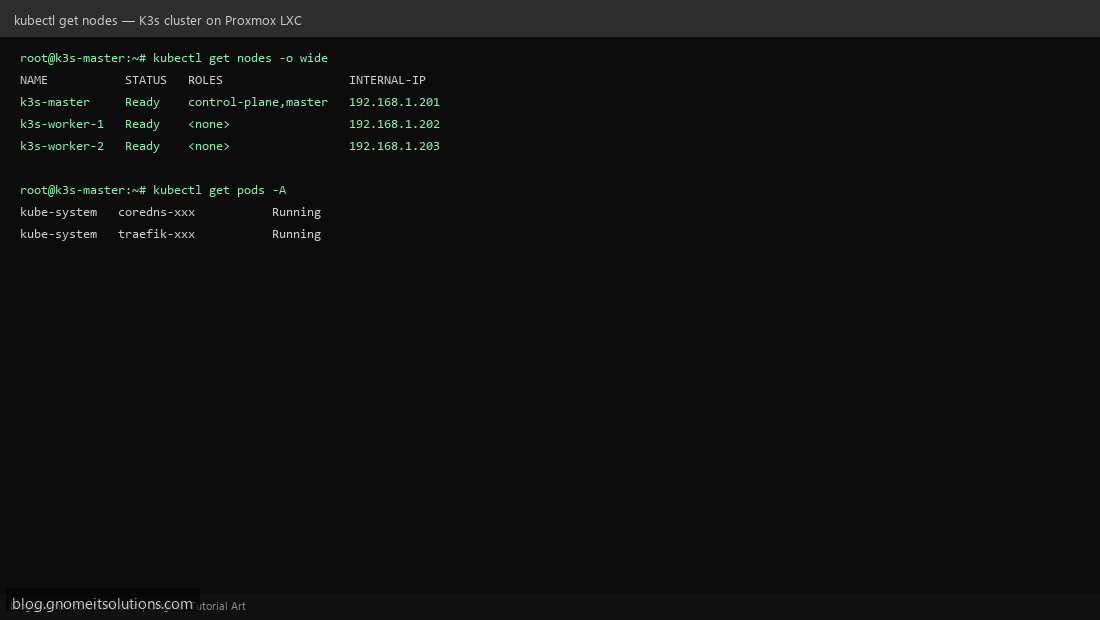
On master: kubectl get nodes — all nodes should show Ready. Deploy test pod: kubectl create deployment nginx --image=nginx. K3s includes Traefik ingress by default; check kubectl get pods -A for system pods.
Step 7: Backup and Maintenance Notes
Snapshot CTs before K3s upgrades. Proxmox vzdump backs up CT filesystem including K3s state — stop K3s services before backup for consistency (systemctl stop k3s on all nodes). Upgrade K3s with install script re-run on each node during maintenance window. For production, migrate to VM-based nodes and add proper etcd backup strategy.
Full install commands
# Master (CT 201)
curl -sfL https://get.k3s.io | sh -
cat /var/lib/rancher/k3s/server/node-token

# Workers (CT 202, 203)
export K3S_URL="https://192.168.1.201:6443"
export K3S_TOKEN="K10xxxx::server:yyyy"
curl -sfL https://get.k3s.io | sh -

# Verify
kubectl get nodes -o wide
kubectl get pods -A
CT config snippet (if kubelet fails)
# /etc/pve/lxc/201.conf — append if needed (homelab)
lxc.apparmor.profile: unconfined
lxc.cap.drop:
When to use VMs instead
- Production workloads with SLA requirements
- Need for different kernel versions per node
- GPU workloads with device plugins
- Compliance requiring full VM isolation
Related tutorials
Image credits: All illustrations use original Proxmox VE branded artwork created
for Gnome IT Solutions — not copied from vendor marketing assets or third-party screenshots.
Tutorial text © Gnome IT Solutions.
Image credits: Screenshots are from the official
Proxmox VE documentation
(Proxmox GmbH), used under open documentation terms for educational purposes.
Tutorial text and layout © Gnome IT Solutions.