
Proxmox High Availability (HA) automatically restarts or migrates VMs when a node fails — but only
when the cluster is built correctly: odd-numbered quorum (3+ nodes), reliable corosync links, shared storage for
VM disks, and fencing so split-brain does not duplicate running VMs.
This production guide walks through a 3-node cluster (pve1, pve2, pve3)
with shared NFS storage, HA manager enabled, watchdog fencing, and HA groups for critical VMs.
Requirements checklist
- 3 physical nodes (minimum for meaningful quorum — 2-node needs QDevice)
- Identical Proxmox VE 8.x/9.x versions on all nodes
- Low-latency private network for corosync (dedicated VLAN recommended)
- Shared storage: NFS, Ceph, or iSCSI — VM disks must be accessible from all nodes
- Separate management IP per node; synchronized NTP/chrony
- Watchdog hardware or
softdogfor fencing
Step 1: Prepare Network — Corosync and Migration
Assign each node a static management IP (e.g. 192.168.1.51–53) and optional dedicated corosync link on a separate VLAN (10.0.0.51–53). Open UDP 5404-5405 between all nodes. Ensure DNS or /etc/hosts resolves all node hostnames identically on every node. Time sync via chrony — corosync fails mysteriously when clocks drift.
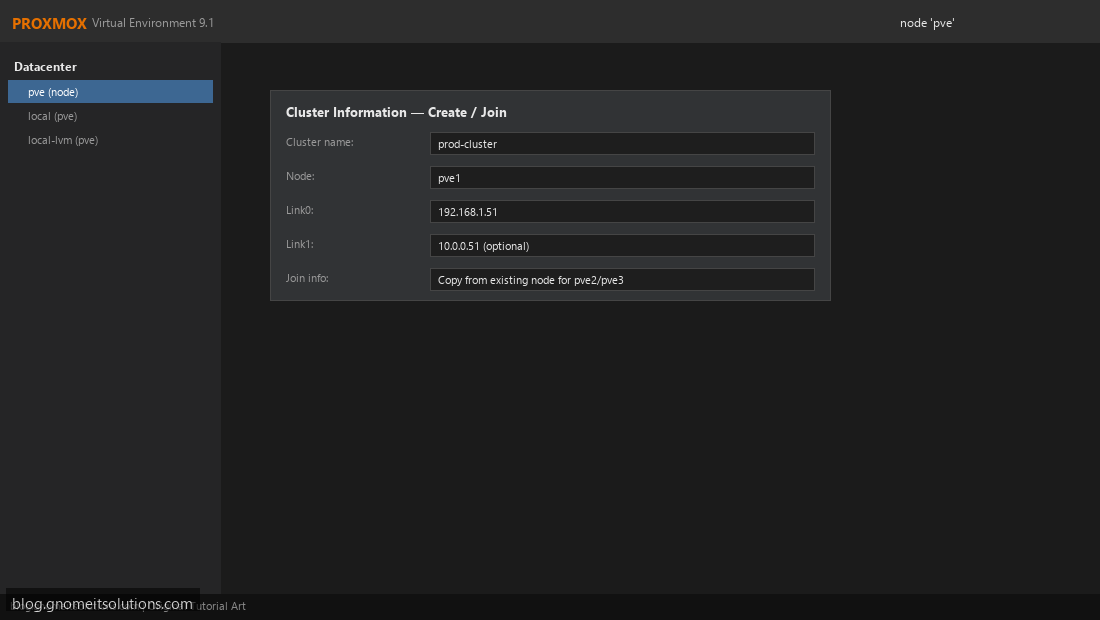
Step 2: Create the Cluster on First Node
On pve1: Datacenter → Cluster → Create. Name prod-cluster, select link address. Copy join information for additional nodes. Never create two separate clusters with the same nodes — join only from fresh single nodes.
Step 3: Join Remaining Nodes
On pve2 and pve3: Cluster → Join Cluster, paste join info and root password of pve1. Verify Datacenter → Cluster shows all nodes online. Quorum requires majority: 3 nodes tolerate 1 failure; 2 nodes alone lose quorum if one dies.
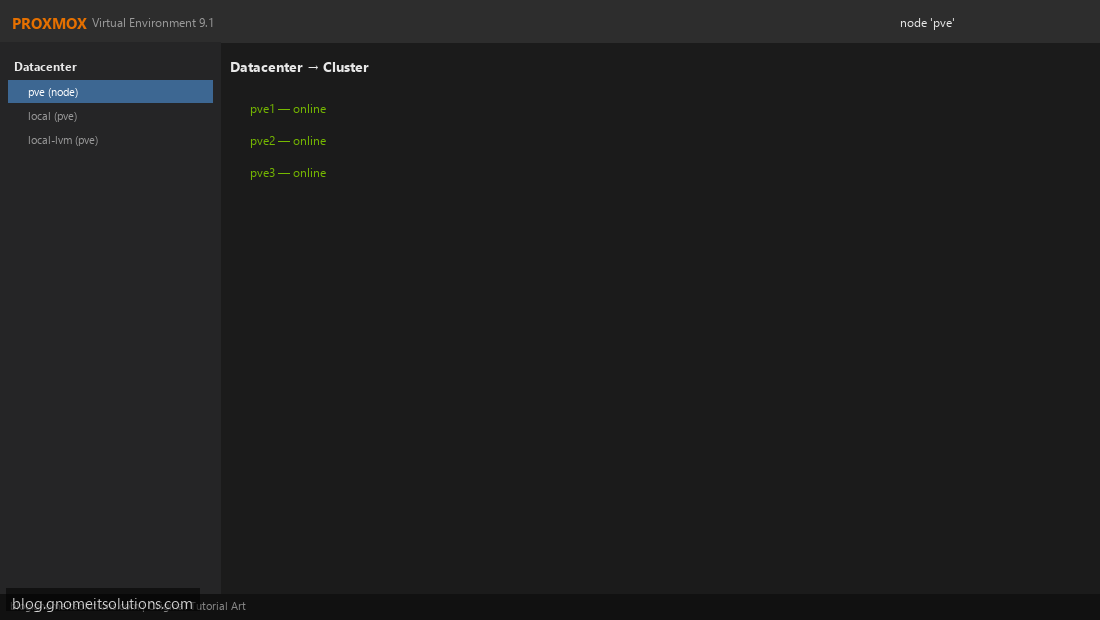
Step 4: Add Shared Storage (NFS Example)
Add NFS (or Ceph) visible on all nodes. Datacenter → Storage → Add → NFS. Content types: Disk image, Container, Backup. Store production VM disks here — local-lvm disks cannot fail over to another node. Test by creating a test VM on NFS and migrating it online between nodes.
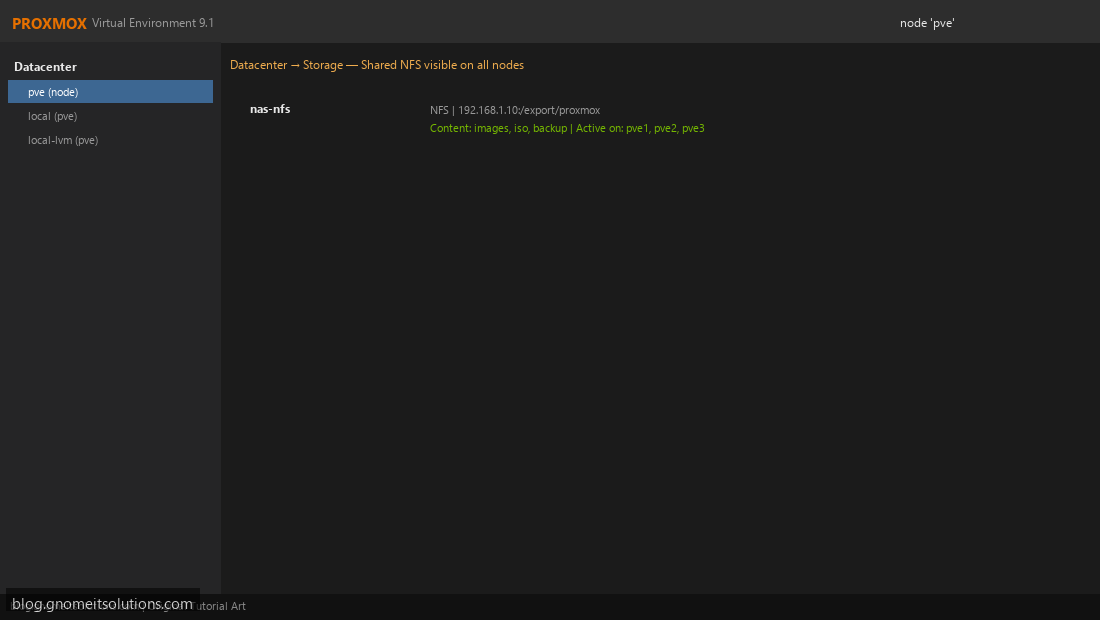
Step 5: Enable HA Manager and Configure Fencing
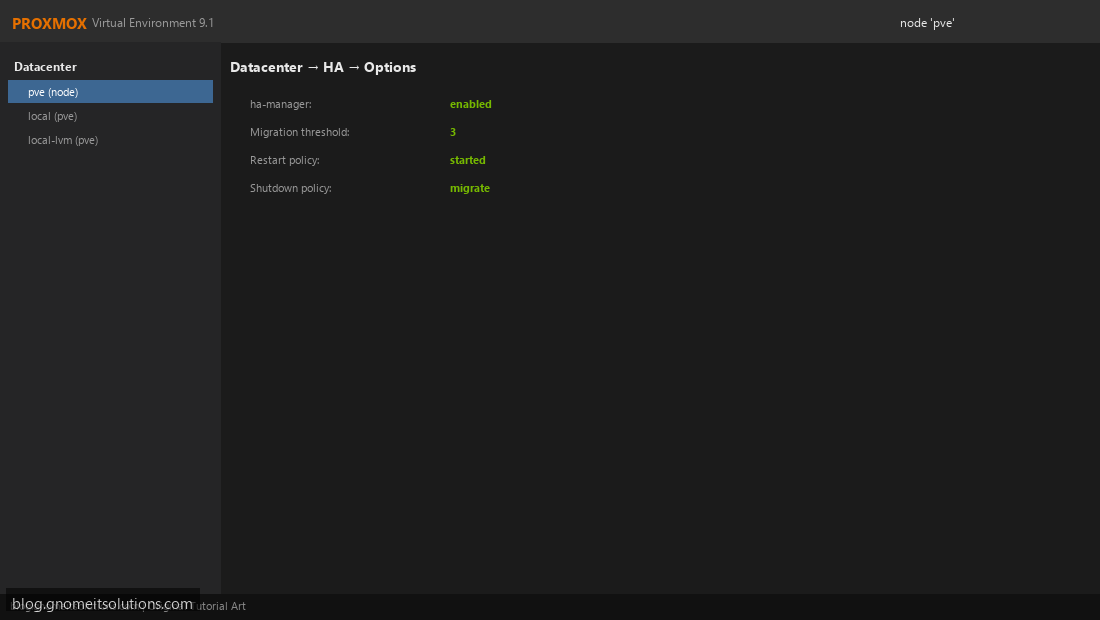
Datacenter → HA → enable HA manager. Install watchdog on each node: apt install watchdog, load softdog, enable service. Fencing prevents split-brain — if a node stops responding to corosync, it is fenced before its VMs start elsewhere. Test with controlled power-off of one node in maintenance window.
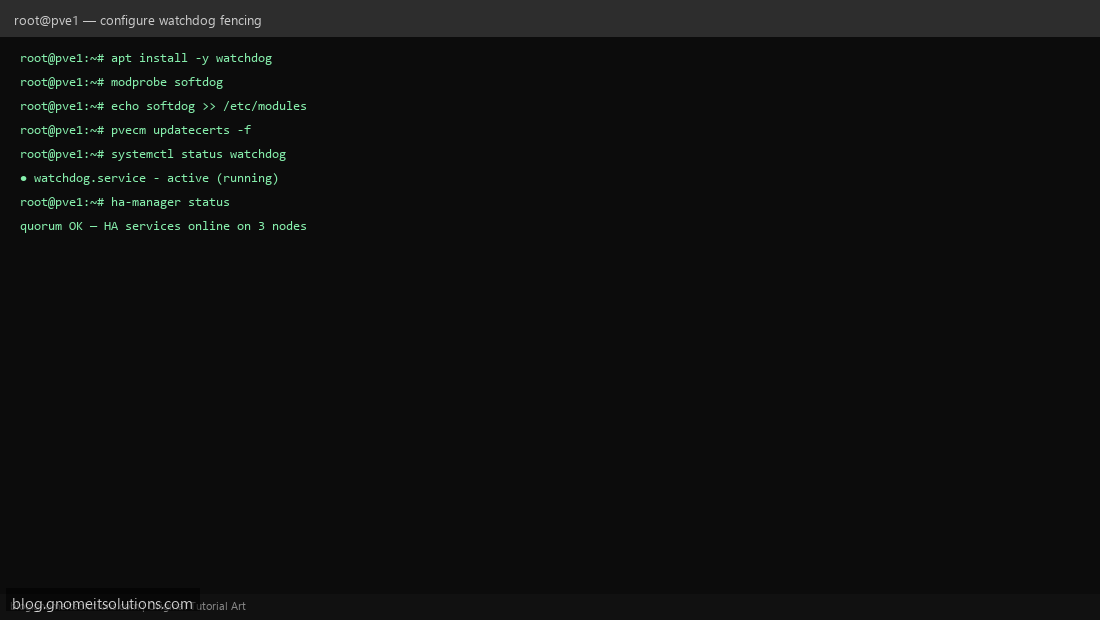
Step 6: Create HA Groups and Add Resources
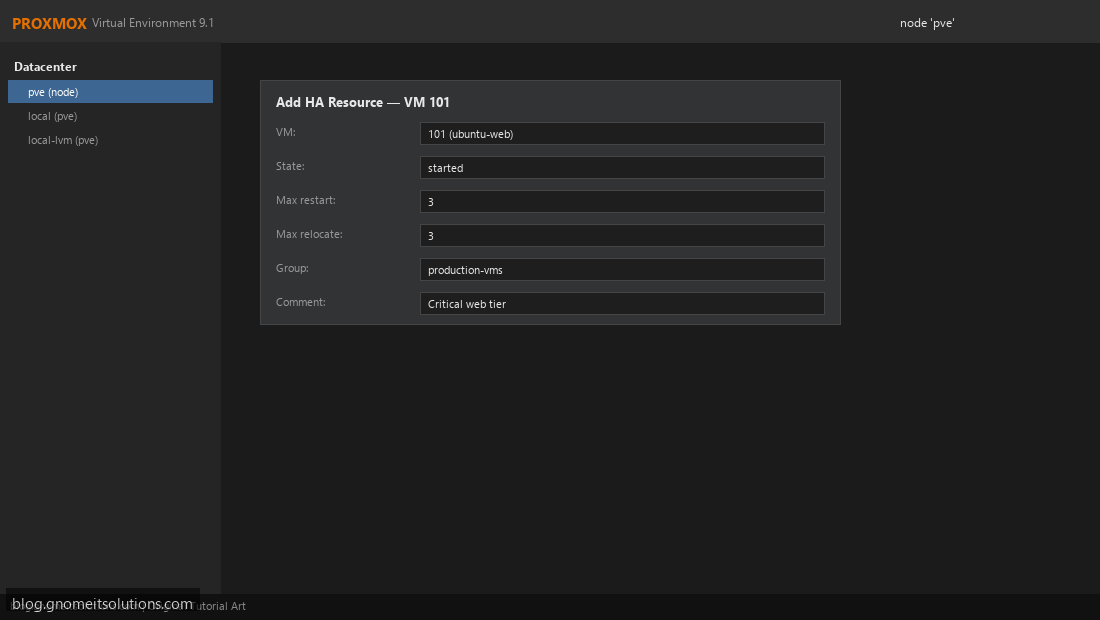
Datacenter → HA → Groups → create production-vms with nodes pve1,pve2,pve3 and nofailback or failback policy as needed. Add HA resource for each critical VM: VM → HA → Add. Set max restart and relocate counts. Only VMs on shared storage can be HA-managed.
Step 7: Validate Failover and Document Runbook
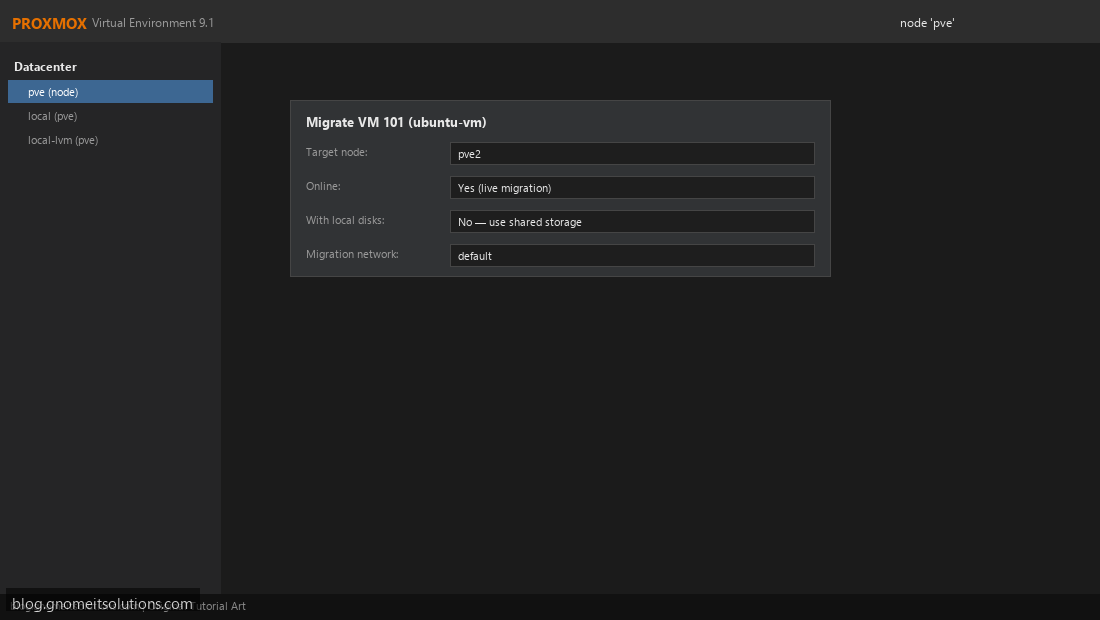
Maintenance test: migrate a non-critical HA VM, then simulate node failure by isolating corosync on one node. Confirm VM restarts on surviving node within expected RTO (1–3 minutes). Document: quorum minimum, join order, NFS dependency, and how to put a node in maintenance with pvecm expected 1 when upgrading one host at a time.
Step 8: Production Hardening
Enable Datacenter firewall rules restricting corosync to cluster VLAN. Subscribe to Proxmox enterprise or no-subscription repo consistently on all nodes. Schedule PBS backups independent of HA — failover protects uptime, not data loss from ransomware. Consider a QDevice on 2-node edge cases only.
CLI reference
# Create cluster (first node)
pvecm create prod-cluster

# Join cluster (other nodes)
pvecm add 192.168.1.51

# Check quorum and cluster status
pvecm status
pvecm nodes

# Add NFS shared storage
pvesm add nfs nas-ha --server 192.168.1.10 --export /export/proxmox \
  --content images,rootdir,backup

# HA manager — add VM 101
ha-manager add vm:101 --state started --group production-vms

# Maintenance: allow one node down without panic
pvecm expected 1

# Watchdog
modprobe softdog
systemctl enable --now watchdog
Two-node cluster warning
Two Proxmox nodes without a QDevice lose quorum when one is offline — HA stops working. Always use ”
“3+ nodes or add an external quorum device (Raspberry Pi QDevice is a common homelab fix).
Related tutorials
Image credits: All illustrations use original Proxmox VE branded artwork created
for Gnome IT Solutions — not copied from vendor marketing assets or third-party screenshots.
Tutorial text © Gnome IT Solutions.
Image credits: Screenshots are from the official
Proxmox VE documentation
(Proxmox GmbH), used under open documentation terms for educational purposes.
Tutorial text and layout © Gnome IT Solutions.