Fail2ban watches log files and adds firewall blocks when patterns repeat. For Nginx that usually means credential stuffing on protected paths,
aggressive 404 scanning, or bots hammering /wp-admin and /.env on sites that do not even run WordPress.
This guide assumes Nginx is already serving traffic — see rate limiting and security headers for the first layer — and that you have
Fail2ban installed or will install it here.
How Fail2ban Fits With Nginx
Nginx writes one line per request to the access log. Fail2ban filters turn those lines into regex matches; jails count matches per IP inside a time window and call the firewall to drop traffic.
nginx access.log --> fail2ban filter --> jail (maxretry/findtime) --> banaction --> firewall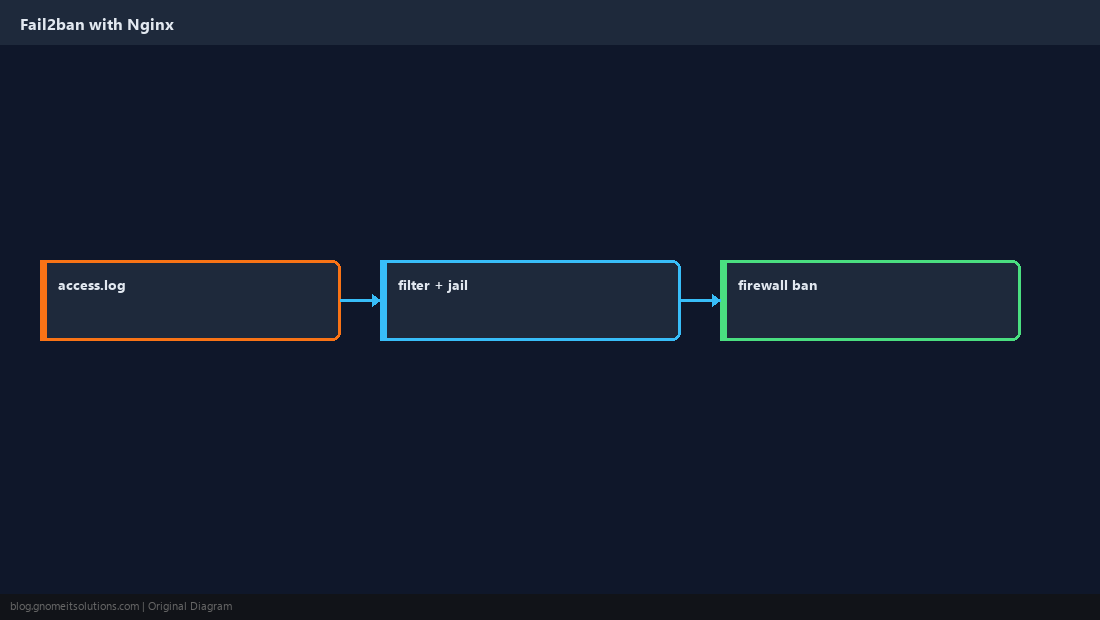
Install Fail2ban and Enable the Service
Most distributions package Fail2ban. Enable it before editing jails so your changes survive reboot.
sudo apt install -y fail2ban # or: sudo dnf install -y fail2bansudo systemctl enable --now fail2ban
sudo fail2ban-client status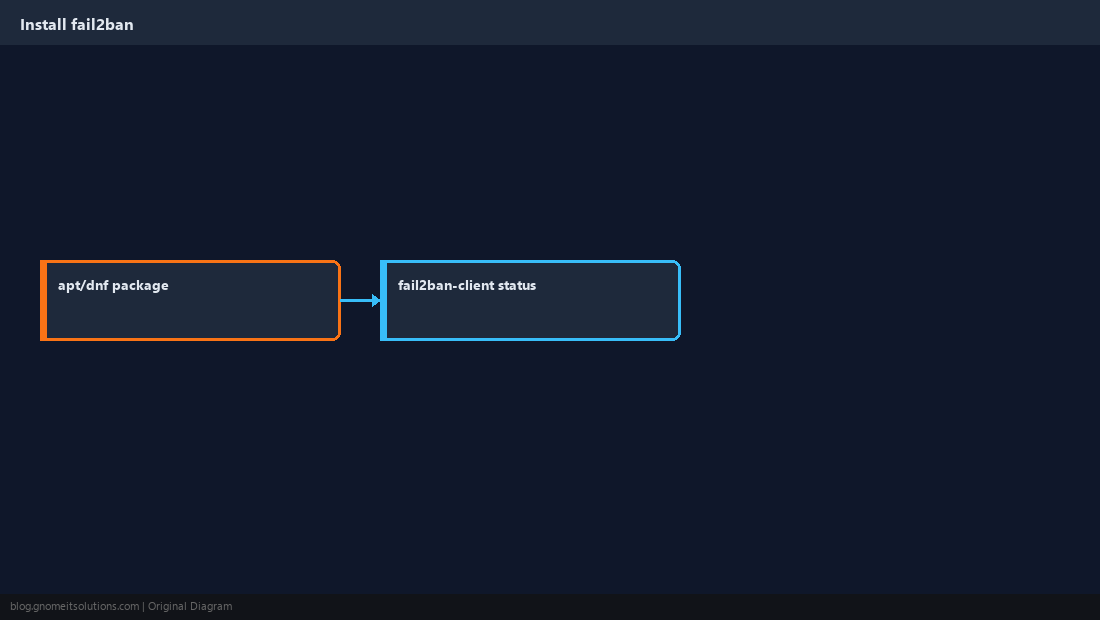
Use a Local Jail Override
Never edit jail.conf directly — package updates overwrite it. Put overrides in /etc/fail2ban/jail.local or jail.d/*.conf.
[DEFAULT]
bantime  = 1h
findtime = 10m
maxretry = 5
banaction = ufwbanaction = firewallcmd-ipset instead of ufw.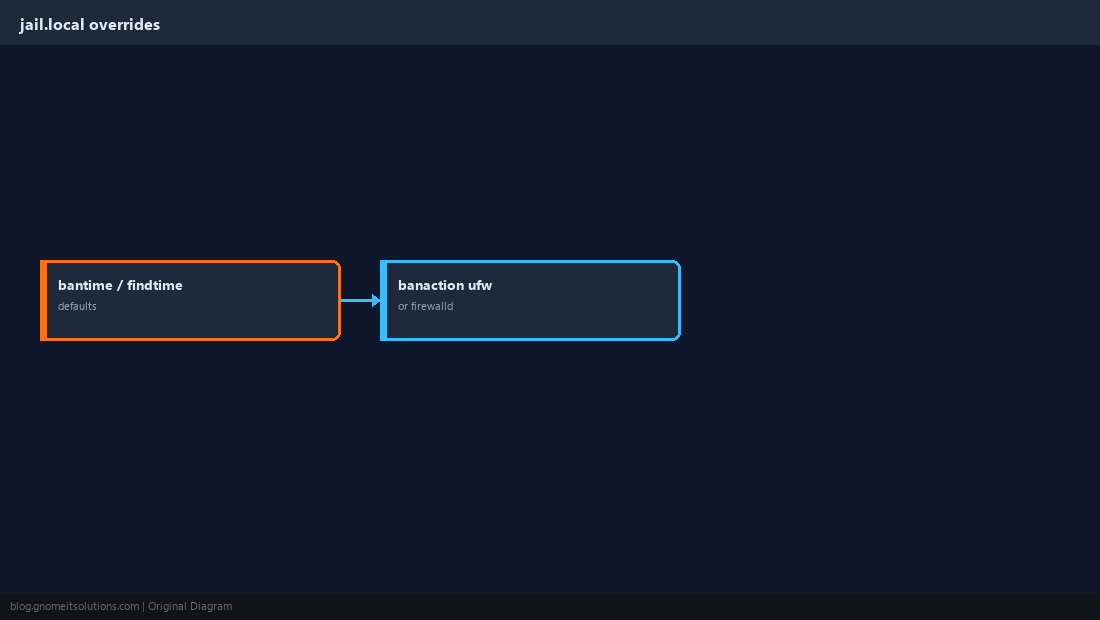
Enable the nginx-http-auth Jail
If you use HTTP basic auth anywhere, repeated 401 responses from one IP are a good ban signal.
[nginx-http-auth]
enabled = true
port    = http,https
logpath = /var/log/nginx/*error.logsudo fail2ban-client reload
sudo fail2ban-client status nginx-http-auth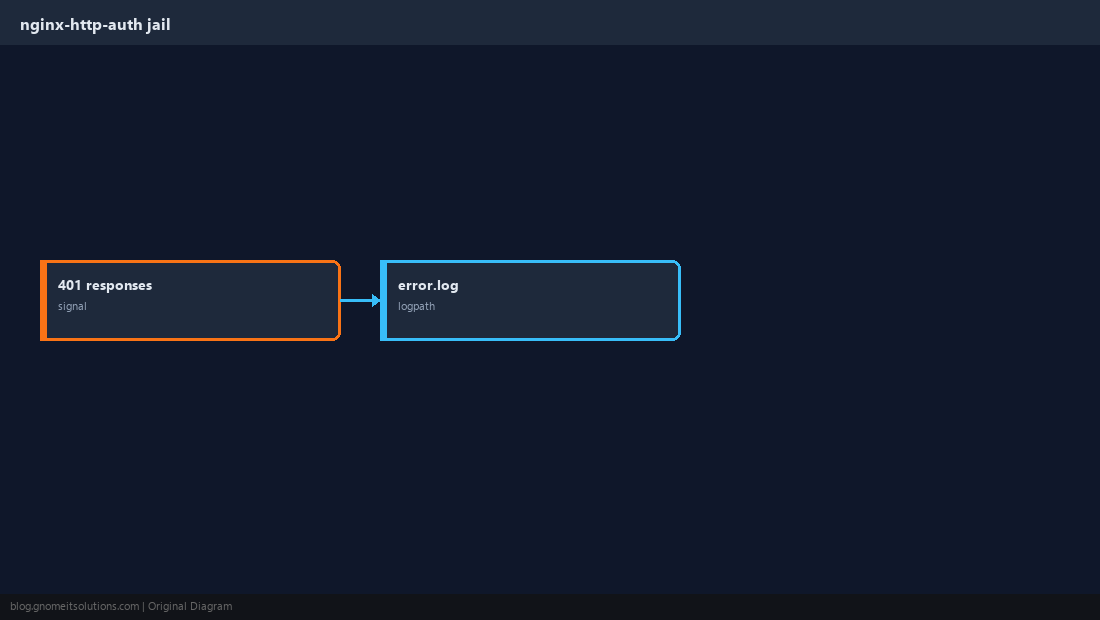
Catch Aggressive 404 Scanners
A custom filter on the access log bans IPs that request dozens of non-existent paths in a few minutes. Tune thresholds so real users with broken bookmarks are not banned.
[Definition]
failregex = ^<HOST> -.*"(GET|POST|HEAD) .* HTTP.*" 404
ignoreregex =[nginx-404]
enabled = true
port = http,https
filter = nginx-404
logpath = /var/log/nginx/access.log
maxretry = 30
findtime = 5m
bantime = 24h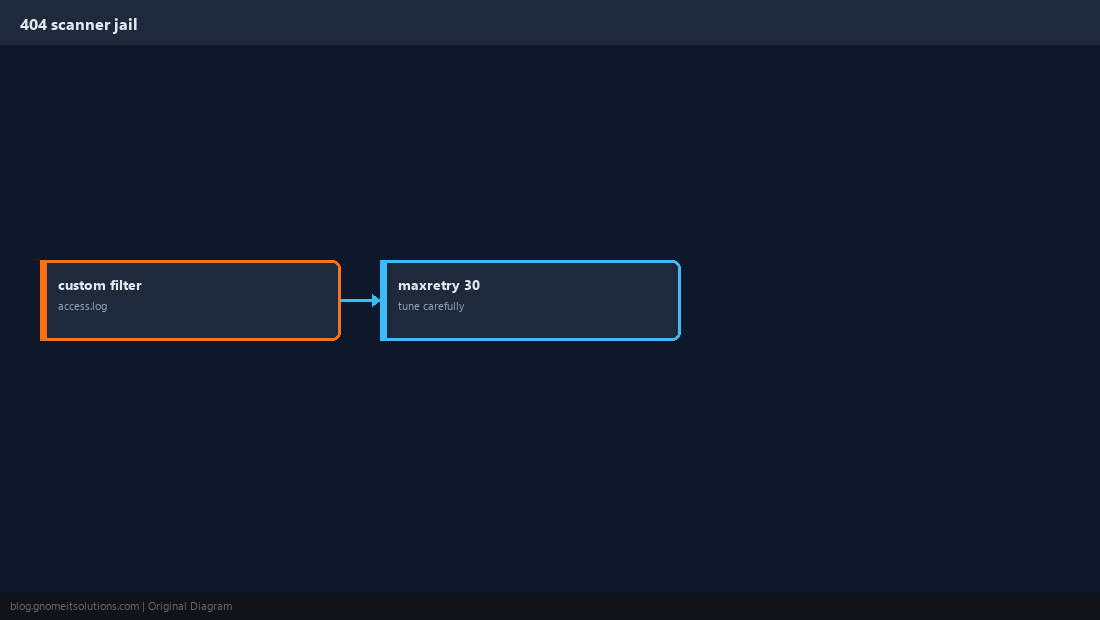
Test Filters Before You Ban Production Traffic
Use fail2ban-regex against a slice of your real log so you see what would have matched yesterday.
sudo fail2ban-regex /var/log/nginx/access.log /etc/fail2ban/filter.d/nginx-404.conf | tail -20maxretry and short bantime, watch for false positives, then tighten.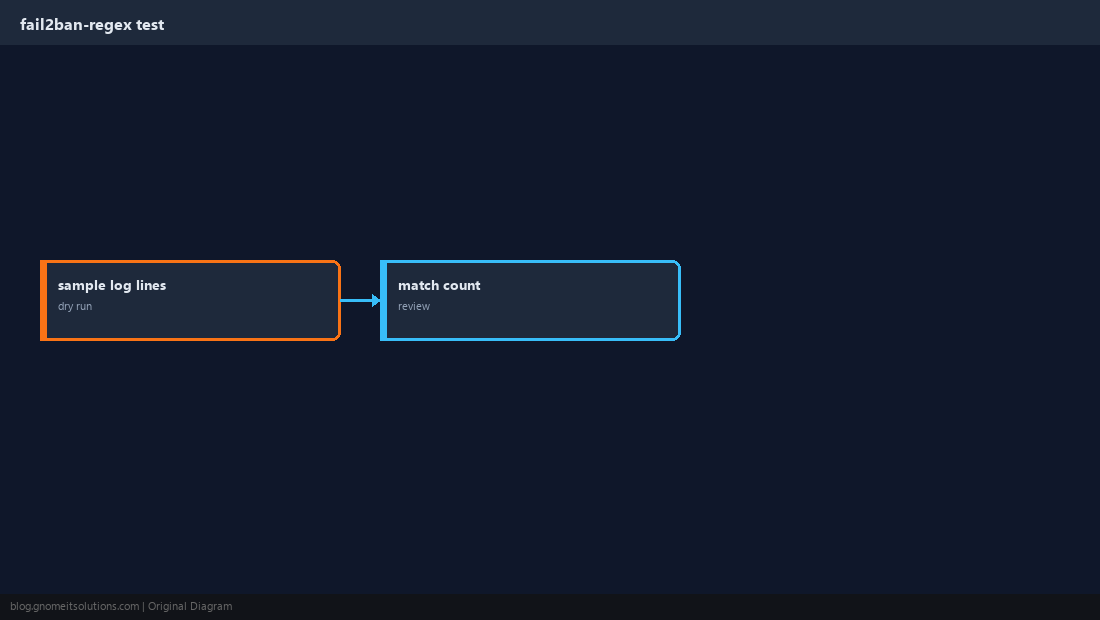
Confirm Bans and Unban When Needed
List jails, inspect banned IPs, and unban a mistaken block without restarting Nginx.
sudo fail2ban-client status nginx-404
sudo ufw status | grep DENYsudo fail2ban-client set nginx-404 unbanip 203.0.113.50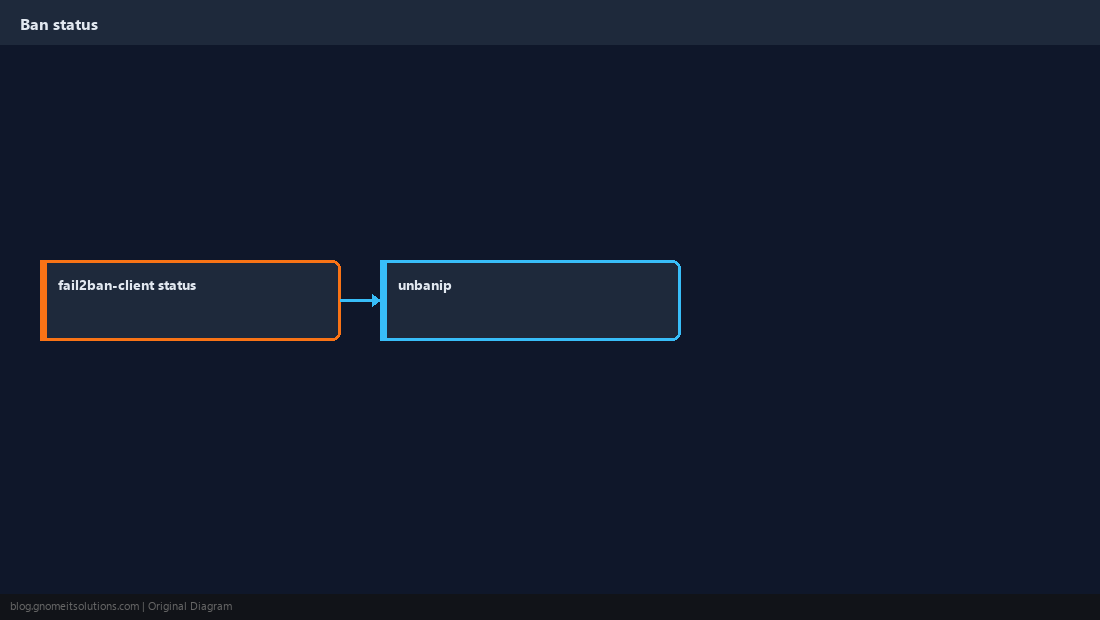
Quick Reference
- Overrides in
jail.local/jail.d nginx-http-authfor 401 abuse; custom filter for 404 scanners- Test with
fail2ban-regexbefore aggressive bantime
Related tutorials
Diagrams are original illustrations by Gnome IT Solutions. Tutorial text © Gnome IT Solutions.