
Most of our ViciDial coverage assumes a campaign already exists — tuning its
pacing ratio,
scrubbing its
dial windows, or reading its stats on the
real-time reports screen.
None of that matters until a campaign actually exists with a list loaded into it. Campaign
creation is the one step every other ViciDial admin task depends on, and it touches five separate
screens in the admin UI that have to be filled in a specific order before the first outbound call can go
out.
This guide walks through building a brand-new outbound campaign end to end: creating the campaign record
itself, loading a lead list against it, wiring dispositions and a script, choosing a safe starting dial
method, and placing the first supervised test call before opening the queue to agents. Every field here maps
to a column in the vicidial_campaigns or vicidial_lists tables, so nothing covered
requires manual SQL — it is all reachable from Admin menus.
Step 1: Create the Campaign Record
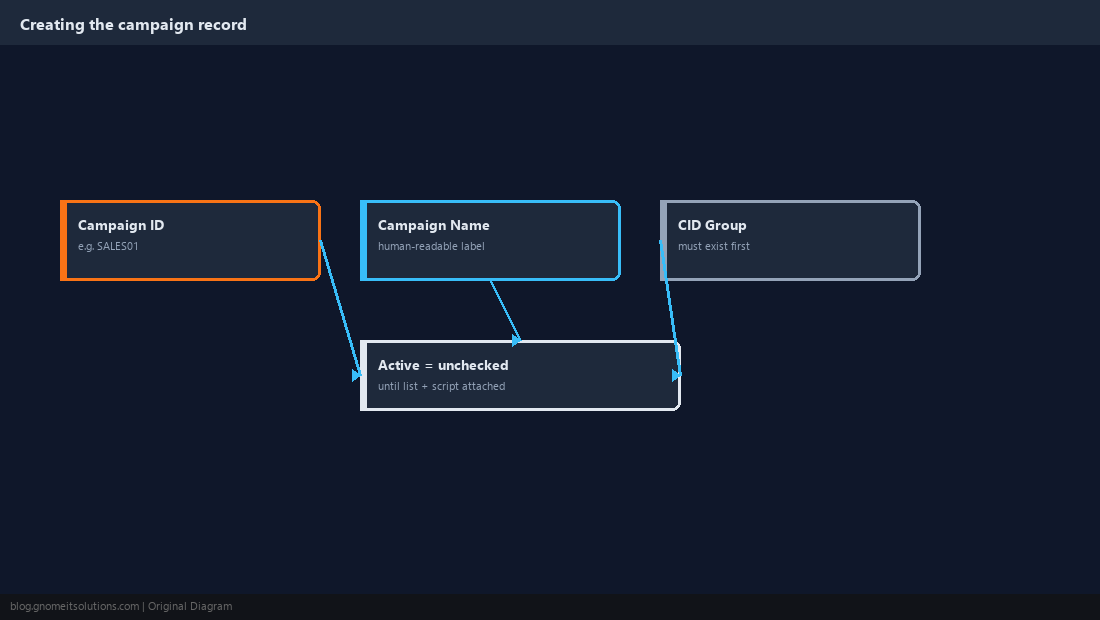
Go to Admin → Campaigns → Add New Campaign and fill in a Campaign ID (a short uppercase code such as SALES01, capped at 8 characters and immutable once saved) and a human-readable Campaign Name. Pick the Campaign CID Group that controls what caller ID displays on outbound calls — this has to already exist under Admin → CID Groups before you reach this screen, so create that first if it doesn’t. Leave Active unchecked for now; there is no reason to expose a campaign to the dialer or agent login screen before a list and script are actually attached to it. Save the record once these basics are filled in — everything else in this guide edits this same campaign rather than creating a new one.
Step 2: Load a Lead List Against the Campaign
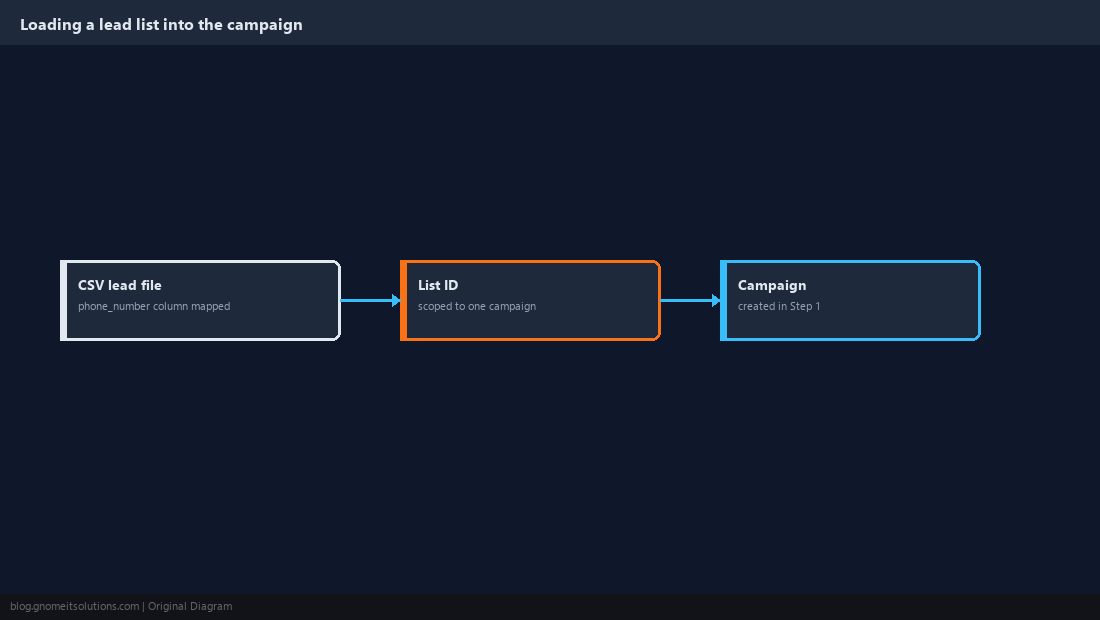
Under Admin → Lists → Add New List, create a list record with a numeric List ID and set its Campaign field to the campaign created in Step 1 — a list is always scoped to exactly one campaign at a time. Once the list record exists, go to Admin → Lead → List Loading (Import), select that list ID, and upload the CSV of leads with at minimum phone_number mapped correctly; ViciDial is forgiving about extra columns but strict about phone number formatting, so strip punctuation and confirm a consistent 10 or 11-digit format before uploading. After the import finishes, check the reported count against the row count in the source file — a mismatch almost always means malformed phone numbers were silently rejected rather than a partial upload failure.
Step 3: Define or Reuse a Disposition Status Set
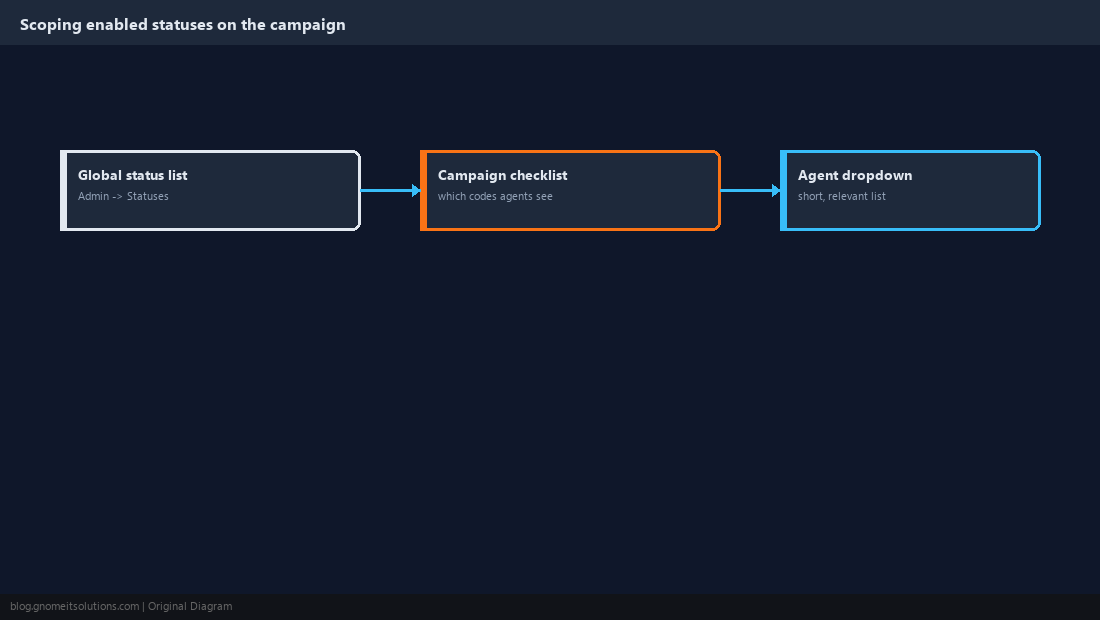
Every campaign needs a set of call dispositions — SALE, NA, DNC, and so on — and these live independently of the campaign itself in Admin → Statuses. A fresh ViciDial install ships a reasonable default set already usable as-is, so for a first campaign the fastest path is leaving the defaults in place rather than inventing custom codes before you know what the reporting actually needs. On the campaign detail screen’s STATUSES section, confirm the statuses this campaign should expose to agents are checked — unchecking irrelevant ones (a collections campaign doesn’t need a retail return code, for example) keeps the agent’s disposition dropdown short enough to use quickly during a live call.
Step 4: Attach an Agent Script
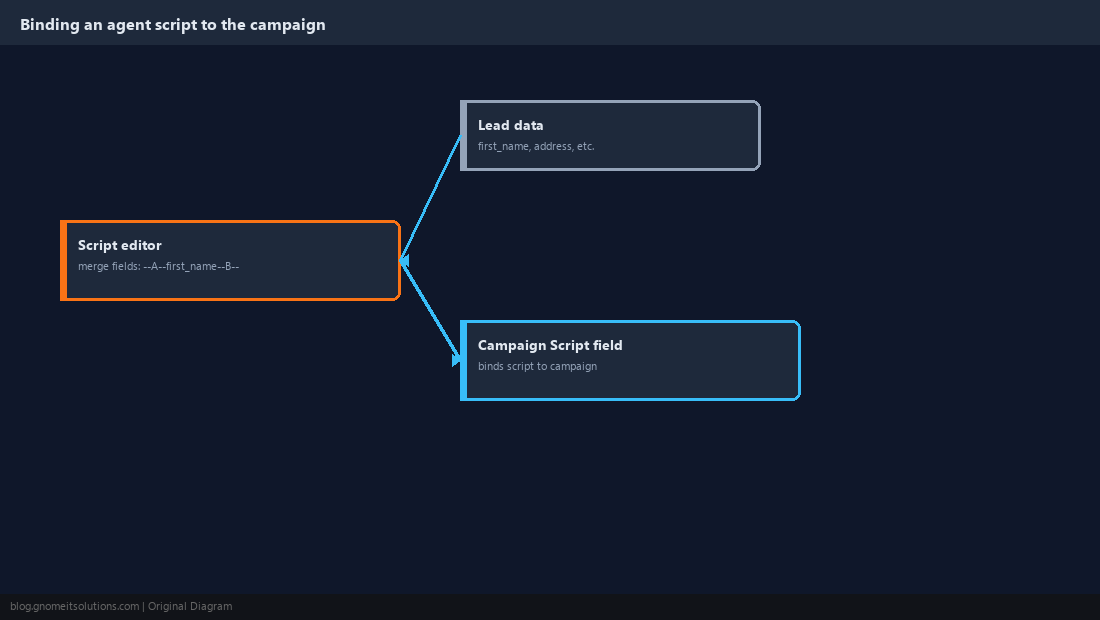
Under Admin → Scripts → Add New Script, write the text agents will read from during a call, using ViciDial’s merge-field syntax like --A--first_name--B-- to pull lead data directly into the script text. Save it, then go back to the campaign detail screen and set its Script field to the one just created — without this, agents get a blank script pane and have to wing every call from memory, which is a common reason a brand-new campaign produces inconsistent early results. Keep the first version short; a script gets revised constantly in the first week of a live campaign as real objections and questions surface that nobody anticipated while writing it in isolation.
Step 5: Choose a Conservative Dial Method for Launch
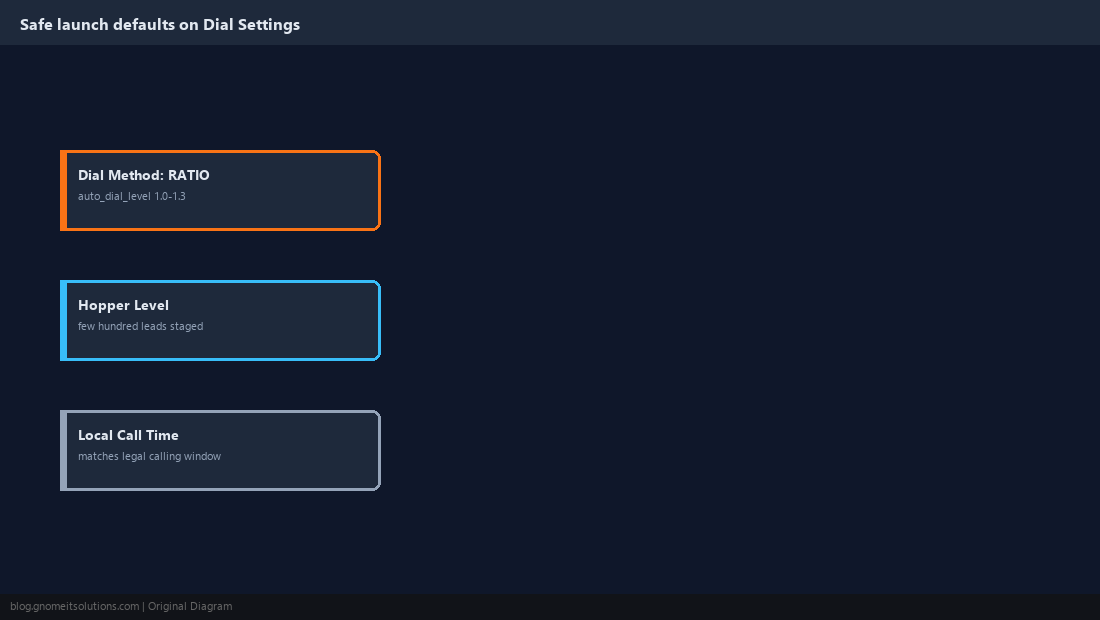
In the campaign detail screen’s DIAL SETTINGS section, set Dial Method to RATIO with auto_dial_level around 1.0–1.3 for the first day rather than launching straight into an adaptive method — see our predictive pacing guide for how to tune this once the campaign is live. Set Hopper Level to a few hundred so the dialer never runs dry against a fresh list, and confirm Local Call Time matches the legal calling window for the area codes in the uploaded list — this field blocks dialing outside the configured hours automatically and is not optional to skip for a compliant launch.
Step 6: Assign Agents and User Groups to the Campaign
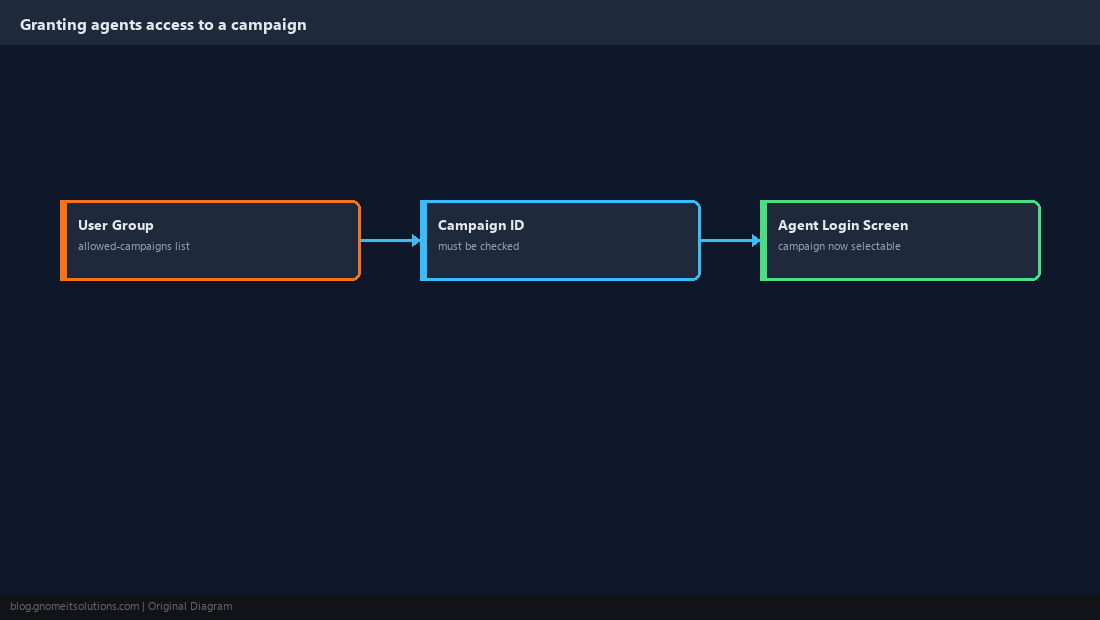
Under Admin → User Groups, confirm the group the launch agents belong to has this campaign checked in its allowed-campaigns list — an agent whose group was never granted access to the campaign ID simply won’t see it as an option on the login screen, which is a common source of “the campaign is broken” tickets that are actually a permissions gap. If this is a small or temporary campaign, it can also be easier to add it directly to each individual agent’s allowed-campaigns list under Admin → Users rather than editing a shared group used by other campaigns too.
Step 7: Place a Supervised Test Call Before Opening the Queue
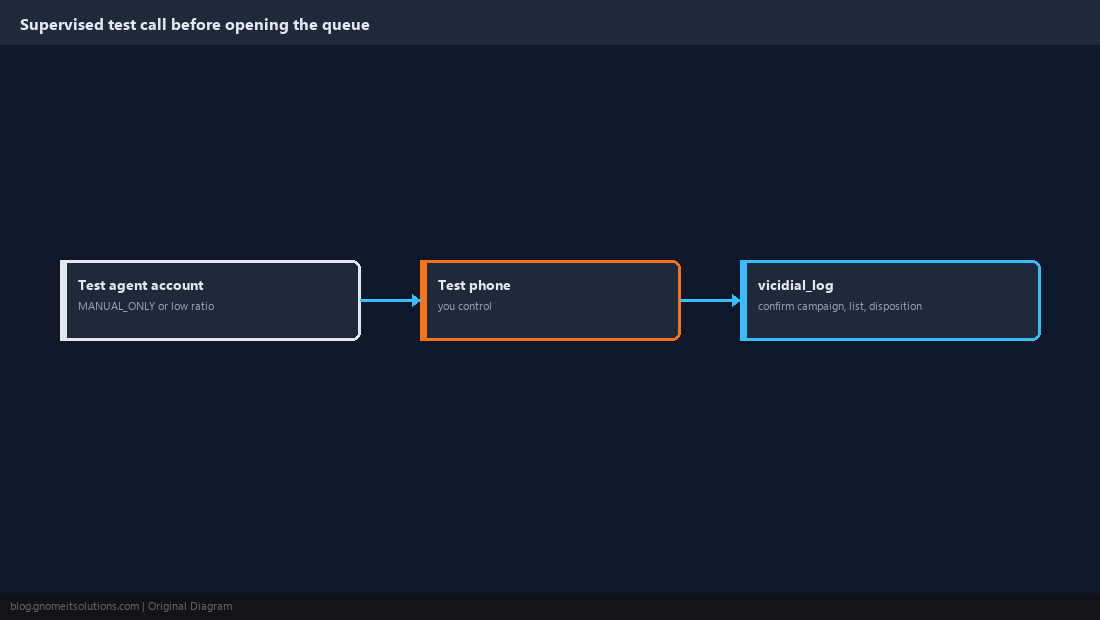
Set the campaign to Active, then log into the agent screen yourself using a test account and pause on MANUAL_ONLY or a very low ratio while you dial a phone you control, confirming caller ID, audio in both directions, and that the disposition screen shows the statuses selected in Step 3. Check vicidial_log for that test call afterward to confirm it recorded the expected campaign ID, list ID, and disposition — a wrong campaign ID here usually traces back to a phone or extension still bound to a different campaign from a previous test. Only raise the ratio and open the campaign to the full agent roster after this test call comes back clean end to end.
Step 8: Watch the First Live Hour Closely
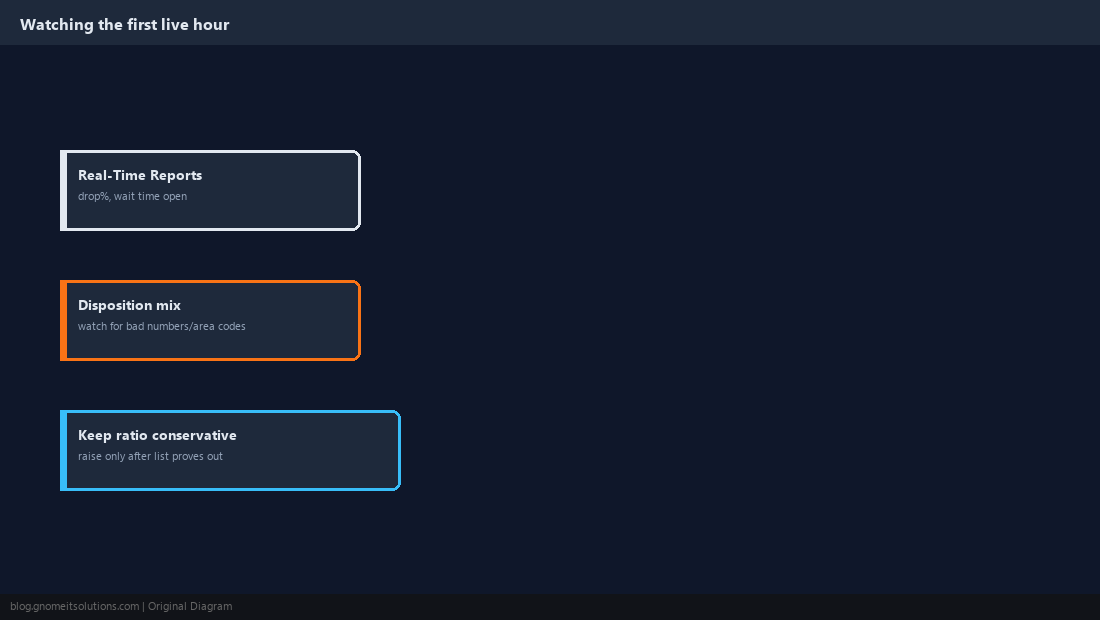
For the first hour a campaign is live with real agents, keep the real-time reports screen open and watch drop percentage, agent wait time, and the mix of dispositions coming back — a lead list with bad phone number formatting or the wrong area codes for the configured local call time often only shows up as a wave of N (invalid number) or blocked-by-call-time dispositions in the first batch of attempts. Keep the ratio conservative during this window even if agents report idle time — it is far easier to raise auto_dial_level once the list and script have proven themselves than to walk back a compliance problem caused by an over-aggressive launch ratio on an unvetted list.
Campaign Creation Order, at a Glance
1. Admin -> Campaigns       create the campaign record (inactive)
2. Admin -> Lists           create a list scoped to that campaign
3. Admin -> Lead -> Import  load the CSV into that list ID
4. Admin -> Statuses        confirm/scope dispositions on the campaign
5. Admin -> Scripts         write and attach an agent script
6. Campaign Detail          set RATIO, low auto_dial_level, hopper level, call time
7. Admin -> User Groups     grant agent access to the campaign ID
8. Activate + test call     one supervised dial before opening the queue
Related tutorials
Image credits: All illustrations are original terminal/config mockups created for
Gnome IT Solutions — not screenshots from any third-party site. Tutorial text © Gnome IT Solutions.